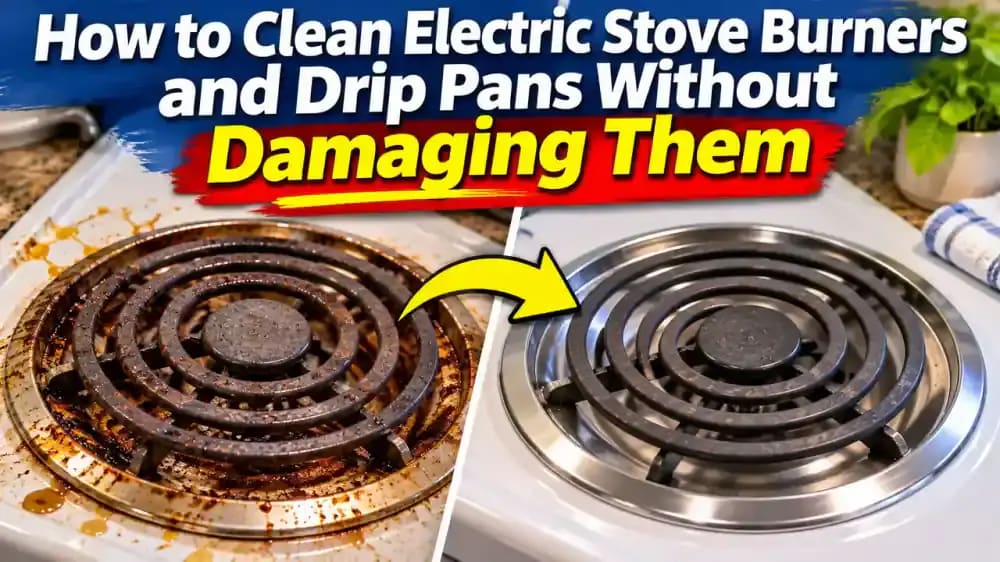
How to Clean Electric Stove Burners and Drip Pans Without Damaging Them
Burned-on food, greasy drip pans, and hidden crumbs can build up beneath electric stove coils. Learn how to safely remove compatible parts, loosen stubborn residue, clean underneath the burners, and put everything back without damaging heating elements or electrical connections.
What you’ll need
Tap to tick things off before you start.
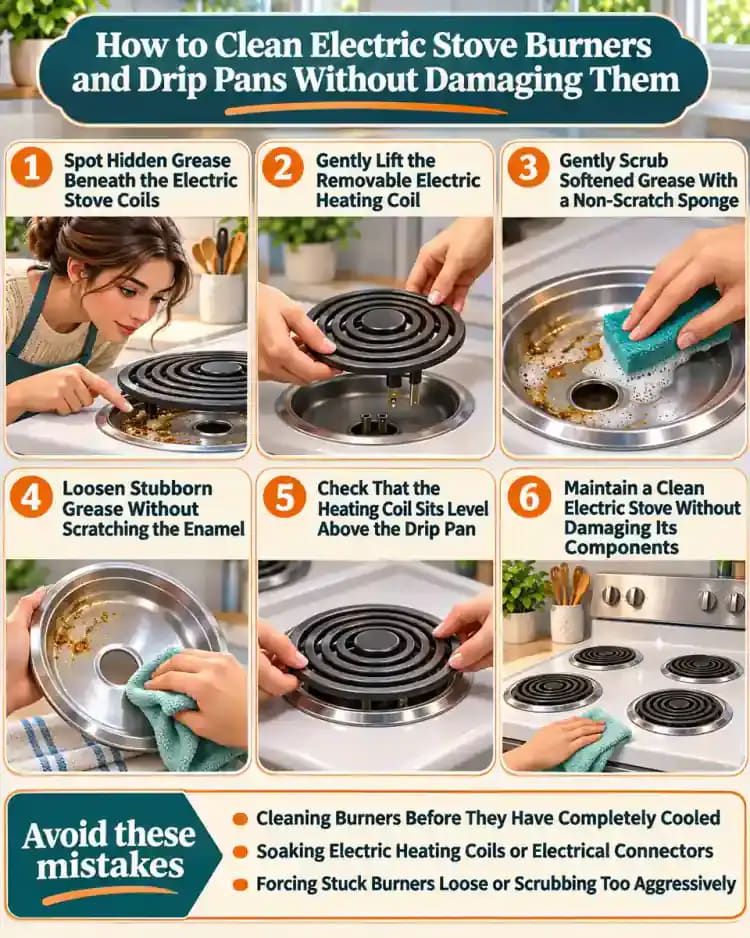
Spot Hidden Grease Beneath the Electric Stove Coils
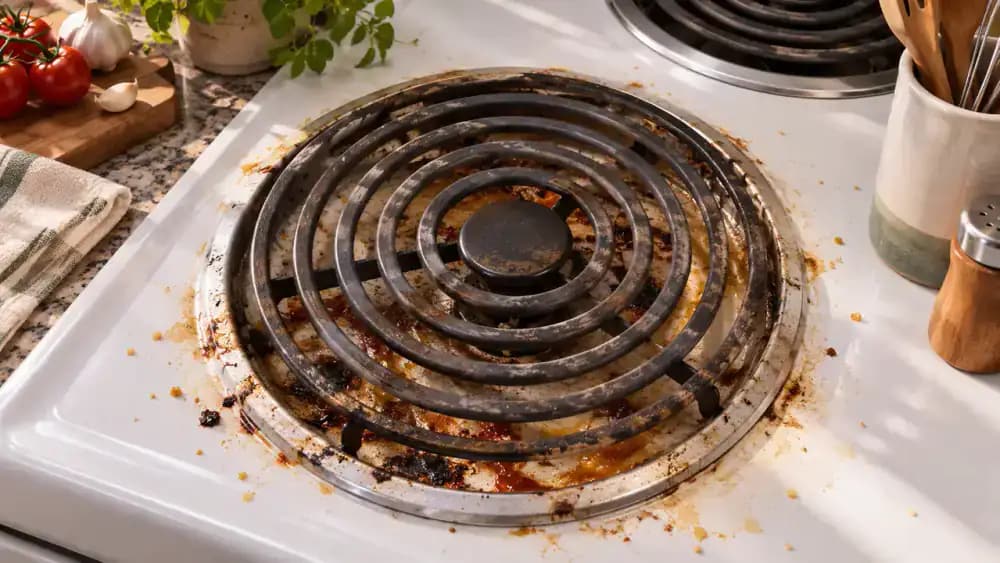
Look closely through the gaps in your electric stove's heating coils, especially around the drip pans. Brown grease stains, burned food particles, and dark residue can collect underneath even when the surrounding enamel looks clean. Repeated cooking bakes these spills onto the metal, making them harder to remove. Check each burner for visible buildup, but keep the coils installed for now. Make sure every control is off and the stove is completely cool.
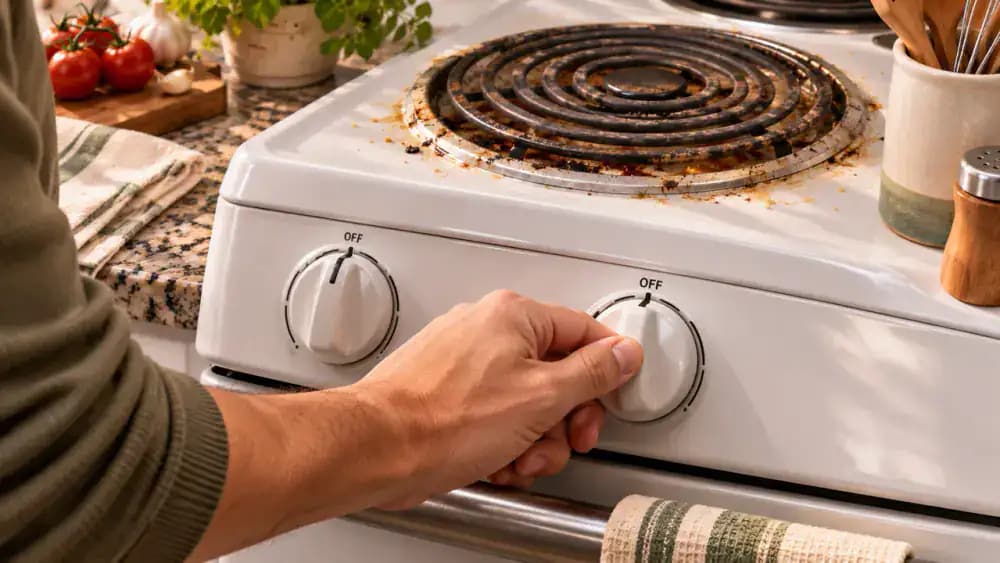
Turn Off Every Burner and Let the Stove Cool Completely
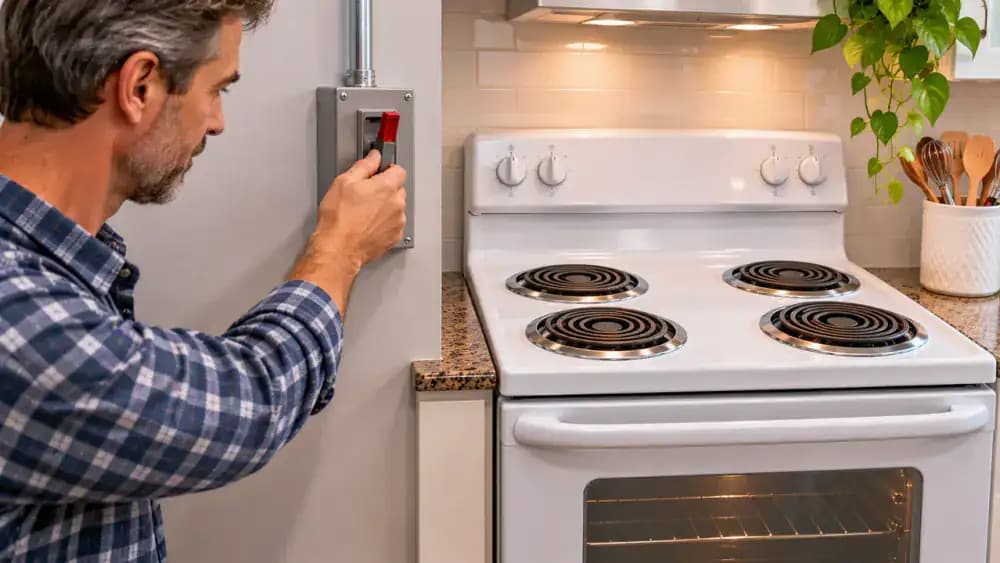
Rotate each burner control knob to the clearly marked OFF position and visually confirm that all four controls are switched off. Electric heating coils can retain dangerous heat long after they stop glowing, so allow the stovetop to cool naturally before cleaning. Never touch a coil to test its temperature. Check your range manual for cooling and power-disconnection instructions. Keep all heating elements installed until you have confirmed they are completely cool.
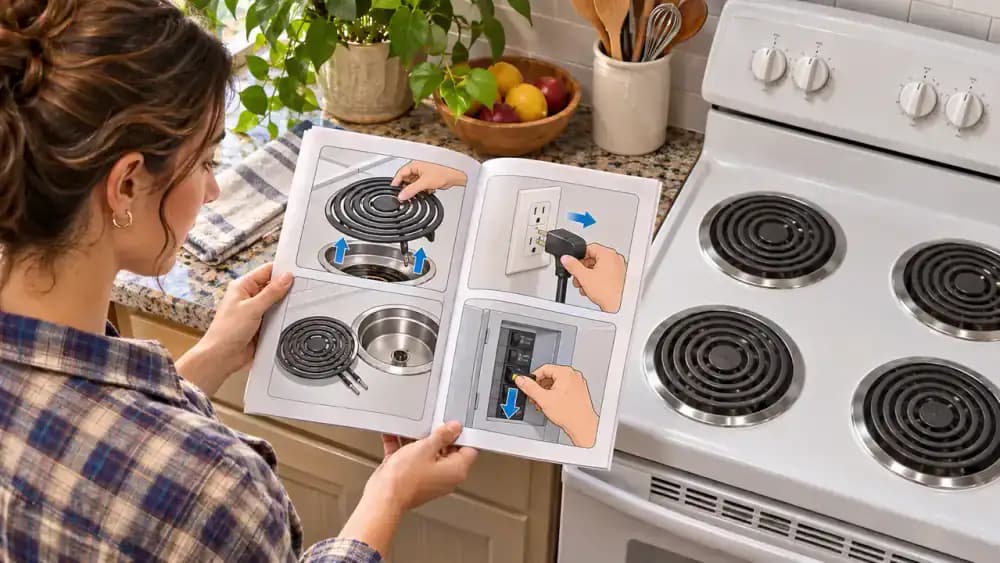
Check Your Stove Manual Before Removing Burners or Drip Pans
Open your electric range owner's manual to the maintenance section and find the instructions for your specific model. Look for diagrams showing how the heating coils connect, whether the drip pans are removable, and which parts can safely be washed. Check whether the manufacturer requires disconnecting power before cleaning. If you cannot find the printed manual, identify your stove's model number and locate the correct instructions before attempting to remove anything.
Gather Gentle Cleaning Supplies and a Drying Towel
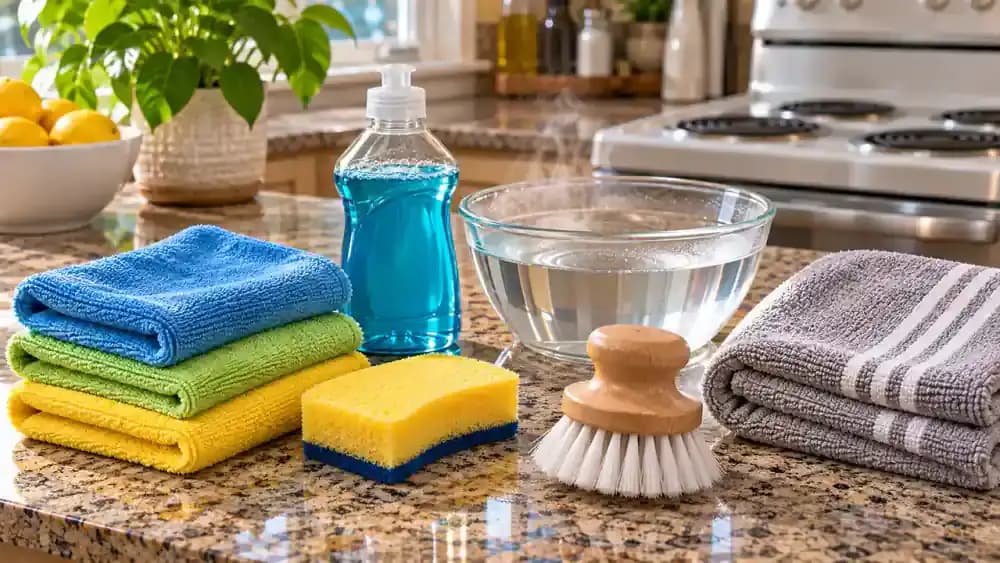
Arrange two clean microfiber cloths, mild dish soap, a non-scratch sponge, a soft-bristle brush, and a bowl of warm water on a countertop away from the stove. Place a clean, dry towel nearby for drying washable drip pans before reinstallation. Keep one microfiber cloth for wiping accessible cooktop surfaces and the other for drying. Avoid steel wool, abrasive scrubbers, and harsh cleaners that could scratch enamel or damage protective finishes.
Locate the Electric Burner's Plug-In Connection
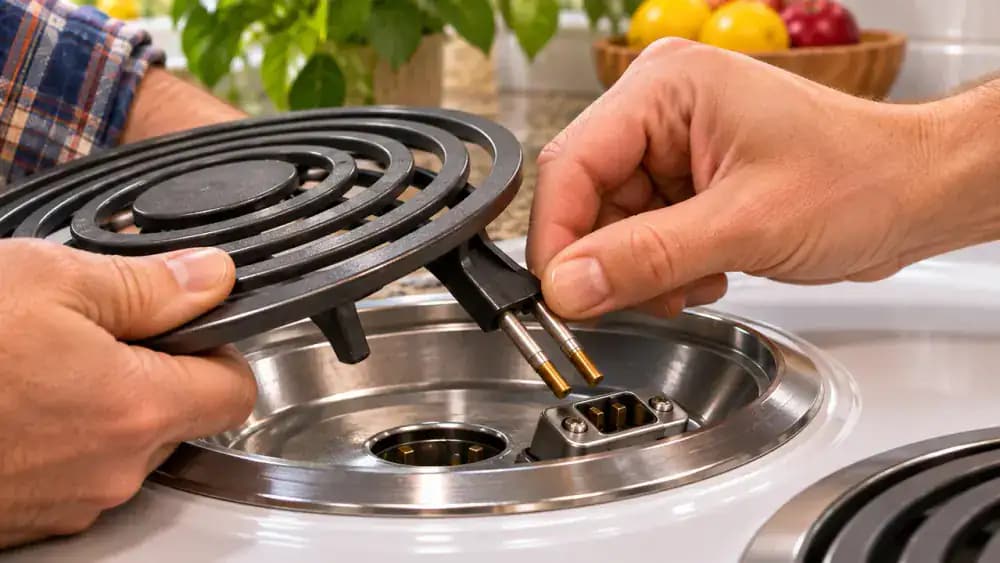
Examine the edge of the installed heating coil and compare its design with the connection diagram in your owner's manual. Many electric ranges use a plug-in element that connects to a socket beneath the burner rim, but other designs differ. With clean, dry hands, identify the connection area without moving the coil. Check that the stove is completely cool and power is disconnected if required. Never pull, twist, or force the element.
Gently Lift the Removable Electric Heating Coil
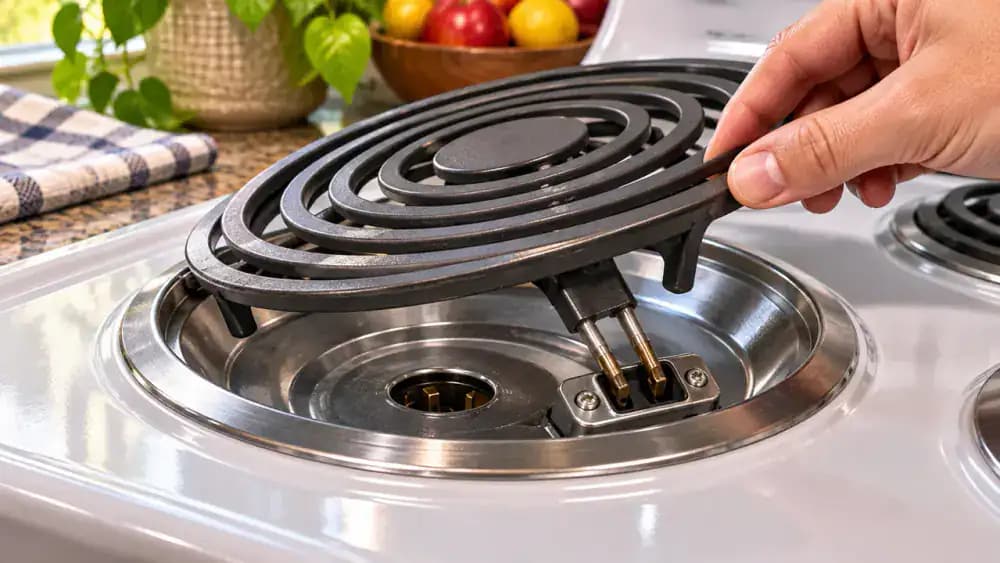
With the stove completely cool, use clean, dry hands to support the outer edge of the heating coil. Following your range manual, gently raise the element only to the recommended angle while keeping its terminals aligned with the socket. Avoid twisting, bending, or pulling sideways against the electrical connection. If the coil resists movement, stop and check the instructions again. Keep the heating element and all electrical connections completely dry.
Disconnect the Heating Coil Without Bending Its Terminals
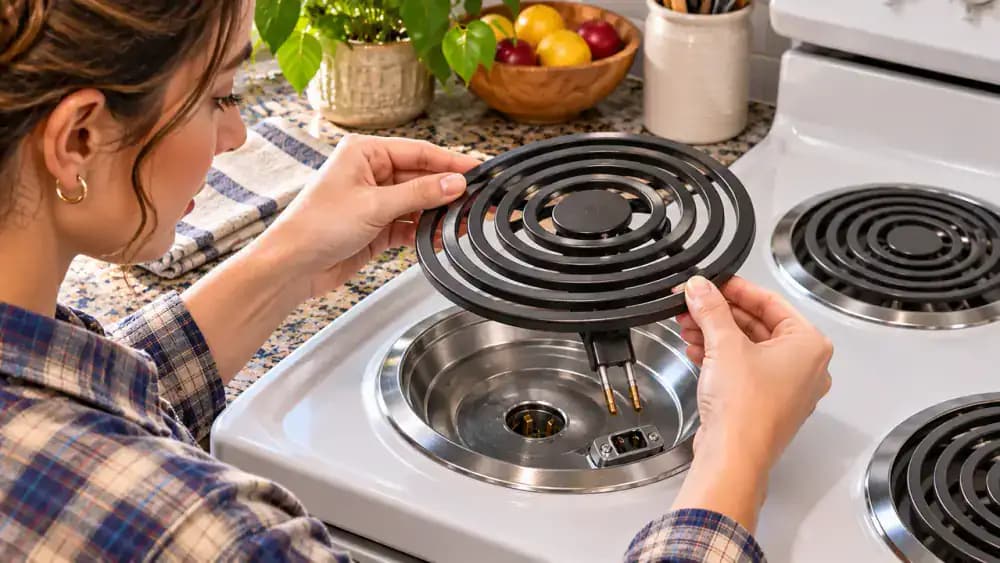
Support the slightly raised heating coil with clean, dry hands and follow your range manual to release its electrical connection. On compatible models, gently guide the metal terminals straight out of the socket along the specified removal path. Keep the element aligned without twisting, bending, or forcing it. Once disconnected, place the coil flat on a clean, dry towel away from water and cleaning products, protecting the exposed terminals from damage.
Lift Out the Drip Pan and Check for Burned-On Residue
With the heating coil safely removed, grip opposite edges of the drip pan and gently lift it straight out, provided your range manual confirms it is removable. Avoid scraping the surrounding enamel or dropping crumbs into the electrical socket. Place the pan on a separate protective tray and examine the brown grease deposits, blackened food, and loose debris. Check for corrosion or damaged surfaces that may make replacement more practical than cleaning.
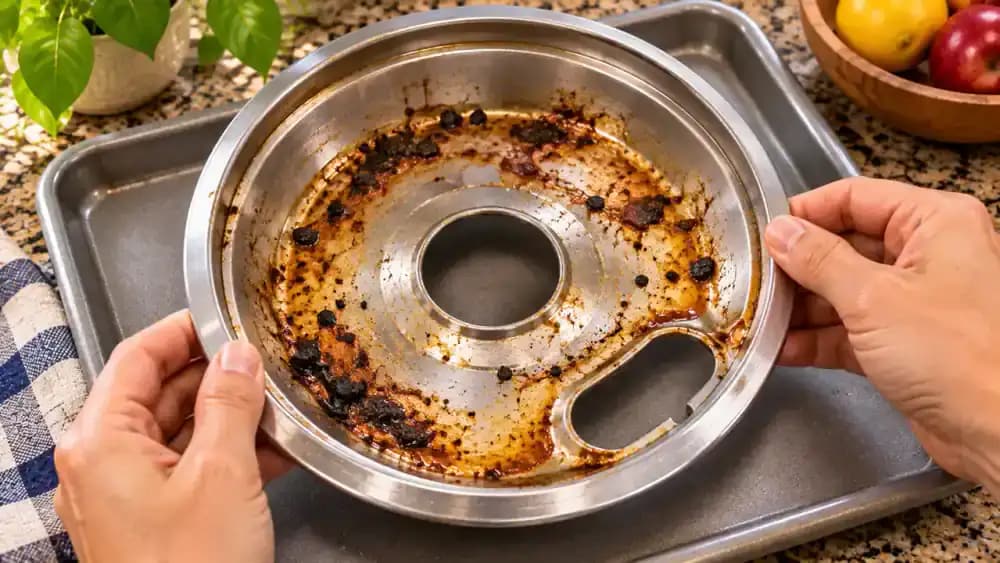
Brush Loose Food Debris Out of the Drip Pan
Hold the removable drip pan securely over a lined trash can and gently tilt it to discard loose crumbs and burned food particles. Use a soft-bristle brush to dislodge debris trapped along the curved interior edges, working carefully to avoid scratching the metal finish. Do not use knives or metal scraping tools. Removing dry particles before washing prevents them from spreading through the soapy water and makes stubborn grease easier to reach.
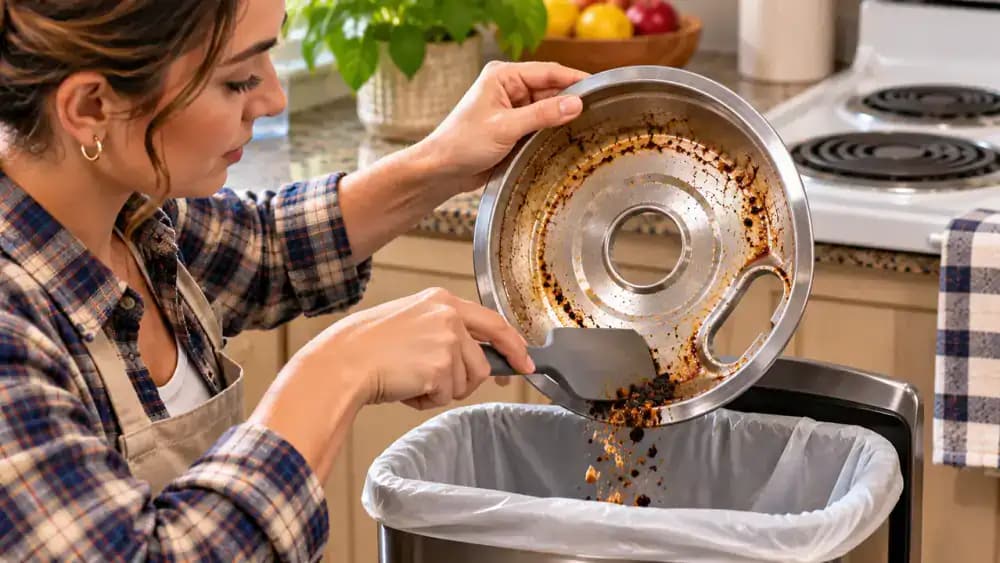
Mix Warm Water and Mild Dish Soap for Soaking
Place a wash basin inside your kitchen sink and fill it with enough warm water to cover the removable drip pan. Add a few drops of mild dish soap and gently mix the solution. After confirming that your range manual permits soaking, lower the grease-stained pan into the water. Make sure its dirty surfaces are submerged. Keep the electric heating coil and all electrical connectors completely dry and away from the sink.
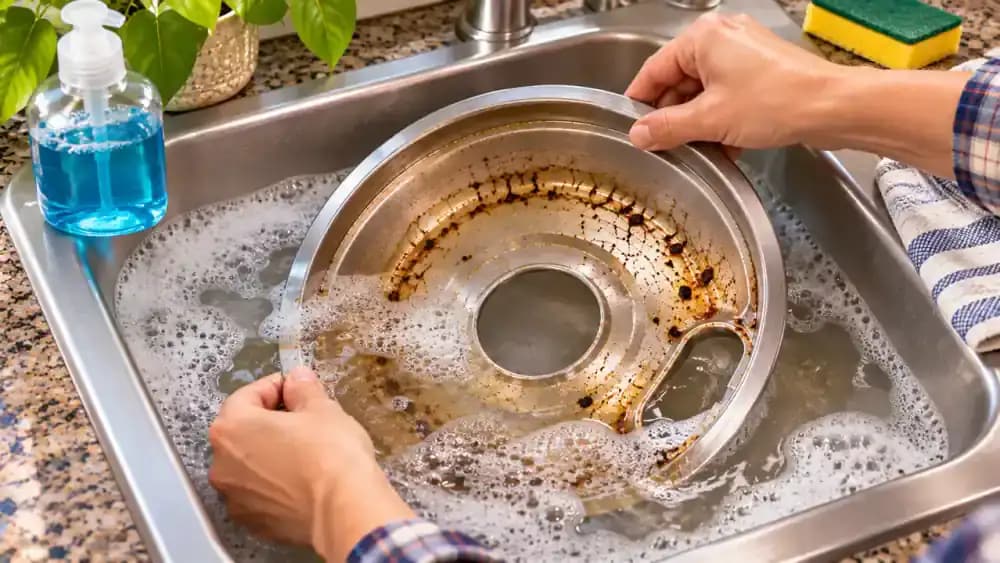
Soak the Drip Pan for 15 to 30 Minutes to Loosen Grease
Leave the removable drip pan fully supported in the basin of warm, soapy water for 15 to 30 minutes, provided your range manual allows soaking. The solution helps soften baked-on grease and food residue, reducing the need for aggressive scrubbing later. Keep the stained surfaces submerged throughout the soaking period. Some discoloration may remain even after cleaning. Never soak electric heating coils, plug-in terminals, or electrical connectors.
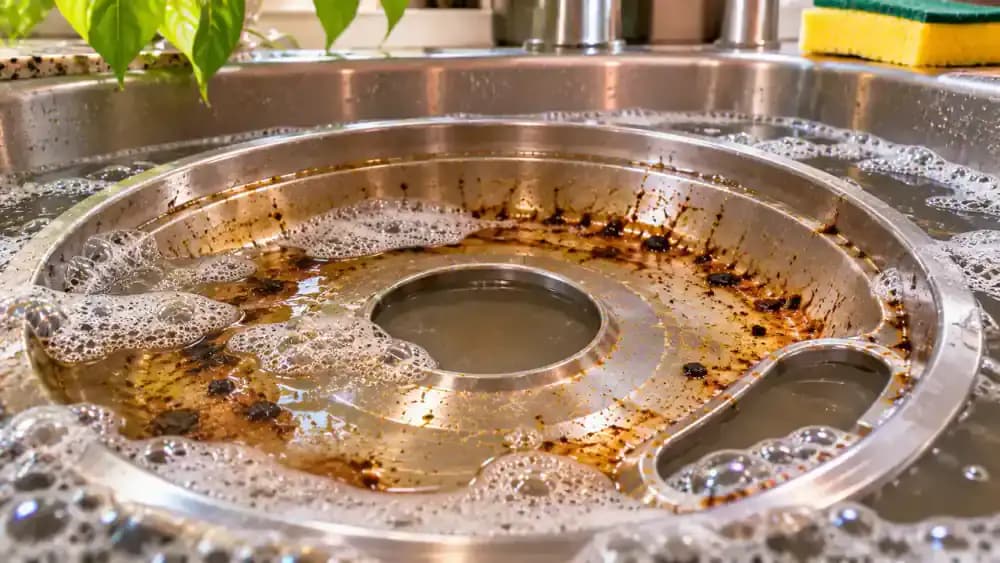
Gently Scrub Softened Grease With a Non-Scratch Sponge
Lift the soaked drip pan from the basin and let excess water drain into the sink. Rest it securely on a soft surface, then use a non-scratch sponge to clean the curved interior with gentle circular motions. Steady the rim with your other hand while working across softened grease deposits. If stubborn residue remains, repeat the gentle washing process rather than applying excessive pressure or using steel wool and sharp scrapers.
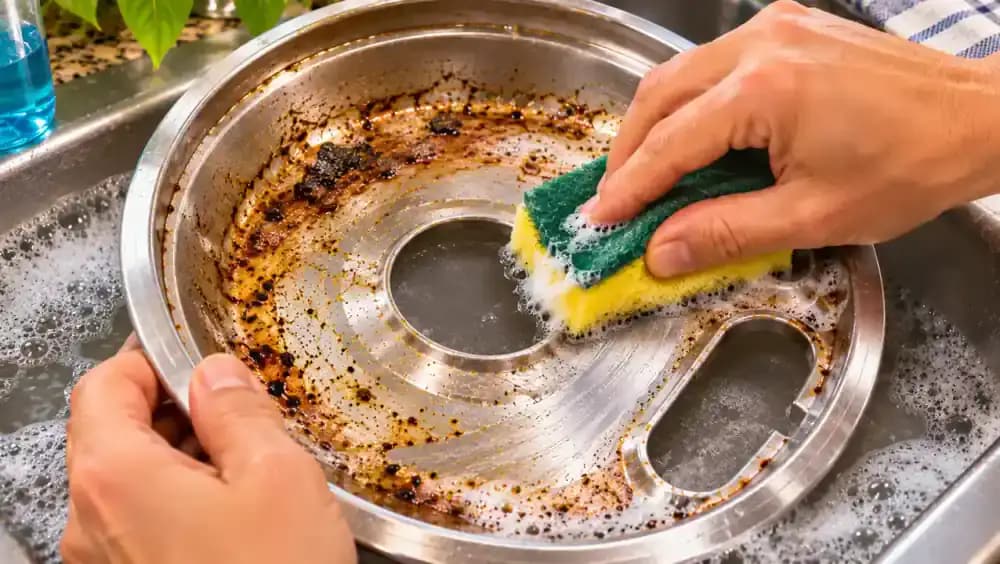
Brush Away Grease Trapped Along the Drip Pan Rim
Place the washable drip pan securely on a soft protective mat near the sink. Dip a small soft-bristle brush into mild, soapy water and gently work along the curved rim, narrow grooves, and edges where grease collects. Use short, controlled strokes while holding the pan steady to avoid scratching its finish. Rinse away loosened residue as permitted by the manufacturer. If dark staining remains, avoid aggressive scrubbing that could damage the metal surface.
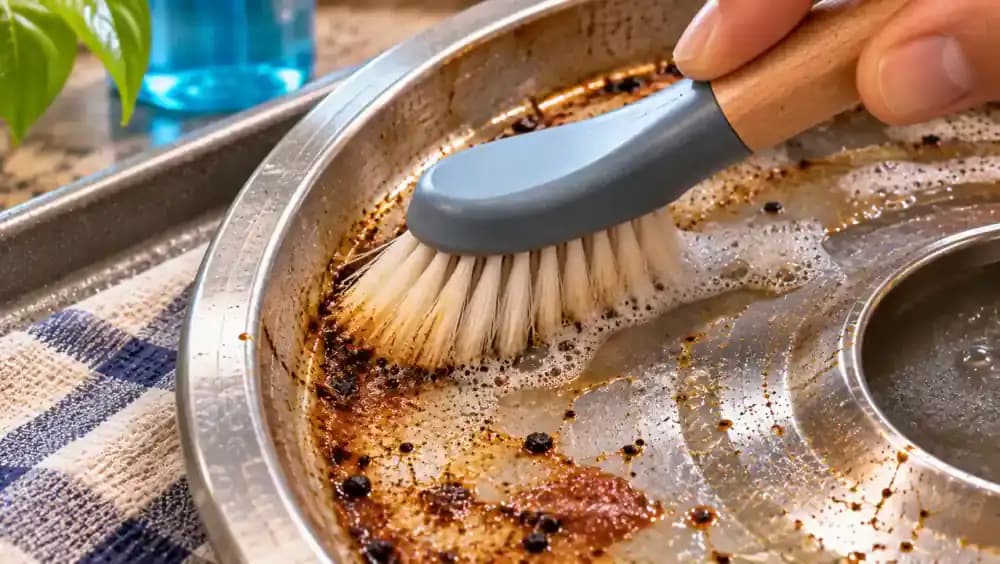
Rinse the Drip Pan and Inspect for Damage
Hold the manufacturer-approved washable drip pan beneath a gentle stream of warm water, rotating it carefully to rinse the interior, curved rim, and underside. Remove remaining soap and loosened grease while keeping electrical components away from the sink. Examine the metal surface under good lighting for peeling coatings, deep corrosion, or warping. Minor discoloration may remain after cleaning, but significant damage can make replacing the pan safer than continued scrubbing.
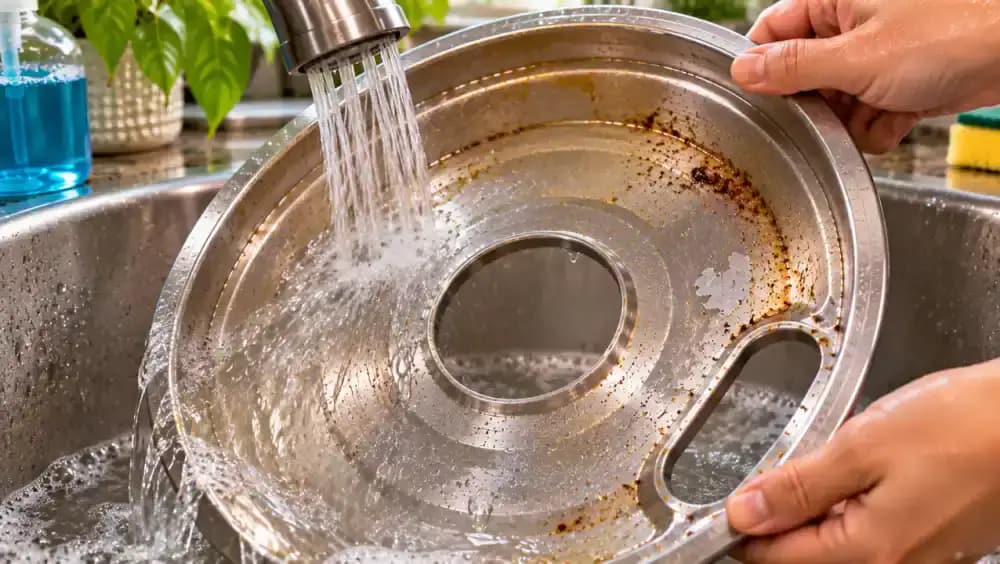
Dry the Drip Pan Completely Before Putting It Back
Place the rinsed drip pan upside down on a clean, dry cotton towel away from the sink. Use a separate microfiber cloth to blot water from the underside, rolled rim, and narrow channels where droplets can collect. Turn the pan upright and leave it on a drying rack in a well-ventilated area until completely dry. Check hidden edges for moisture before reinstallation, and keep heating coils and electrical connectors dry throughout.
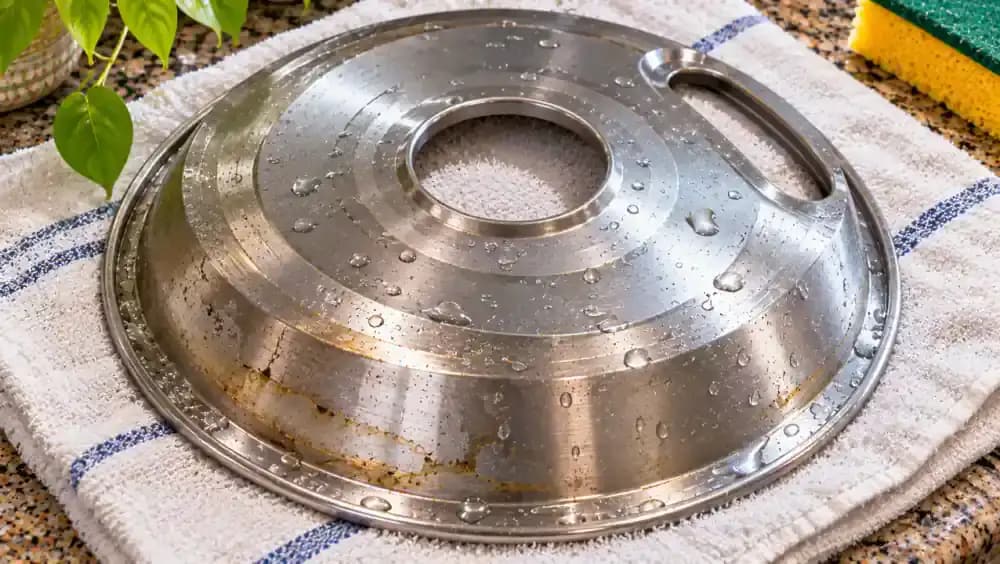
Sweep Loose Crumbs From Beneath the Burner Opening
With the heating coil and drip pan safely removed, inspect the exposed surface for crumbs and burned food particles. Use a completely dry soft-bristle brush to gently sweep loose debris away from the electrical socket toward an accessible edge. Collect the particles with a folded, dry microfiber cloth rather than pushing them into openings. Avoid touching wiring or disturbing fixed components. Clean only surfaces you can safely reach without further disassembly.
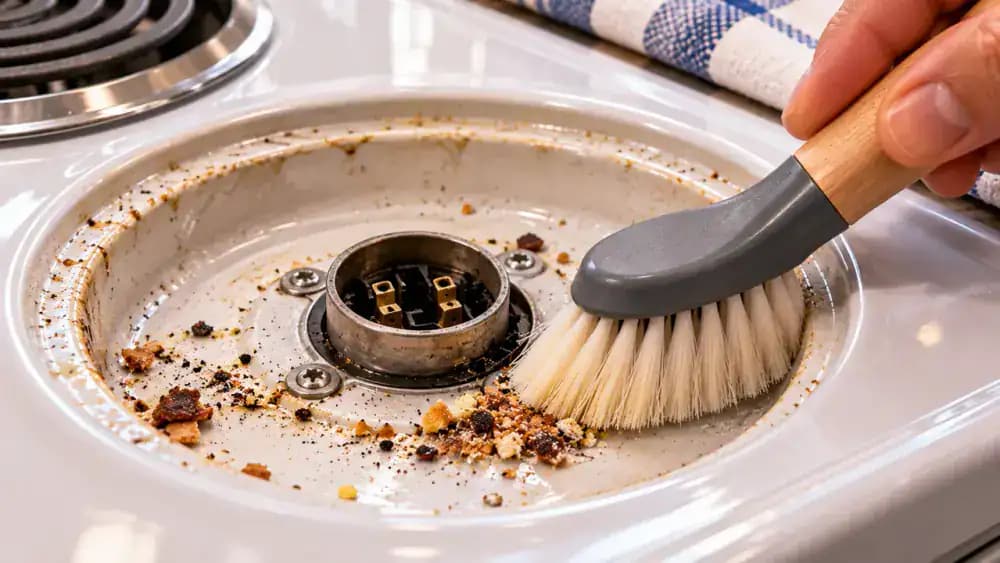
Wipe Grease From the Exposed Enamel Cooktop Surface
Lightly dampen a clean microfiber cloth with mild, soapy water, then wring it thoroughly until no water drips. Gently wipe the accessible white enamel around the empty burner opening using short, controlled strokes. Work away from the electrical socket, seams, and exposed openings to prevent moisture from entering. Fold the cloth to a clean section as grease transfers onto it. Never spray cleaning products directly onto the stove or electrical components.
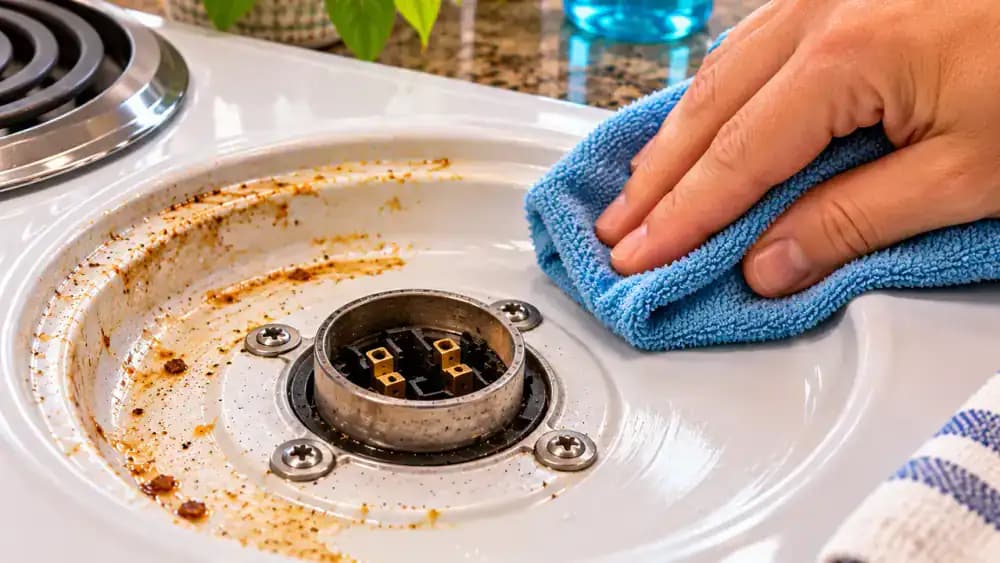
Loosen Stubborn Grease Without Scratching the Enamel
Fold a slightly damp, thoroughly wrung-out microfiber cloth over two fingertips and gently rub stubborn grease spots on the accessible enamel. Use short, controlled movements and a little mild dish soap if needed to soften baked-on residue. Keep the cloth on solid surfaces, away from seams, sockets, and electrical openings. Avoid abrasive pads, sharp scrapers, and excessive pressure. If a faint stain remains, do not risk damaging the finish.
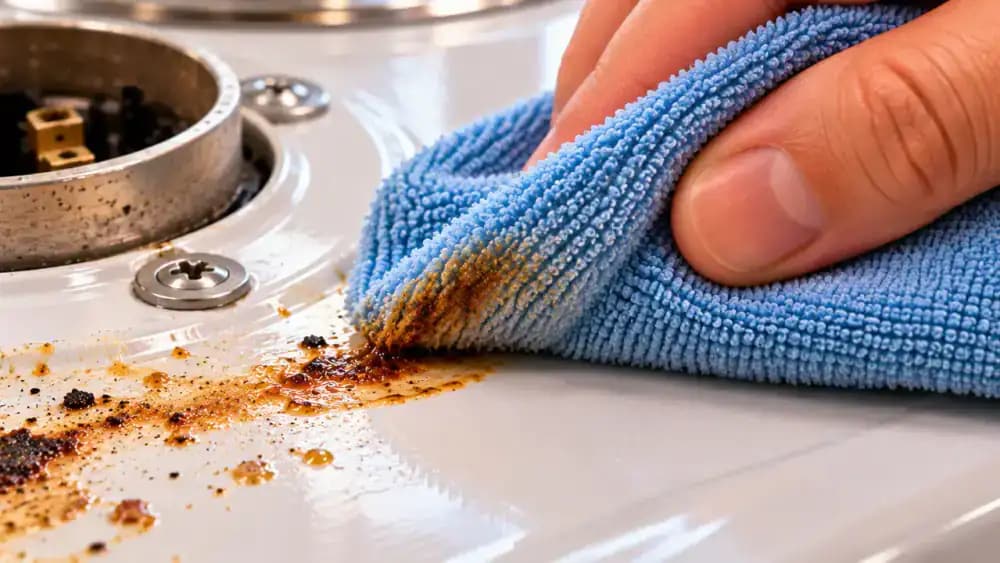
Wipe Away Soap Residue and Dry the Cooktop
Take a fresh microfiber cloth, barely dampen it with clean water, and wring it thoroughly until no droplets remain. Wipe the accessible enamel surface in smooth, controlled strokes to remove leftover soap and loosened grease. Keep the cloth away from electrical sockets, seams, and burner openings. Immediately follow with a separate dry microfiber cloth to absorb remaining moisture. Inspect the surface for slippery residue, streaks, or damp spots before continuing.
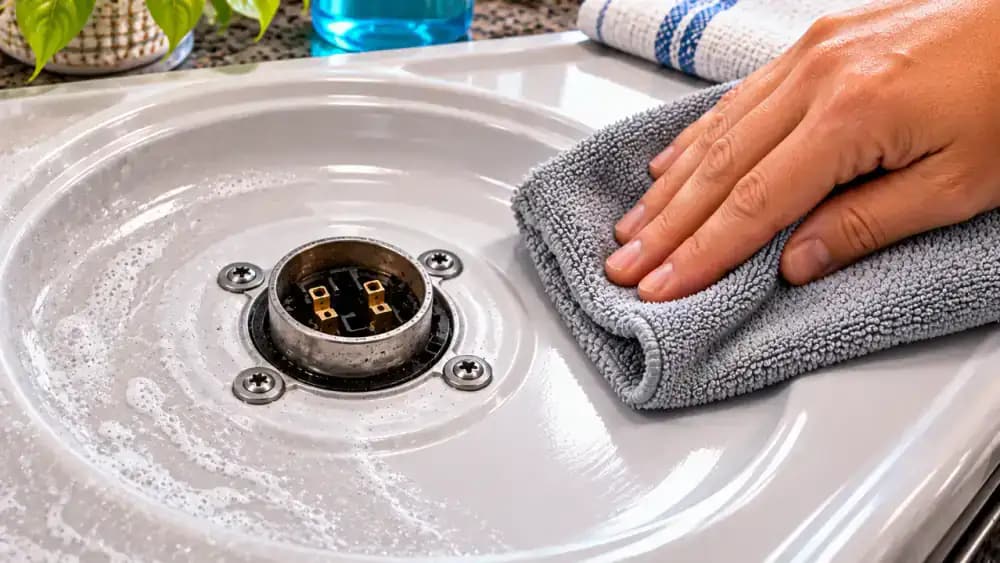
Check the Burner Socket for Moisture, Corrosion, and Damage
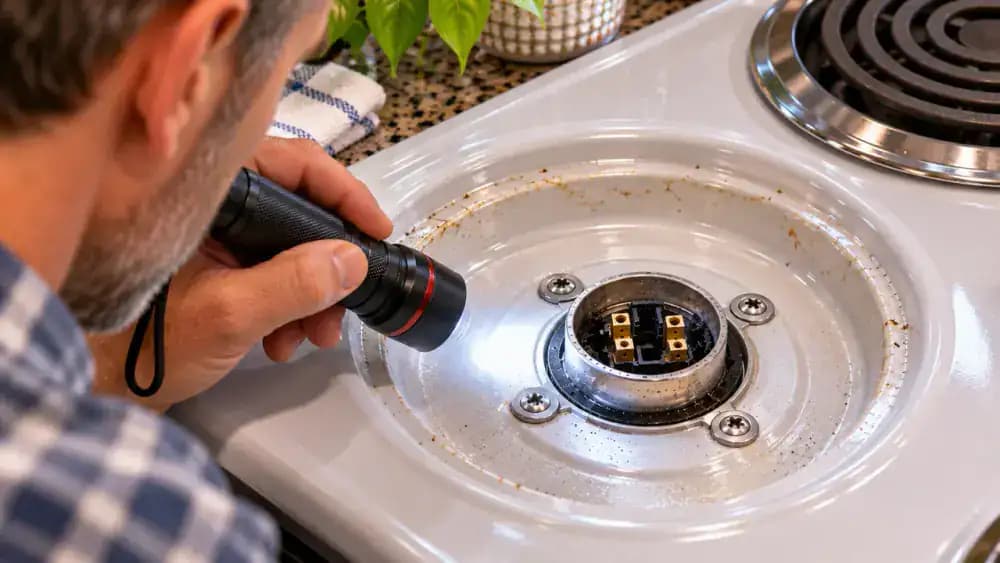
Hold a small LED flashlight above the exposed burner opening and carefully inspect the electrical socket and surrounding surfaces. Look for leftover crumbs, moisture, corrosion, discoloration, damaged insulation, or loose connections. Keep your fingers, cleaning tools, and cloths away from electrical contacts. Check that the accessible area is completely dry before reassembly. If you notice damaged wiring, corrosion, or questionable connections, stop and contact a qualified appliance technician rather than attempting repairs yourself.
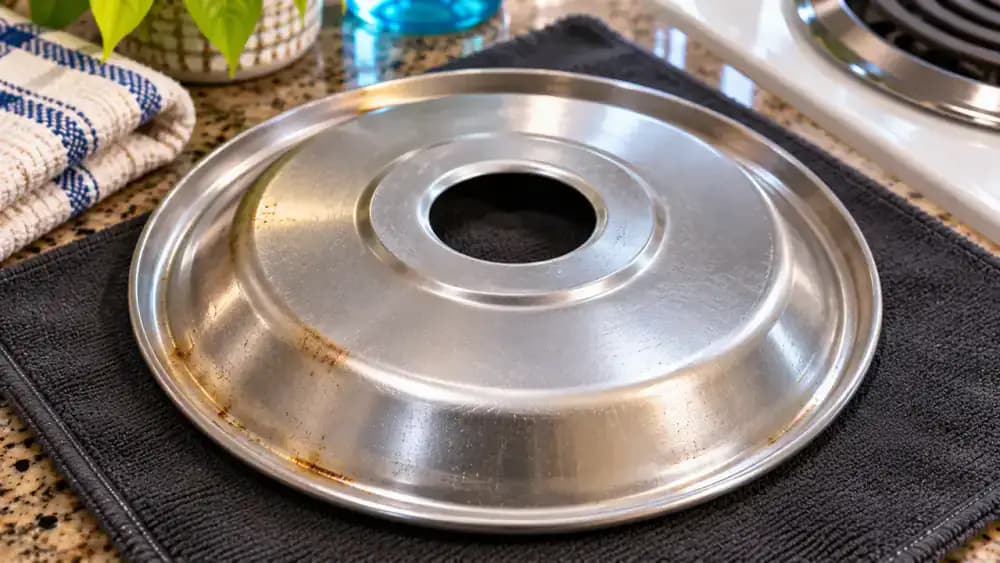
Inspect the Dry Drip Pan for Rust, Warping, or Damage
Place the cleaned drip pan on a dry inspection mat under good lighting. Carefully rotate it to check the interior, underside, rolled edges, and center opening for trapped moisture. Examine the metal for rust, peeling coatings, cracks, or warping that could prevent proper installation. Minor discoloration may be cosmetic and does not automatically require replacement. If the pan is damaged, choose a compatible replacement before using the stove again.
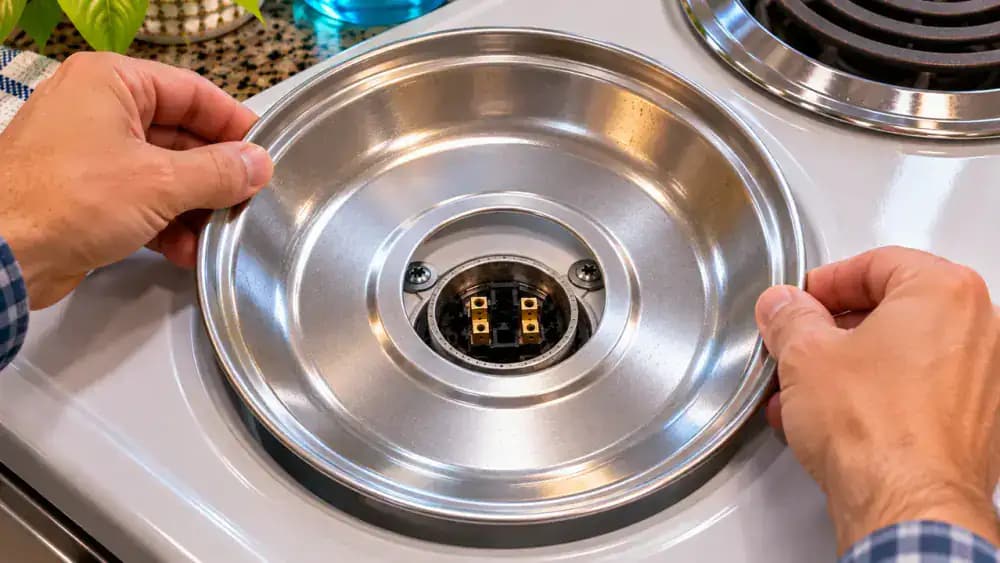
Reinstall the Dry Drip Pan With Its Cutout Properly Aligned
Hold the completely dry, undamaged drip pan above the empty burner opening and locate its connector cutout. Rotate the pan until the cutout aligns with the fixed electrical socket, following your range manual. Gently lower it into position without scraping the surrounding enamel or touching electrical contacts. Check that the rim rests evenly against the cooktop and the pan sits securely. Leave the heating coil disconnected until the pan is correctly seated.
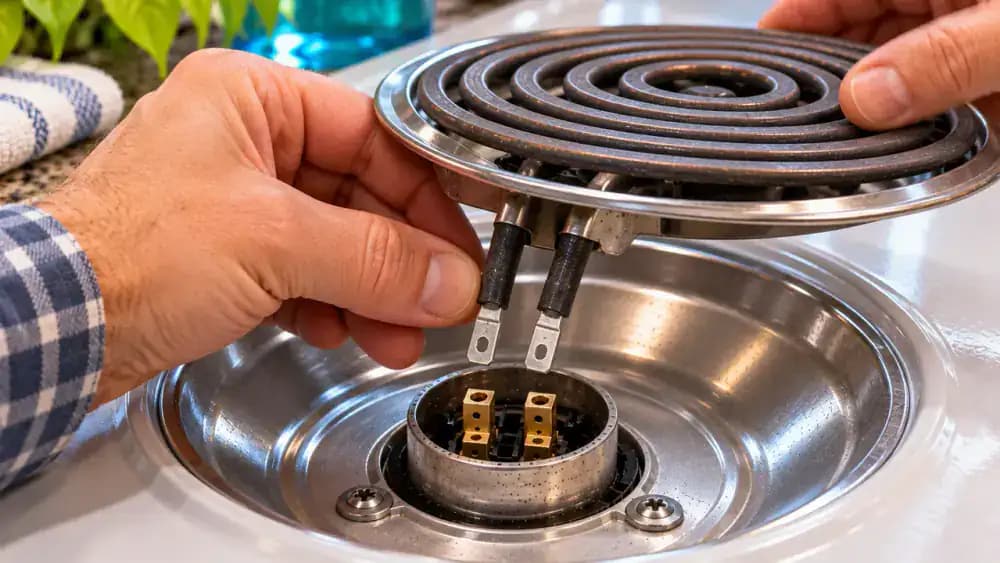
Reconnect the Heating Coil and Check That It Sits Evenly
Retrieve the completely dry heating coil and visually inspect its terminals for damage without touching the electrical contacts. With clean, dry hands, support the element and align its terminals with the socket through the drip pan cutout. Follow your range manual to guide the connection into place without twisting, bending, or forcing it. Gently lower the coil until it rests evenly above the pan. Stop if the connection resists or feels loose.
Check That the Heating Coil Sits Level Above the Drip Pan
Examine the reinstalled heating coil from the front and both sides to confirm it rests evenly above the drip pan. Look for uneven spacing, tilted supports, or signs that the element is not properly seated. Inspect the surrounding rim for trapped cloth fibers, food crumbs, or moisture. Keep the burner switched off during this check. Never press down forcefully to correct misalignment. Consult your range manual if anything looks wrong.
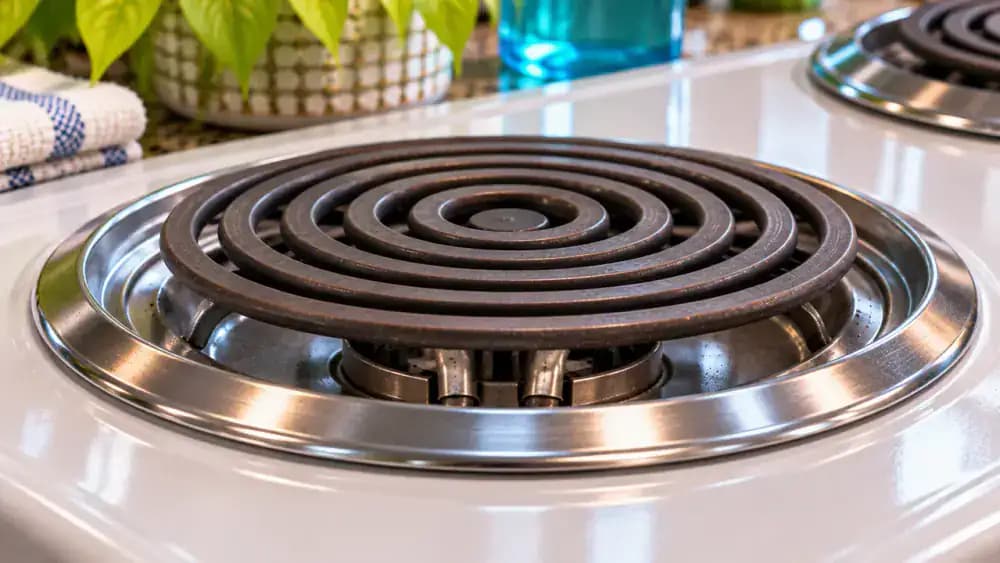
Perform a Final Safety Check Before Restoring Power
Inspect the fully reassembled cooktop and confirm that every burner control remains in the OFF position. Check that all heating coils sit evenly, drip pans are properly seated, and cleaned surfaces are completely dry. Remove towels, brushes, soap, and other cleaning supplies from the cooking area. Look for remaining debris, moisture, or visible damage. If any electrical connection seems uncertain, leave the range disconnected and arrange qualified service before using it.
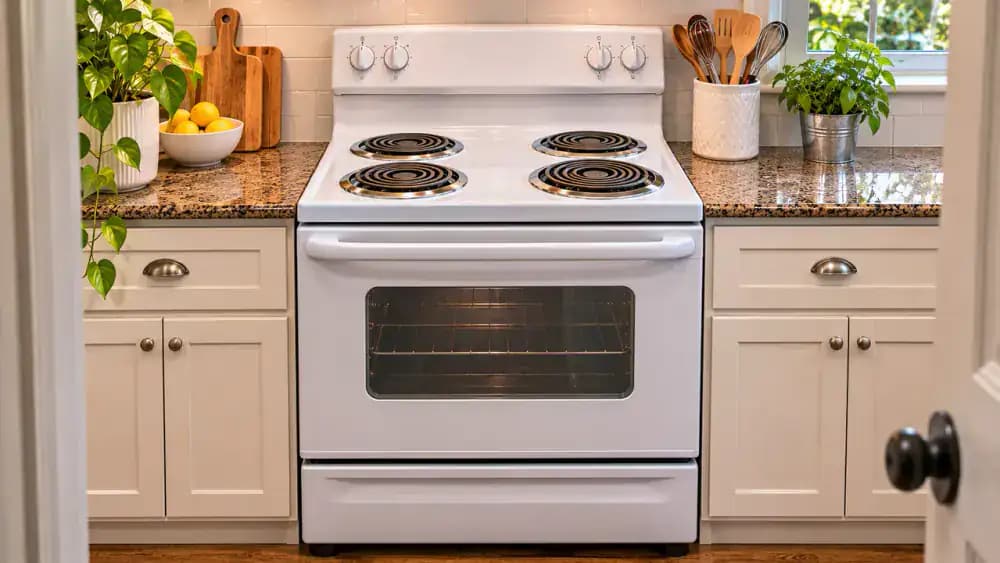
Restore Power Only After Confirming Safe Reassembly
With every burner control set to OFF, confirm that the heating coils and drip pans are correctly installed and completely dry. If power was disconnected for cleaning, restore it using the manufacturer-approved method described in your range manual. Keep your hands dry and avoid exposed electrical components. Do not perform an improvised heating test. If a burner later sparks, produces an unusual smell, or heats unevenly, switch it off and contact a qualified appliance technician.
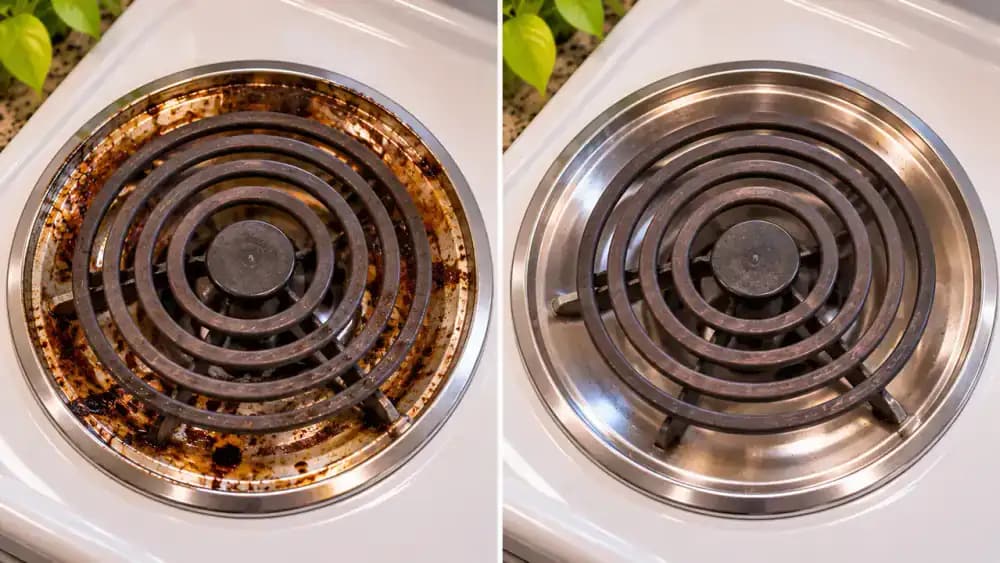
Compare Visible Grease and Residue Before and After Cleaning
Compare the cooktop's original condition with its appearance after cleaning, focusing on the drip pan, heating coil area, and surrounding enamel. Look for reduced grease deposits, fewer food crumbs, and cleaner accessible surfaces. Some baked-on discoloration may remain even after careful washing. Treat before-and-after images as illustrations of possible visible improvements, not proof of actual cleaning results. A cleaner appearance also does not confirm electrical safety or burner performance.
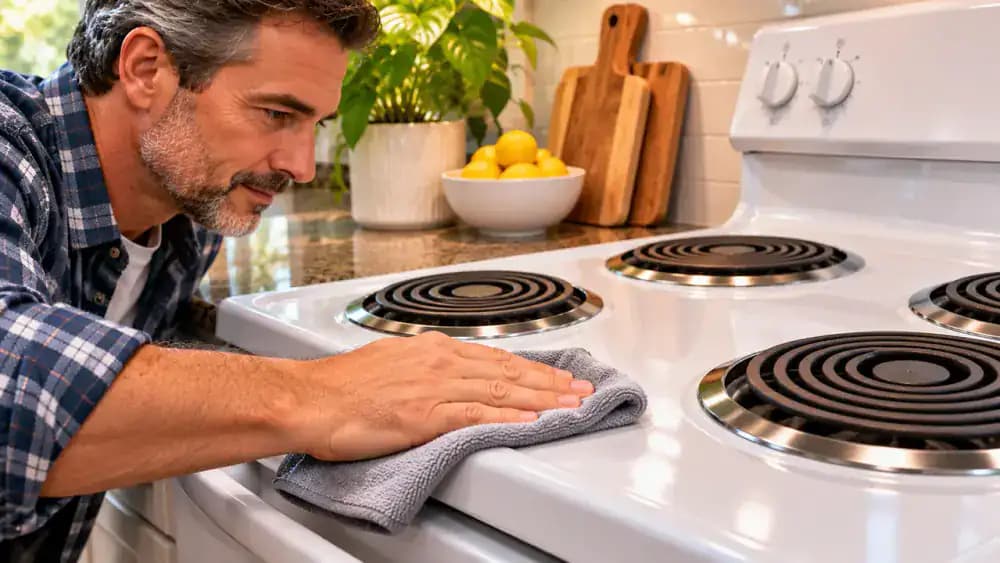
Wipe Up Cooking Spills Regularly to Prevent Grease Buildup
After cooking, turn off every burner and allow the stovetop to cool completely before cleaning. Use a lightly damp, thoroughly wrung-out microfiber cloth to wipe small food splashes from accessible enamel surfaces, staying clear of heating coils, seams, and electrical openings. Follow with a dry cloth to remove remaining moisture. Inspect removable drip pans periodically according to your range manual. Regular gentle cleaning helps prevent spills from becoming stubborn, baked-on grease.
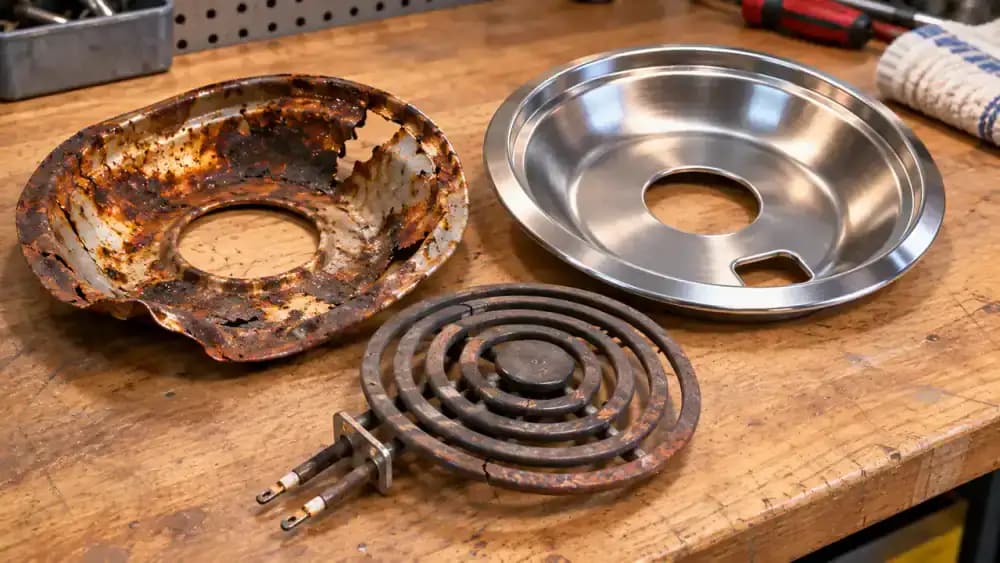
Replace Damaged Drip Pans and Identify Unsafe Heating Coils
Inspect removable drip pans for heavy rust, warped edges, or peeling protective coatings that cleaning cannot repair. Compare damaged pans with manufacturer-compatible replacements, checking your stove's model number before purchasing. Examine disconnected, completely cool heating coils for visible terminal damage without touching electrical contacts. If a coil fits loosely, has damaged connectors, or produces sparks during normal use, stop using that burner and contact a qualified appliance technician. Never attempt electrical repairs yourself.
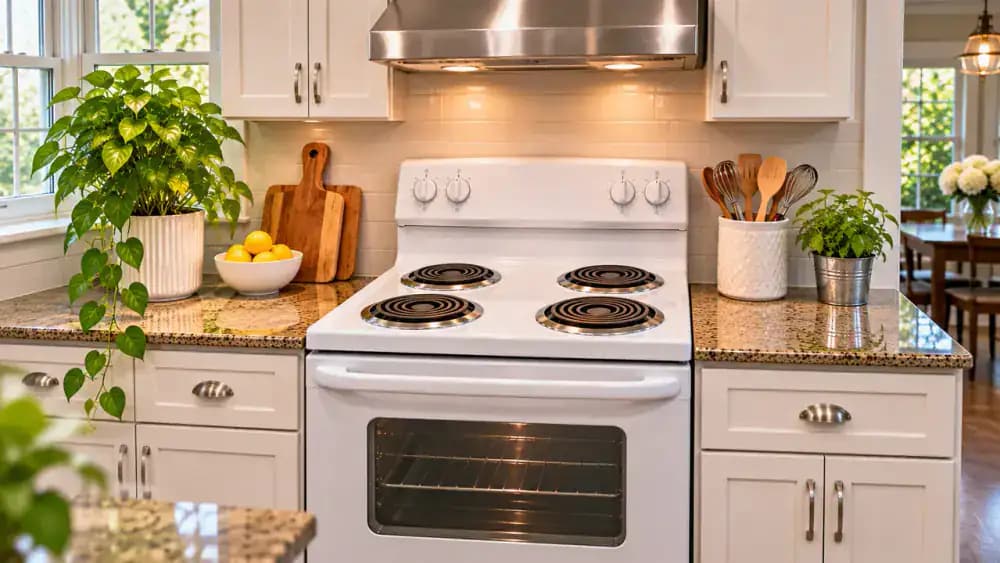
Maintain a Clean Electric Stove Without Damaging Its Components
Keep your electric stove in good condition by wiping spills after the burners have cooled and checking removable drip pans for grease buildup. Follow your range manual whenever removing or reinstalling components, and keep heating coils and electrical connectors completely dry. Never force parts that resist removal or installation. Replace damaged drip pans with compatible parts and seek qualified service for electrical problems. Consistent, gentle maintenance makes future cleaning easier and helps protect your cooktop.
Electric stove burners can collect more grease and grime than you might notice during everyday cooking. Spilled sauces, boiling liquids, and food crumbs gradually work their way beneath the heating coils, where repeated exposure to heat can turn them into stubborn, baked-on residue. Even if you wipe down your stovetop after every meal, the drip pans and hidden surfaces underneath can remain dirty. Over time, this buildup can leave your stove looking neglected and make routine cleaning more difficult. Fortunately, you can remove much of this grime with a few common household supplies and the right technique.
The key is knowing which parts of your electric stove can safely be removed, washed, and reinstalled. Heating coils and electrical connections require special care, and aggressive scrubbing can damage delicate finishes. Before starting, make sure every burner is completely cool and check your range's manual for cleaning instructions and any power-disconnection requirements. With a little patience, you can clean washable drip pans, tackle hidden spills, and freshen up your cooktop without putting its components at risk.
Where people go wrong
Cleaning Burners Before They Have Completely Cooled. Starting while heating elements are still warm can cause burns and make cleaning unsafe. Always turn off every burner and allow the entire stovetop to cool completely. Check your range manual to determine whether power must be disconnected before removing or cleaning any components.
Soaking Electric Heating Coils or Electrical Connectors. Submerging electric heating coils or their connectors in water can damage electrical components and create safety hazards. Only soak removable drip pans when the manufacturer permits it. Keep coils and electrical connections completely dry, and use a slightly damp microfiber cloth on approved surrounding surfaces.
Forcing Stuck Burners Loose or Scrubbing Too Aggressively. Pulling, twisting, or bending heating coils can damage their electrical connectors, especially when components are not designed for removal. Never force a stuck burner loose. For washable drip pans, soften stubborn grease with warm, soapy water and use a non-scratch sponge instead of abrasive scrubbing.
Reinstalling Damp Parts or Ignoring Hidden Debris. Putting drip pans back before they are thoroughly dry can leave moisture around electrical openings and concealed surfaces. Inspect each cleaned component for water, damage, and leftover crumbs before reassembly. Follow the manufacturer's installation instructions, and replace severely corroded pans rather than repeatedly scrubbing damaged surfaces.
Questions people ask
Many electric coil stoves have removable heating elements, but the removal method depends on the model. Turn off all controls, let the burners cool completely, and consult your range manual first. Support each removable coil carefully without pulling or bending its connectors. Never force a burner that is not designed for removal.
Fixed it?
Get one guide like this every Thursday.