How to Clean Your Cooktop in 5 Minutes After Dinner
Keep your cooktop free of fresh grease, sauce splatters, and crumbs with a simple five-minute cleaning routine. Learn how to wipe down glass, gas, and electric cooktops safely without scratching surfaces or leaving residue.

What you’ll need
Tap to tick things off before you start.
Spot the Grease, Sauce, and Crumbs Left After Dinner
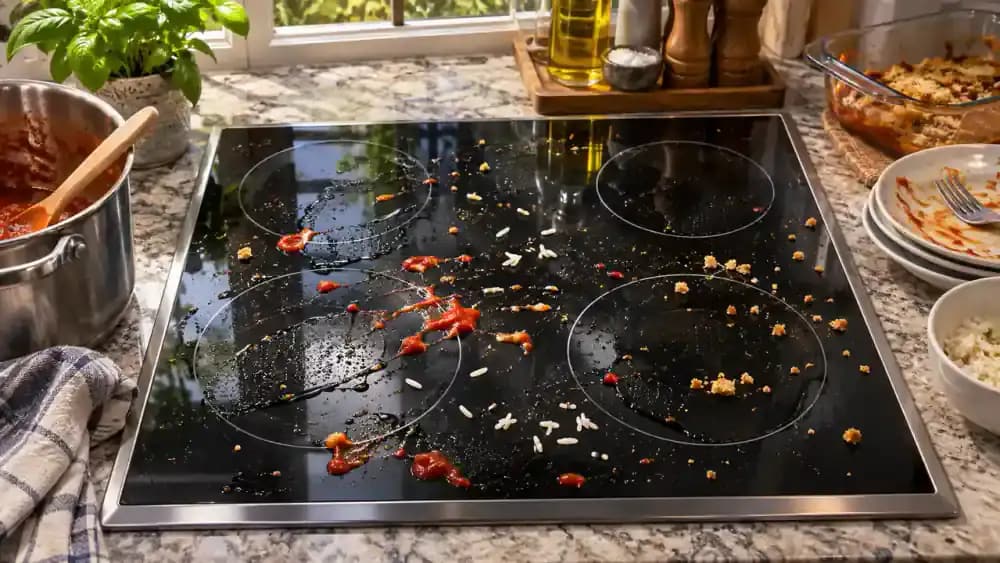
Take a close look at the cooktop after cooking. Small grease droplets, tomato sauce splatters, rice grains, and breadcrumbs are scattered around the cooking zones. These fresh spills may look minor, but repeated heating can make them harder to remove. Notice where residue collects, especially near the edges of each burner. Before attempting cleanup, switch off the appliance and allow it to cool according to the manufacturer's instructions.
Understand How Repeated Heating Makes Spills Harder to Remove
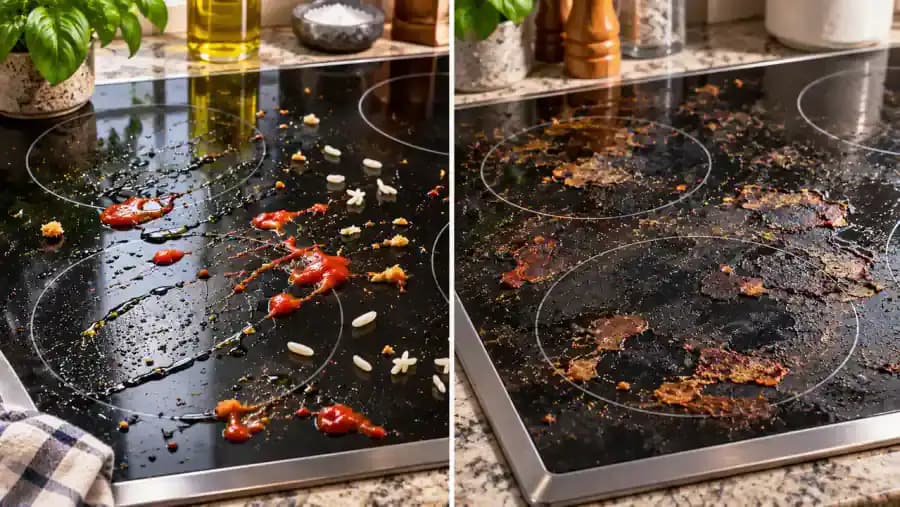
Compare the two cooktop surfaces shown. On the left, a microfiber cloth easily wipes away a fresh sauce droplet from a fully cooled surface. On the right, darkened grease and dried food illustrate how residue can become more stubborn after repeated heating. This is an illustrative comparison, not a documented test. Cleaning fresh spills after the cooktop safely cools helps prevent buildup and reduces the need for intensive scrubbing.
Prepare Your Supplies for a Five-Minute Cooktop Cleanup
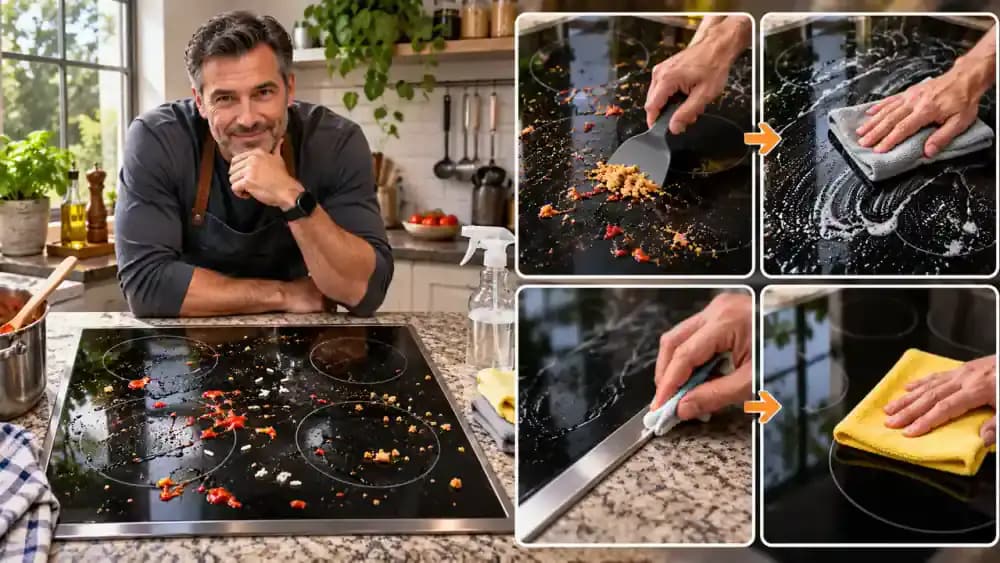
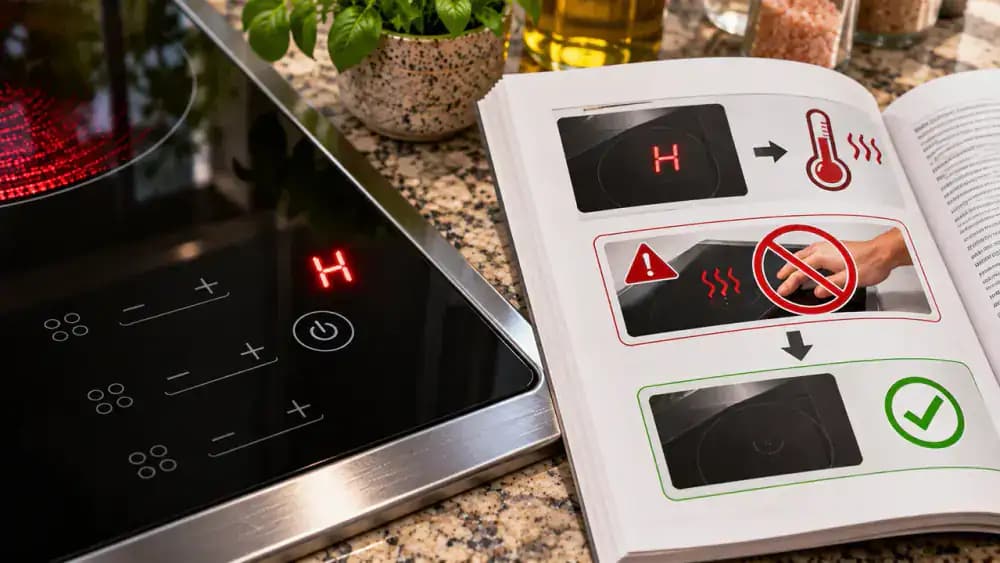
Gather your cleaning supplies on the countertop: microfiber cloths, warm water, mild dish soap, and a manufacturer-approved cooktop cleaner. The four-part routine covers removing crumbs, wiping grease, cleaning controls and edges, and drying the surface. As shown, the burners are switched off, but the residual-heat indicator is still illuminated. Do not begin cleaning until the appliance has cooled according to the manufacturer's instructions. Never touch the surface to check its temperature.
Switch Off Every Burner and Check the Heat Indicators
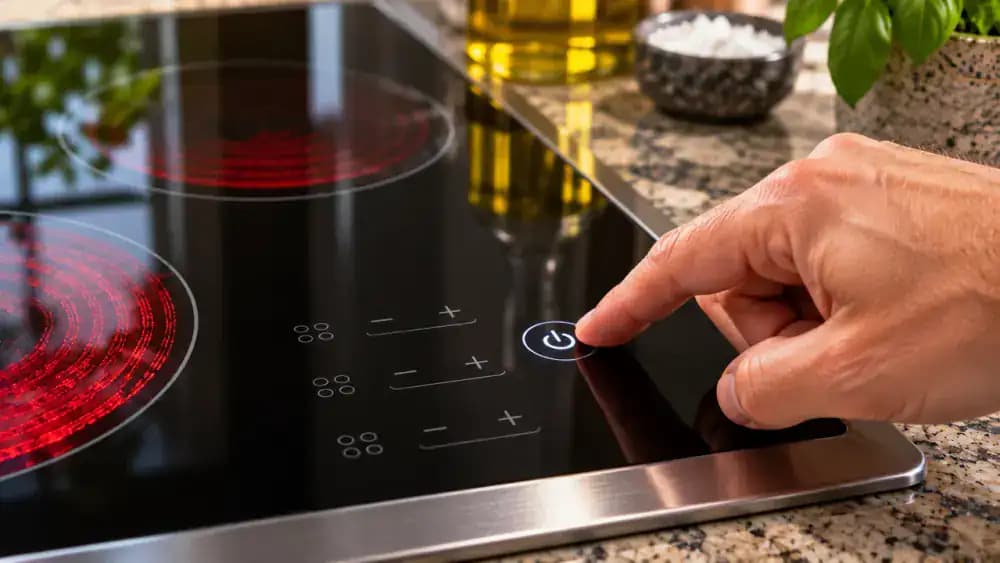
Press the cooktop's power button and check each cooking zone to confirm every setting reads zero. As shown, the residual-heat warning remains illuminated even though the appliance is switched off. This means the surface may still be dangerously hot. For gas cooktops, verify that every flame is extinguished and all knobs are off. Keep your hands away from the cooking surface until the manufacturer's cooling requirements are met.
Wait Until the Residual-Heat Warning Clears
Look for a residual-heat warning on your cooktop's display, such as the red H symbol shown beside the cooking zone. Check your appliance manual for the manufacturer's specific cooling and cleaning instructions. The warning may remain illuminated after the burners are switched off. Never use your fingers to test the temperature. Wait until the manufacturer confirms safe cleaning conditions before starting your five-minute routine, regardless of how long cooling takes.
Set Out Microfiber Cloths and Cooktop-Safe Cleaning Products
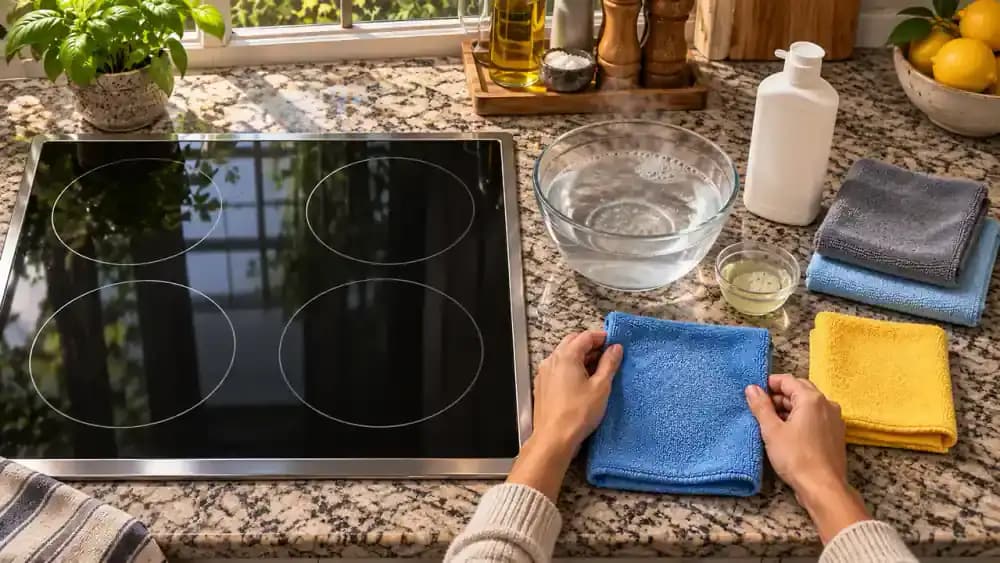
Arrange three clean microfiber cloths, a small bowl of warm water, and mild dish soap on the countertop beside your safely cooled appliance. Check the cooktop cleaner's label to confirm it is approved for your surface. Keep one cloth for washing, another for removing residue, and a third for drying. Set aside abrasive scouring pads and harsh chemicals, which can scratch glass or damage protective finishes during routine cleaning.
Lift Away Loose Crumbs Without Scratching the Glass
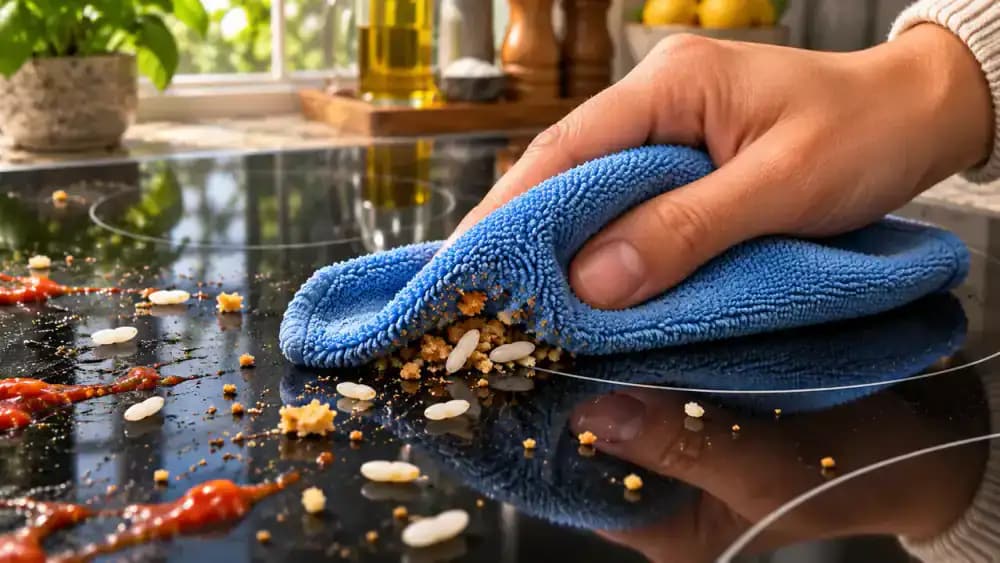
Start by locating breadcrumbs, rice grains, dried herbs, and other loose food particles on the fully cooled cooktop. Fold a clean, dry microfiber cloth into a small pad and gently lift the debris from the surface, as shown. Transfer collected crumbs to a plate or trash container. Avoid dragging gritty particles across the glass, since even small bits of debris can leave scratches when rubbed against delicate surfaces.
Remove Trapped Crumbs Along the Cooktop Edges
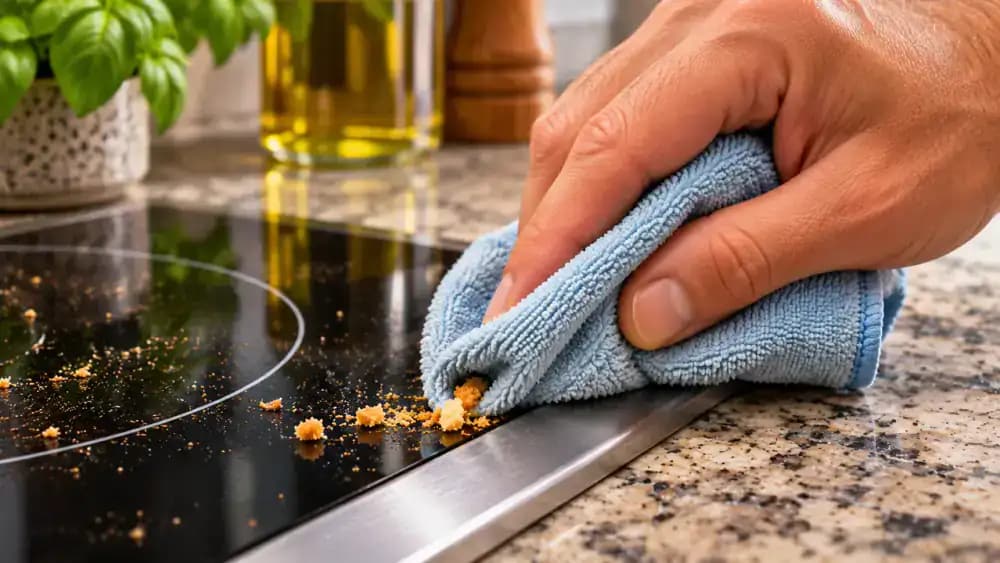
Inspect the narrow gap where the cooled glass cooktop meets the countertop. Small breadcrumbs and dried herbs often collect along this edge, even after larger debris has been removed. Fold the corner of a clean, dry microfiber cloth into a narrow tip and gently lift particles onto the countertop for collection. Work carefully along the perimeter without pushing crumbs deeper into seams or using sharp tools that could damage the glass.
Lift Loose Food Debris Away From Gas Burner Openings
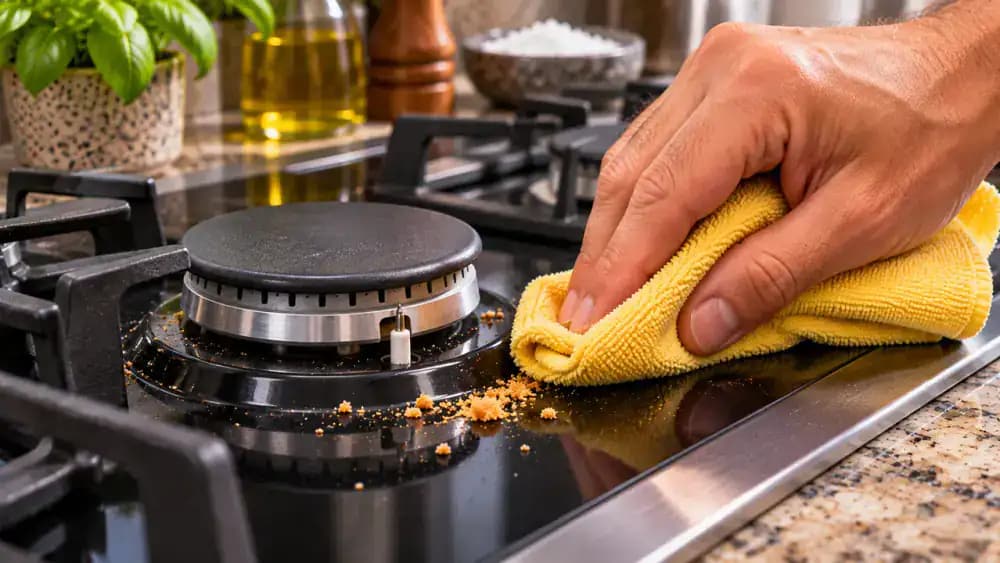
With every burner switched off and fully cooled, inspect the stainless steel surface around each gas burner base. Use a folded, dry microfiber cloth to gently lift breadcrumbs and dried food particles away from the burner assembly, as shown. Keep debris out of burner ports, ignition electrodes, and other openings. Leave grates and burner components in place unless the manufacturer's instructions specifically permit their removal for cleaning.
Dampen a Microfiber Cloth With Water and Mild Dish Soap
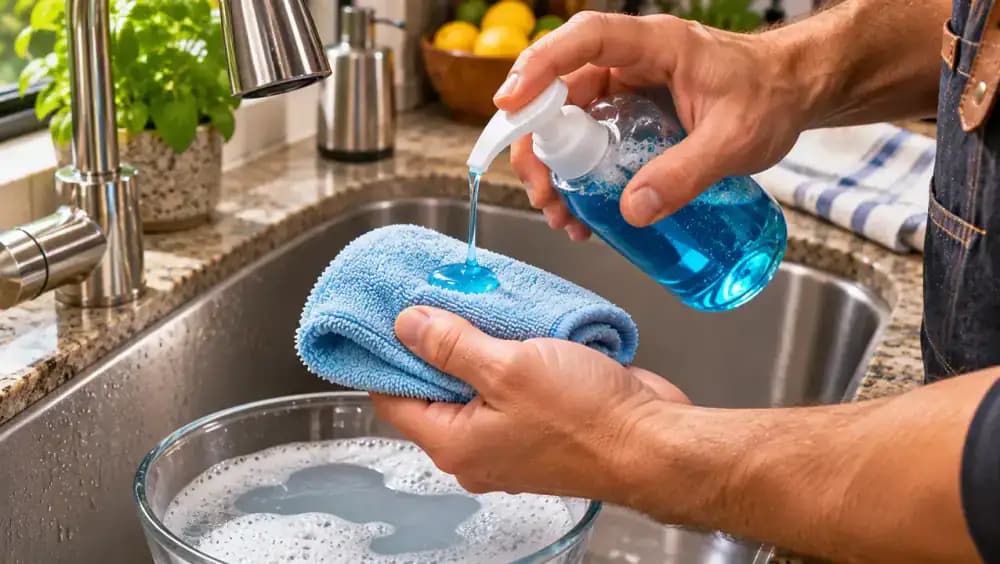
Hold a clean microfiber cloth under warm running water, then wring it thoroughly until lightly damp with no dripping. As shown, add just one small drop of mild dish soap to the folded cloth if your cooktop manufacturer permits it. Avoid soaking the fabric or pouring water directly onto the appliance. Keeping moisture controlled helps remove fresh grease without allowing liquid to enter controls, burners, vents, or electrical openings.
Wipe Fresh Grease From the Glass With Gentle Strokes
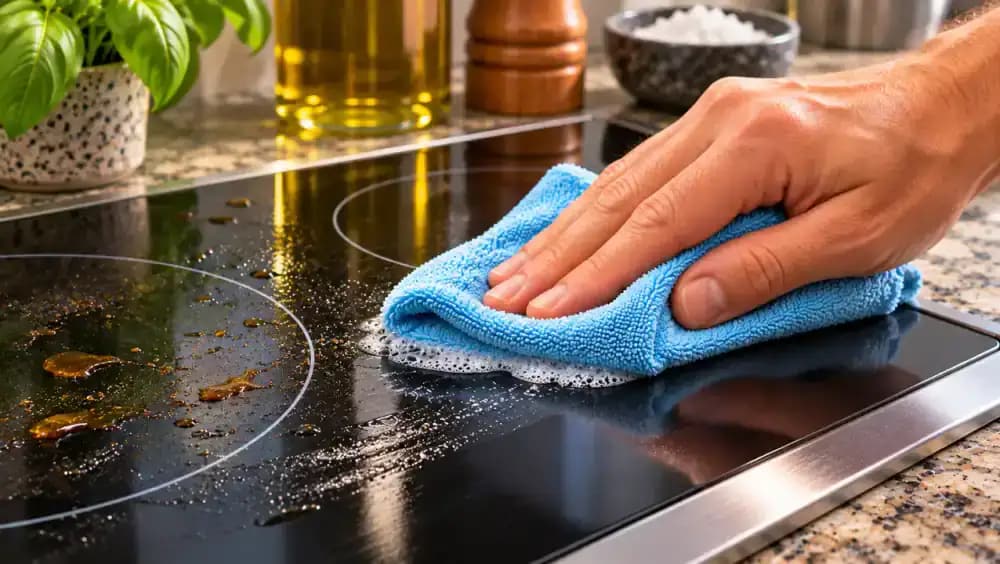
Place your lightly damp microfiber cloth against an open area of the fully cooled cooktop where fresh oil droplets and grease smears remain. Move the folded cloth across the glass using gentle, overlapping strokes, as shown. Apply light, even pressure and let the moisture and approved mild soap loosen the residue. Work carefully near cooking zone edges, avoiding excessive scrubbing and keeping moisture away from controls and openings.
Blot Fresh Sauce Droplets Before Wiping the Surface
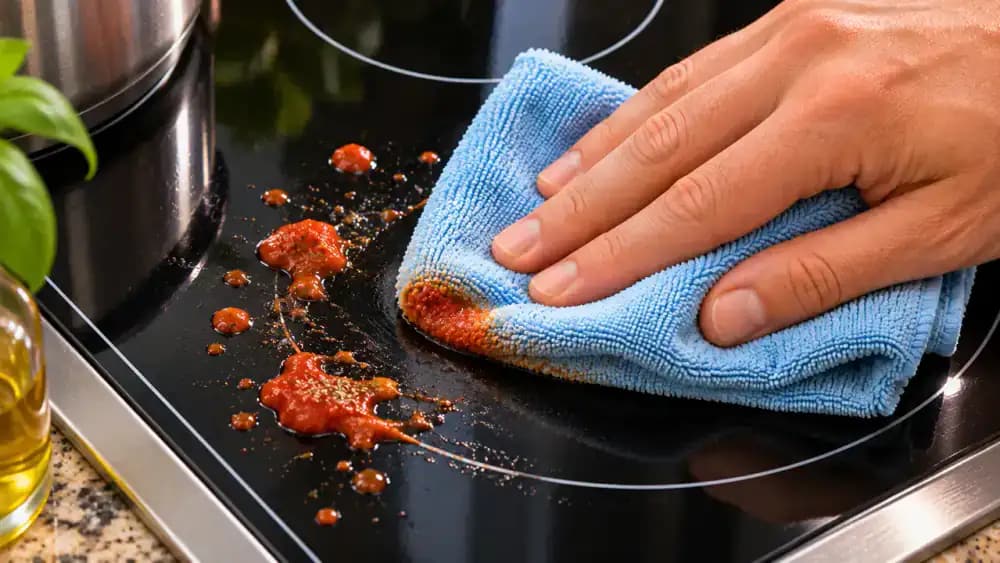
Position a clean section of your lightly damp microfiber cloth directly over a fresh tomato sauce droplet on the fully cooled cooktop. Gently press down, then lift the cloth straight up to absorb the sauce without spreading it. Rotate to a clean section of fabric for each remaining spot. Once the droplets are removed, lightly wipe the surrounding glass with a manufacturer-approved cleaning solution to clear any remaining residue.
Wipe Away Leftover Soap With a Fresh Damp Cloth
Take a fresh microfiber cloth, dampen it with clean water, and wring it thoroughly until no water drips. Fold it into a flat pad and gently wipe the previously cleaned cooking zones using smooth, overlapping strokes. As shown, the cloth lifts the remaining soap film from the cooled glass surface. Rinse and wring the cloth again if needed. Keep moisture away from controls, seams, vents, and electrical openings to prevent liquid intrusion.
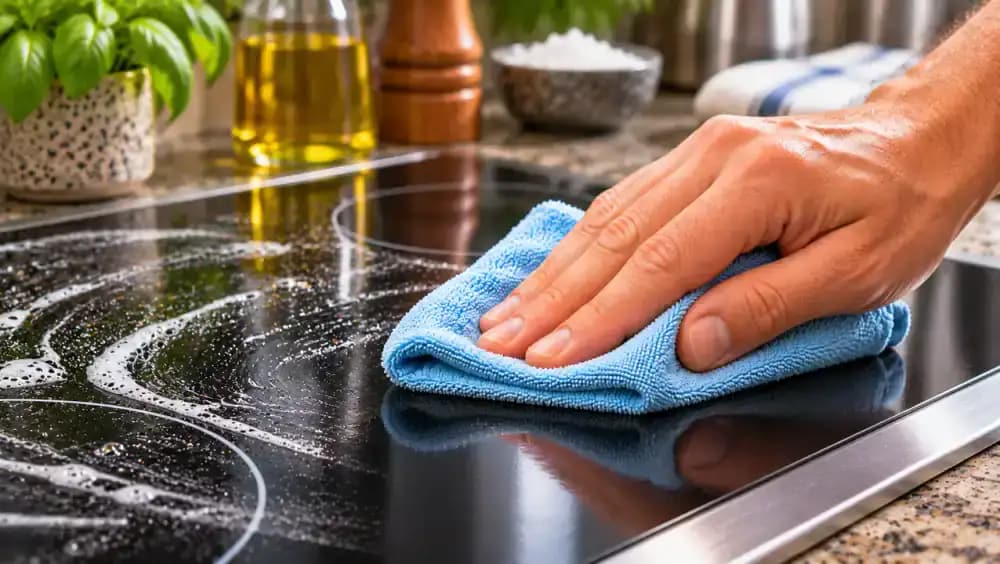
Treat Remaining Stains With a Cooktop-Approved Cleaner
Check your appliance care instructions and the cleaning product label to confirm compatibility with your cooktop surface. Apply the recommended amount of cleaner to a folded microfiber cloth, then gently work on the remaining brown stain using light pressure. Follow the product's application and removal directions. Never mix cleaning chemicals or use abrasive scrubbers. If the stain persists, leave it for a separate deep-cleaning session rather than scrubbing harder.
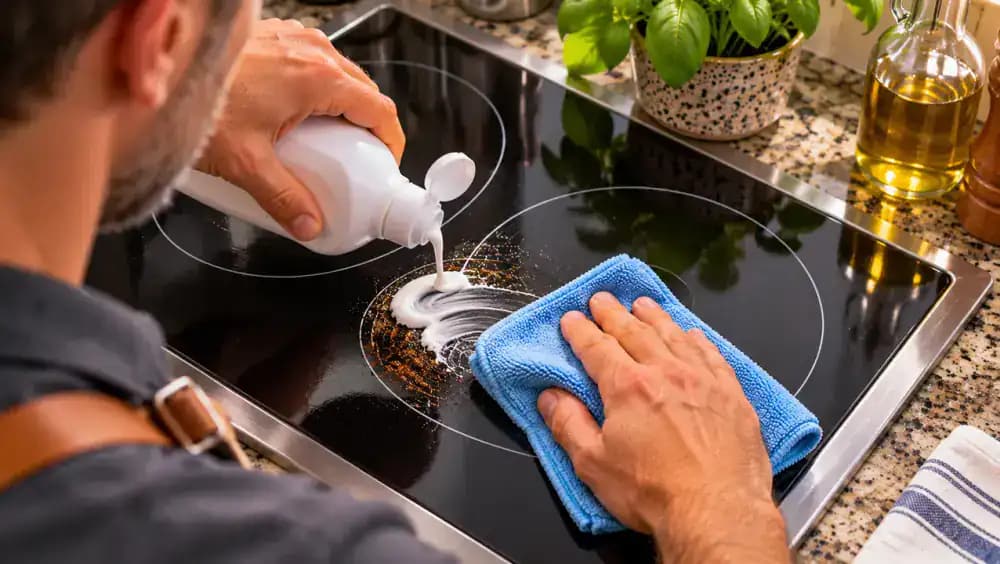
Choose Soft Cleaning Tools Instead of Abrasive Scrubbers
Compare the cleaning tools arranged beside the fully cooled cooktop. Steel wool, rough scouring pads, metal kitchen scrapers, and harsh cleaning products can scratch glass or damage delicate finishes. Leave these unsuitable tools aside and choose a soft microfiber cloth with a manufacturer-approved cleaner instead. Check your appliance manual before using any specialized cleaning tool, even one advertised for tough stains. Protecting the surface is more important than forcing off stubborn residue.
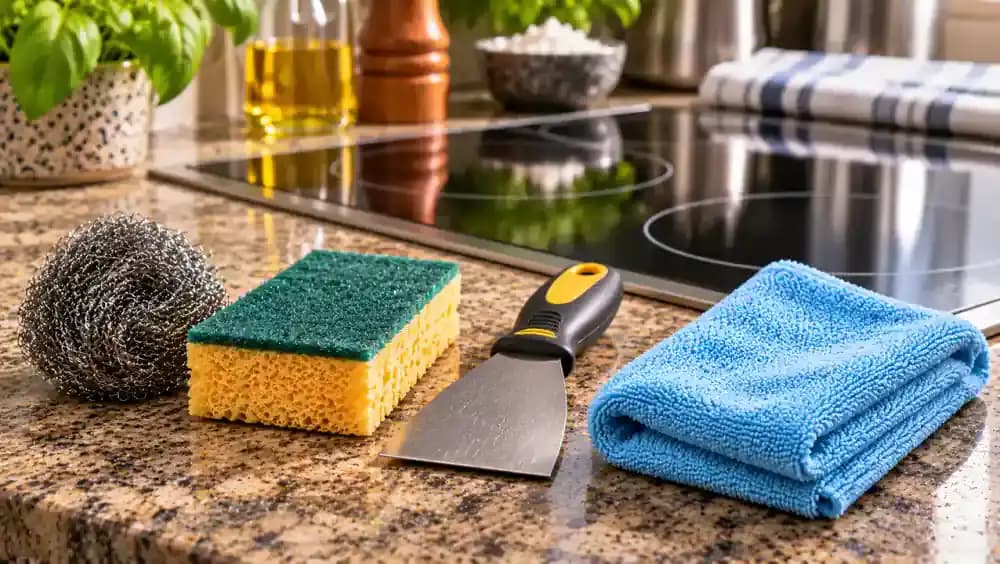
Wipe Cooktop Control Knobs Without Getting Moisture Inside
Use a clean, barely damp microfiber cloth to gently wipe fingerprints and cooking oil from the stainless steel control panel. As shown, clean the exposed surfaces between the knobs using short, controlled strokes. Fold the cloth to a fresh section before wiping each knob's outer face without turning it. Keep every control switched off, avoid pressing buttons unnecessarily, and never allow cleaning liquid to enter openings behind knobs, seams, or electrical components.
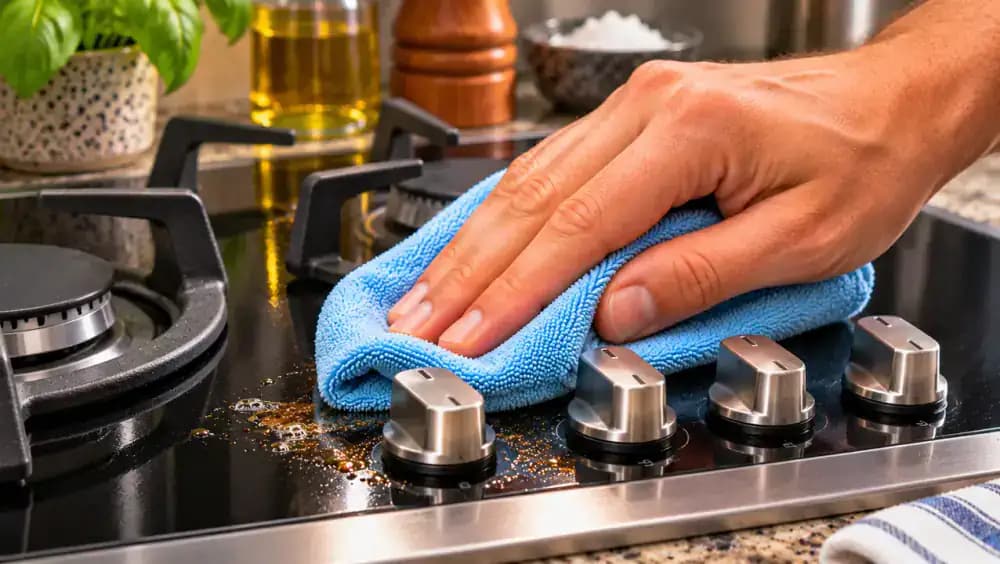
Clean Touch-Sensitive Cooktop Controls Without Activating Them
Make sure the induction cooktop is switched off and fully cooled before wiping its touch-sensitive control area. Fold a clean, nearly dry microfiber cloth and gently remove fingerprints using short, light strokes beside the sensor markings. Avoid pressing buttons or pushing moisture toward control edges. If the controls activate accidentally, follow your manufacturer's cleaning-lock instructions if available. Check the display afterward to confirm every cooking zone remains off.
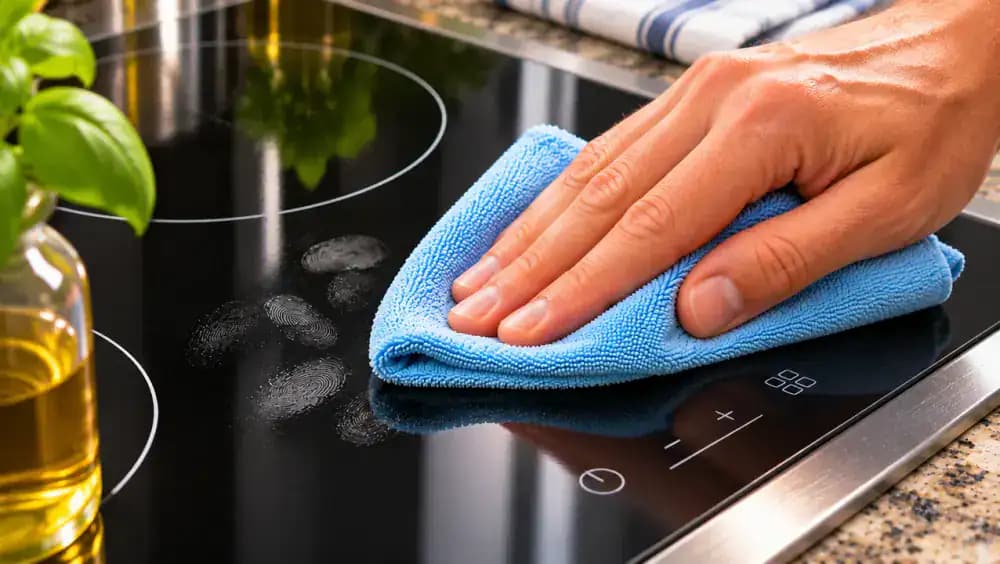
Remove Grease From the Cooktop Trim and Front Edge
Inspect the raised stainless steel trim and front lip of your fully cooled cooktop for grease left behind while cooking. Fold a nearly dry microfiber cloth around your fingertip and gently wipe along the exposed metal edge, as shown. Move outward from the glass-to-metal seam so grease collects on the cloth instead of entering the gap. Use light pressure and avoid pushing moisture into seams or electrical openings.
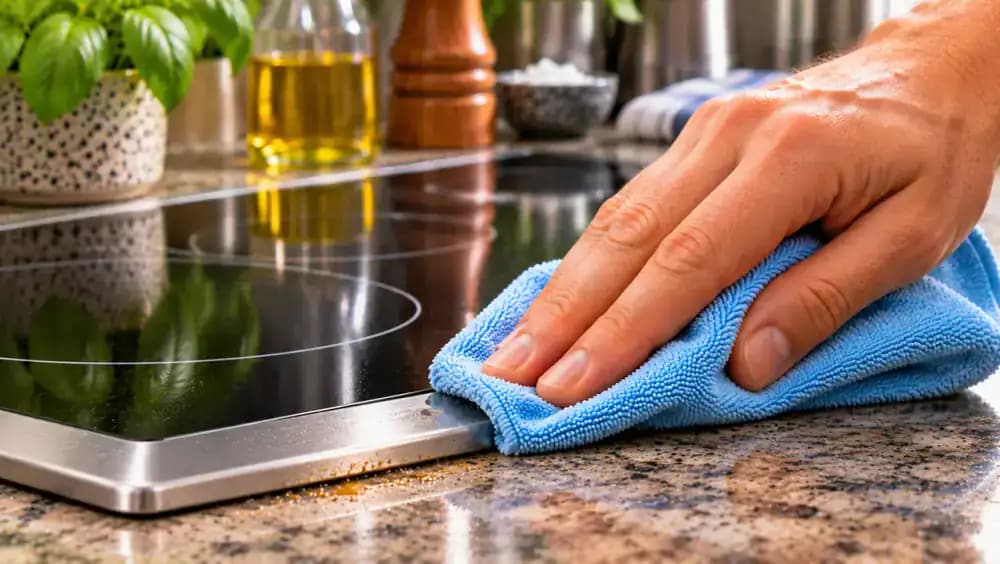
Wipe Cooking Splashes From the Countertop Beside the Cooktop
Check the countertop immediately beside your fully cooled cooktop, especially along the sides and back where cooking oil and sauce can splash. Use a separate, lightly damp microfiber cloth with a cleaner approved for your countertop material. Gently wipe the droplets away from the appliance edge, folding the cloth to collect residue. Avoid pushing grease or moisture into the installation seam, and keep cleaning liquids away from vents and electrical openings.
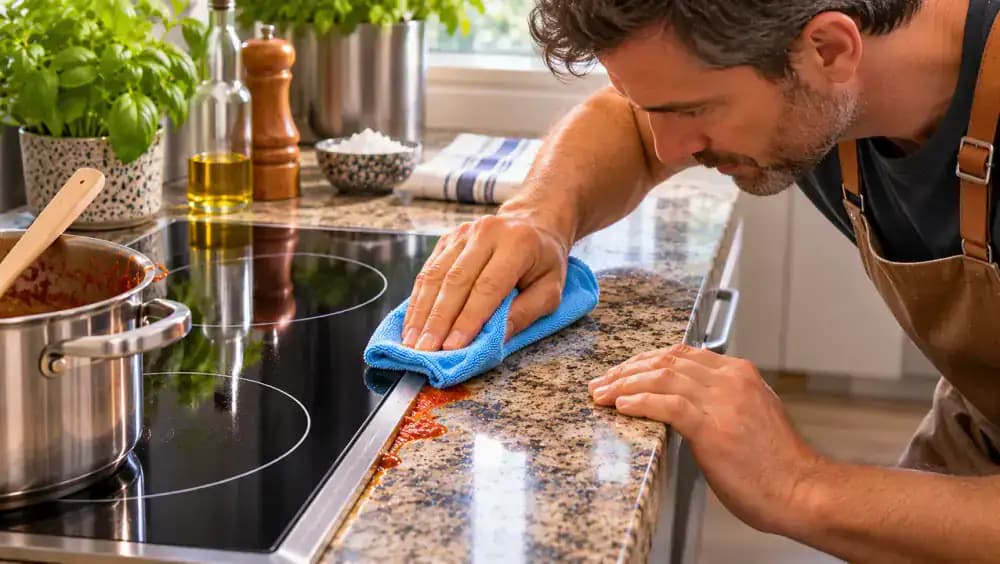
Dry the Glass Cooktop With Smooth, Overlapping Strokes
Take a fresh, completely dry microfiber cloth and fold it into a broad rectangular pad. Starting at the back of the fully cooled cooktop, gently wipe toward the front using long, overlapping strokes. As shown, the cloth absorbs remaining moisture and helps eliminate water spots and streaks. Refold it to expose a dry section whenever necessary. Pay attention to the cooking zone edges while keeping moisture away from controls and electrical openings.
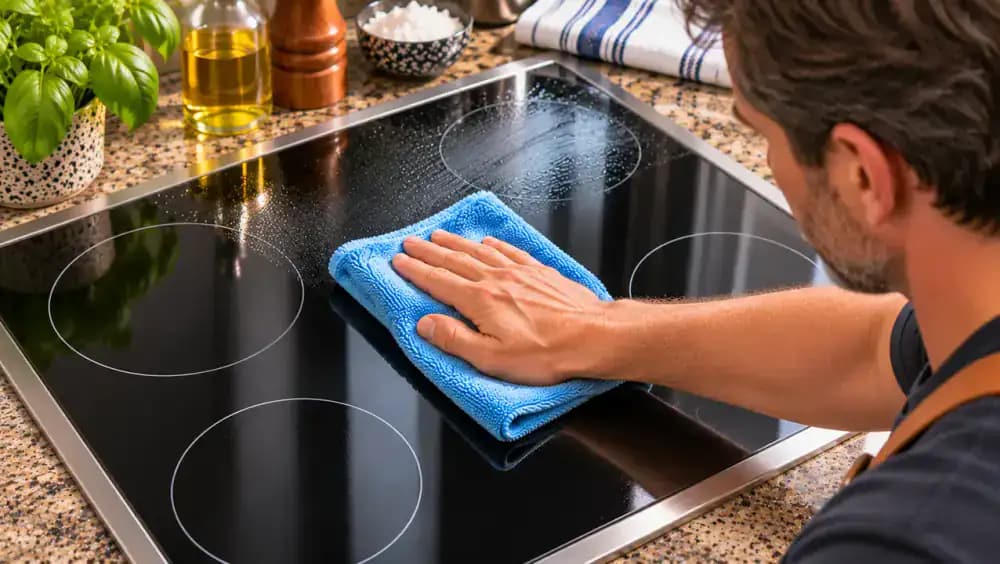
Check the Cooktop From Different Angles for Missed Grease
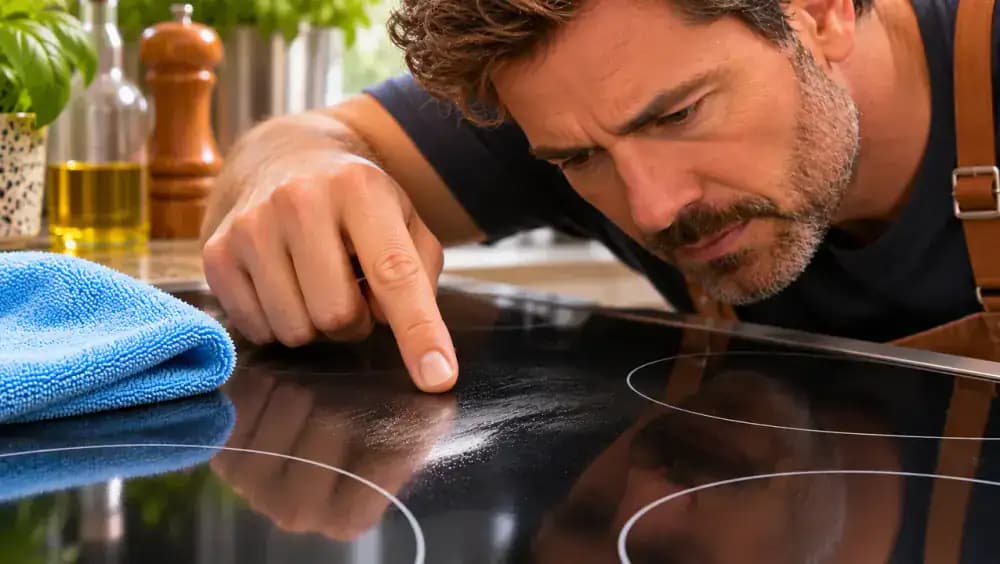
Stand beside the fully cooled cooktop and inspect the glass from different angles, using reflected window light to reveal faint fingerprints, grease streaks, or water spots. As shown, a low viewing angle makes small marks near the rear cooking zone easier to notice. Gently remove any remaining residue with a clean, nearly dry microfiber cloth. Use short, controlled strokes without aggressive scrubbing, then check the area again under the same lighting.
Inspect Gas Burner Bases for Hidden Crumbs and Moisture
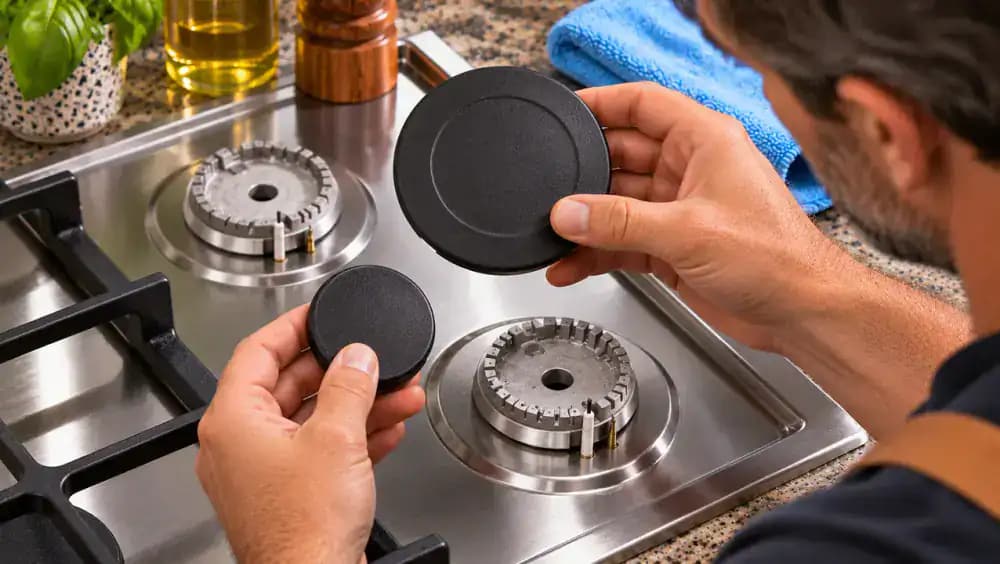
With the gas cooktop switched off and fully cooled, inspect accessible areas around the burner bases for trapped crumbs or moisture. If the manufacturer permits removing grates and burner caps, place them on a clean, dry towel as shown. Gently lift loose particles with a dry microfiber cloth, keeping burner ports and ignition components clear. Check removable parts for moisture and make sure they are completely dry before reassembly.
Reposition Dry Burner Caps and Grates Securely
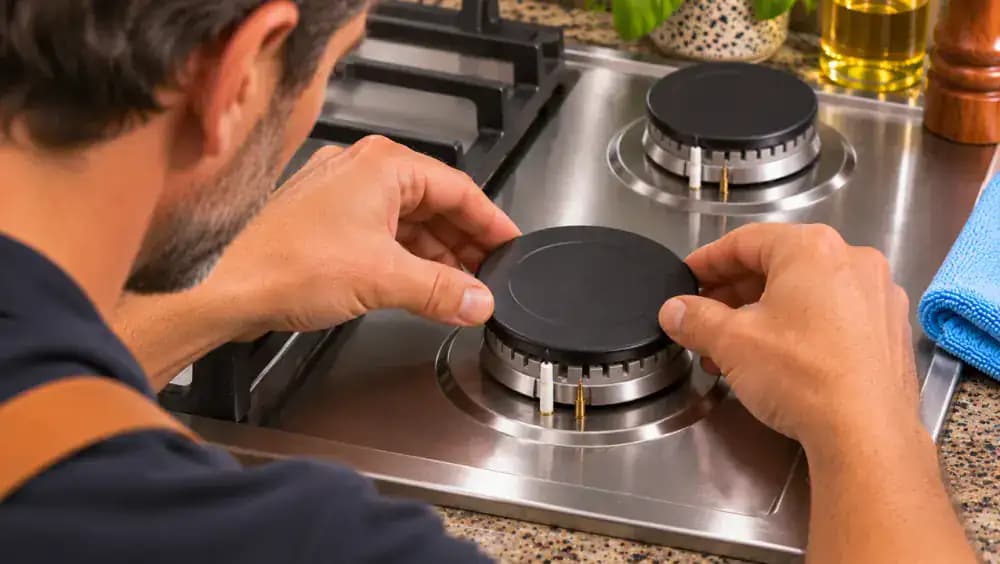
With the gas cooktop fully cooled and every burner switched off, confirm that the removable components are completely dry. Carefully align each burner cap with its matching base, following the manufacturer's positioning instructions. As shown, lower the cap gently until it sits evenly, then place the cast iron grate onto its designated supports. Check that both components are level and stable. If anything rocks or fits incorrectly, consult the manual before using the appliance.
Check That Every Burner Is Dry, Secure, and Switched Off
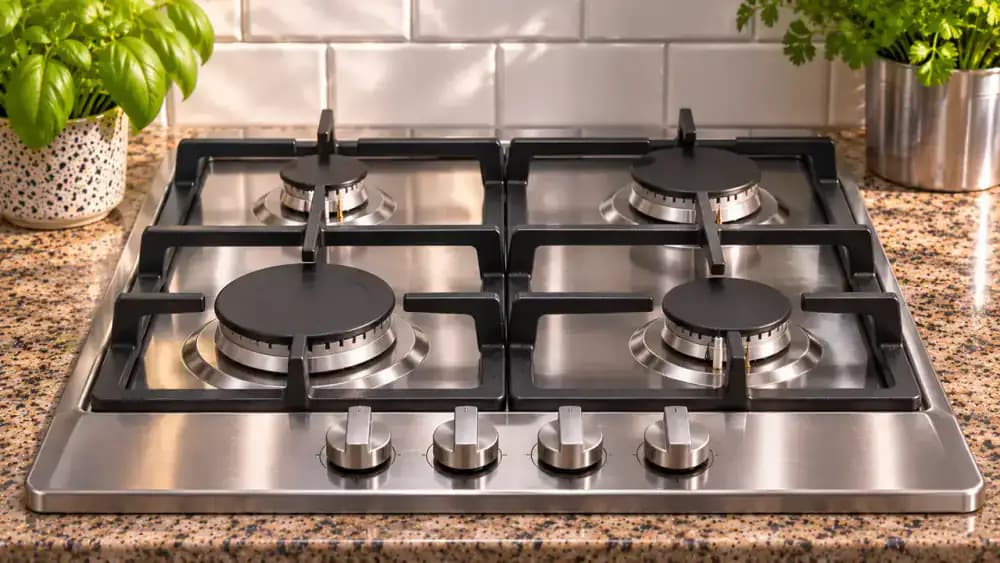
Inspect the cleaned gas cooktop before putting it back into service. Confirm that every control knob is set to OFF, the stainless steel surface is completely dry, and all burner caps and grates sit securely in their correct positions. As shown, remove microfiber cloths and cleaning products from the surrounding countertop and store them away from the appliance. If any component remains wet, loose, or misaligned, correct the problem before cooking.
Build a Five-Minute Cooktop Cleaning Habit After Dinner
After dinner, wait until your cooktop has safely cooled according to the manufacturer's instructions. Keep clean microfiber cloths in a nearby drawer so supplies are easy to reach. As shown, lift loose crumbs, gently wipe fresh grease with an approved cleaning solution, clean accessible edges, and dry the surface thoroughly. Add the routine to your daily kitchen checklist. Remember that cooling time is separate from the five minutes needed for cleaning.

Schedule a Deeper Cleaning for Stubborn Cooktop Buildup
Inspect your fully cooled cooktop for baked-on food, discoloration, or grease that remains after routine wiping. As shown, a stubborn brown stain may require more attention than your daily five-minute cleanup allows. Check the appliance manual for approved deep-cleaning methods, products, and tools. Add a separate cleaning session to your household maintenance calendar rather than scrubbing aggressively. Never clean hot surfaces unless the manufacturer specifically permits it.
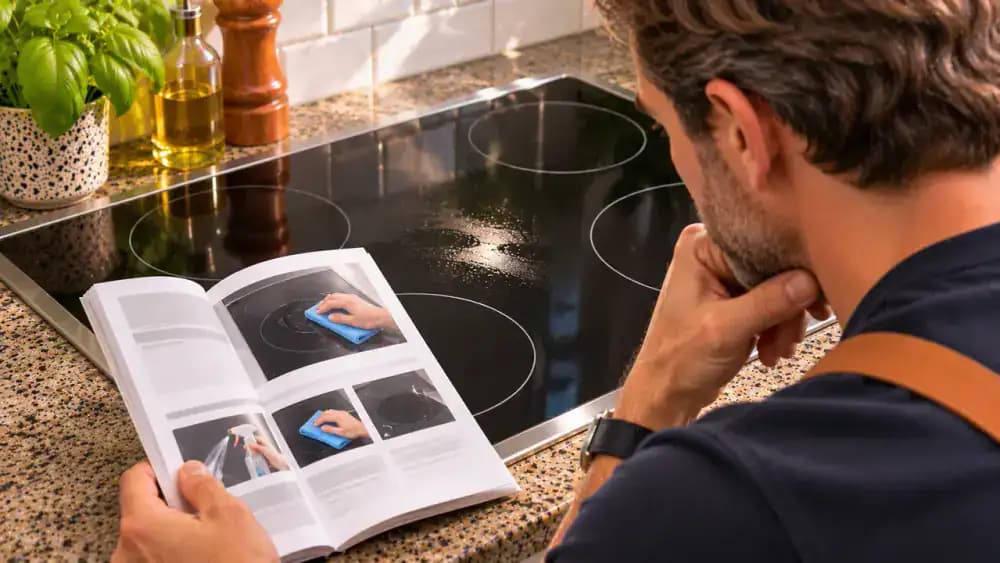
Wash and Store Microfiber Cloths for Your Next Cooktop Cleanup
Shake loose crumbs from used microfiber cloths into the trash, then place the cloths in a mesh laundry bag. Check their care labels and select an appropriate washing machine setting. Avoid fabric softener, which can reduce microfiber absorbency and cleaning effectiveness. Once washed, let the cloths dry completely before folding them. Store clean cloths in a drawer away from the cooktop so they are ready for your next cleanup.

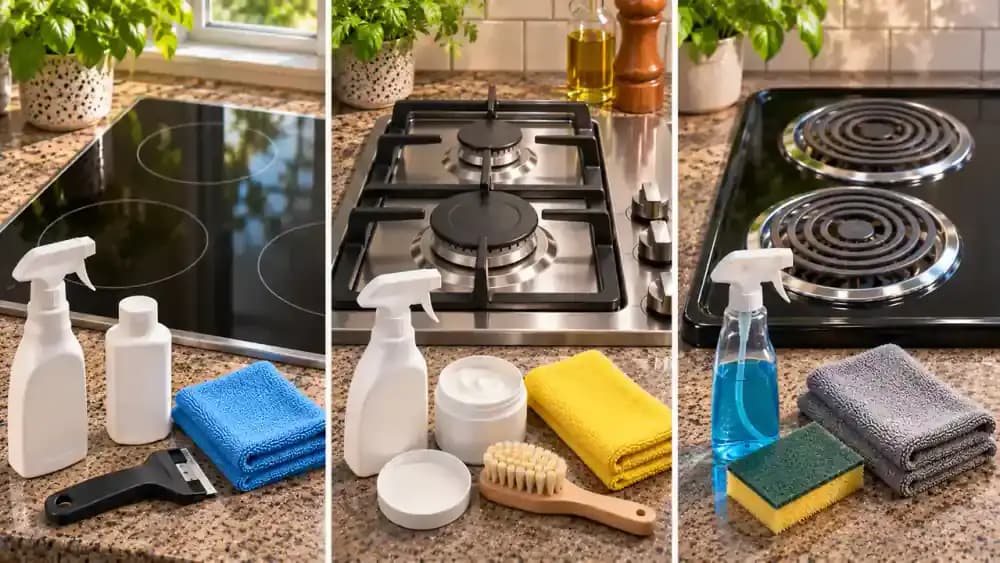
Choose the Right Cleaning Method for Glass, Gas, or Electric Coil Cooktops
Identify your cooktop type before choosing cleaning products or handling removable parts. For smooth glass surfaces, use a soft microfiber cloth to avoid scratches. On gas cooktops, keep burner ports clear and components completely dry. Electric coil models require special care around heating elements and electrical connections. As shown, each design has different cleaning requirements. Always consult your appliance manual rather than assuming the same techniques work for every cooktop.
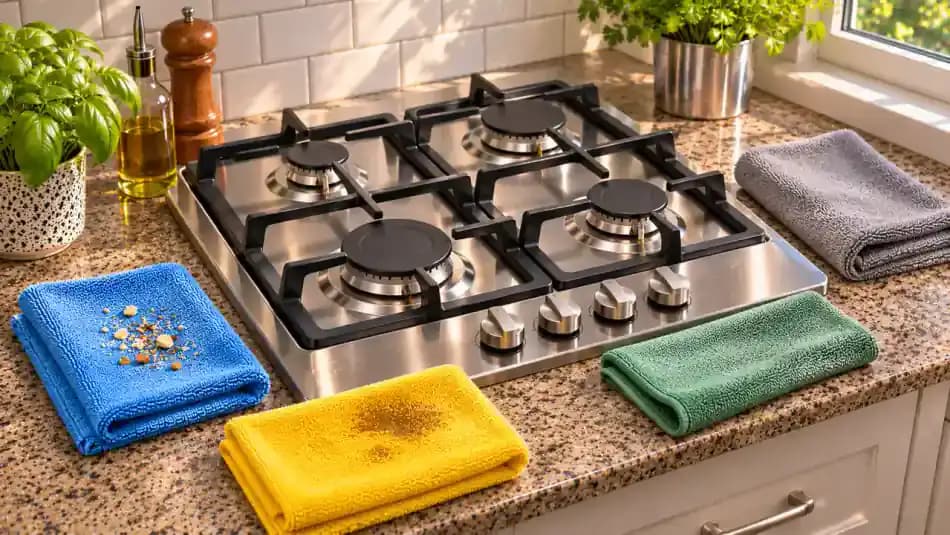
Follow the Five Essential Actions for a Clean Cooktop
Once your cooktop has safely cooled, follow the five actions shown: lift loose crumbs with a dry microfiber cloth, gently wipe fresh grease using an approved cleaner, clean accessible controls and edges, dry the surface thoroughly, and inspect for remaining residue or moisture. Keep all cleaning liquids away from appliance openings. Consistent cleaning after cooking helps prevent repeated heating from turning small spills into stubborn buildup that requires extra effort.
Keep Your Cooktop Clean and Ready for Tomorrow's Meal
Once the cooktop is clean, completely dry, and switched off, put your microfiber cloths and cleaning supplies away from the cooking area. As shown, the glass surface is free of visible crumbs, grease, and moisture. Repeat this simple routine after cooking whenever the appliance has safely cooled. Follow your manufacturer's care instructions, address fresh spills before repeated heating, and schedule deeper cleaning when ordinary wiping cannot remove stubborn residue.

Dinner is done, but your cooktop tells a different story. Fresh sauce splatters, tiny grease droplets, and scattered crumbs can make an otherwise clean kitchen look messy. Leave those spills through several more cooking sessions, and repeated heating can turn simple cleanup into a frustrating scrubbing job. The difference between fresh messes and stubborn buildup is easy to understand: the longer residue sits and gets reheated, the harder it can become to remove. Fortunately, keeping your cooktop clean doesn't require expensive products or a lengthy cleaning routine.
With just five minutes, a few microfiber cloths, warm water, and a little manufacturer-approved cleaner, you can tackle everyday cooking messes before they become a bigger problem. The key is starting only after your cooktop has safely cooled, following the manufacturer's guidance and residual-heat indicators rather than touching the surface to check its temperature. Whether you have a smooth glass cooktop, gas burners, or electric coils, this simple routine helps remove fresh grease, protect delicate finishes, and keep your cooking area ready for the next meal.
Where people go wrong
Cleaning the Cooktop Before It Has Cooled. Rushing to wipe down a hot cooktop can cause burns and may damage cleaning cloths or finishes. Always switch off the burners, check residual-heat indicators, and follow the manufacturer's cooling instructions. Never touch the surface to test its temperature or clean it hot unless specifically permitted.
Scrubbing Grease With Abrasive Pads or Sharp Tools. Steel wool, rough scrubbers, and aggressive scraping can permanently scratch glass cooktops and damage protective finishes. Remove loose crumbs first without dragging gritty particles across the surface. Use a soft microfiber cloth with a small amount of manufacturer-approved cleaner to gently loosen fresh grease and splatters.
Spraying Cleaning Products Directly Onto the Cooktop. Spraying cleaner directly onto the appliance can allow liquid to enter control knobs, burner openings, vents, or electrical components. Instead, apply a small amount of approved cleaning solution to a microfiber cloth. Wipe carefully around controls and seams, then remove remaining cleaner with a separate damp cloth.
Skipping the Final Rinse and Drying. Leaving soap residue, trapped crumbs, or moisture behind can create streaks and make the next cleanup harder. After removing grease, wipe the surface with a clean, damp microfiber cloth, then dry thoroughly. Before cooking again, ensure removable burner components are completely dry and correctly positioned.

Questions people ask
Wait until your cooktop has safely cooled before cleaning, unless the manufacturer specifically permits cleaning at a certain temperature. Turn off all burners, check residual-heat indicators, and follow the appliance's cooling instructions. Never touch the surface to test its temperature. The five-minute cleaning routine begins only after cooling is complete.
Fixed it?
Get one guide like this every Thursday.