How to Clean Baked-On Oven Grease Without Harsh Scrubbing
Baked-on oven grease does not always require aggressive scrubbing or powerful cleaners. This step-by-step method uses baking soda, controlled moisture, dwell time, and gentle tools to soften stubborn residue while protecting sensitive oven components and interior finishes.
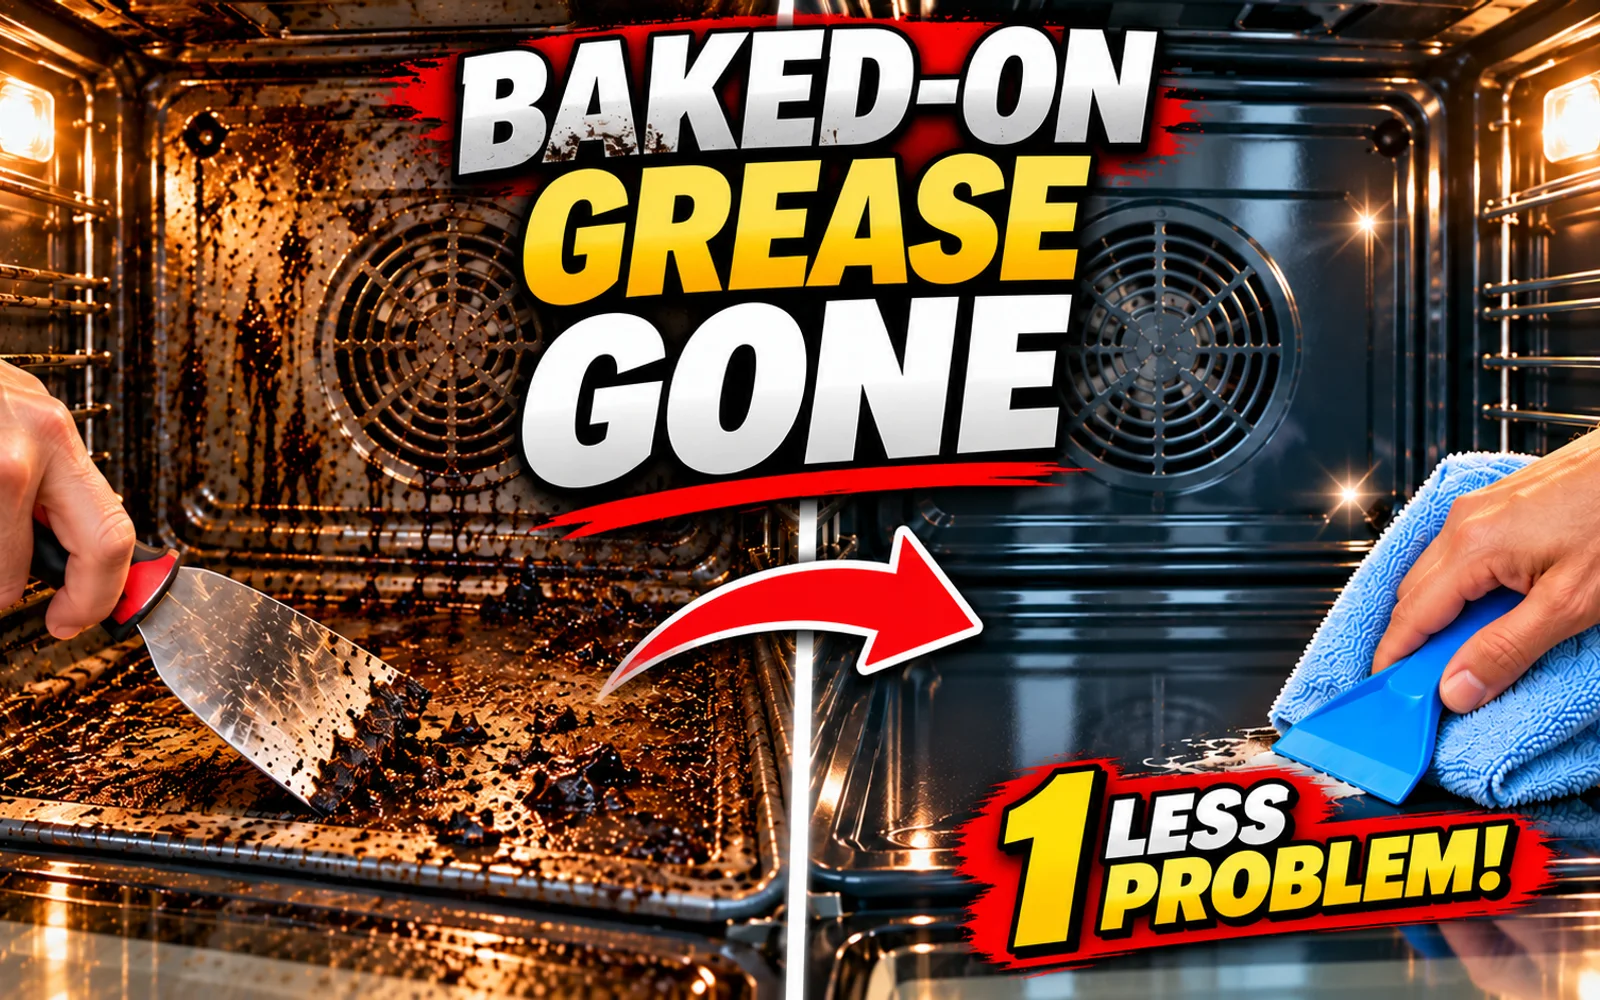
Baked-on oven grease looks intimidating because repeated heating turns ordinary splatter into a dark, stubborn layer that can feel almost fused to the interior. The good news is that removing it is often less about scrubbing harder and more about giving the residue enough time to soften. A simple baking soda paste, controlled moisture, and patient cleaning can handle many greasy deposits without immediately reaching for abrasive pads or strong chemical oven cleaners.
The safest approach is methodical. Start with a completely cool, switched-off oven, clear out loose debris, identify the parts that should stay dry, and work only on compatible surfaces. This guide walks through the entire process from preparation to final inspection, including when to use a plastic scraper, how to avoid forcing cleaner into vents or electrical areas, and how to prevent fresh splatter from becoming the next baked-on layer.
Prepare a Cold, Empty Oven Before You Touch the Grease
Do not begin cleaning immediately after cooking. The oven should be completely cool and switched off before you put your hands, cloths, or cleaning paste inside it. Residual heat can dry cleaning paste too quickly, make greasy residue harder to control, and create an unnecessary burn risk.
Check the oven controls and confirm that no heating, self-cleaning, warming, or timed cycle is active. If the oven has recently been used, give it enough time to cool all the way through. The metal walls, racks, heating components, and door can retain heat longer than you expect.
Once the oven is cold, remove everything that does not need to stay inside. This can include:
- Oven racks - Broiler pans - Pizza stones - Removable thermometers - Baking sheets stored in the oven - Removable accessories approved by the manufacturer
Place these items on an old towel, washable mat, or another protected surface. Keeping them out of the cavity gives you better access to corners, side walls, the oven floor, and the inner door.
Before adding any moisture, remove loose dry debris. Use a dry paper towel, soft brush, or a suitable handheld vacuum for dry household debris. Sweep out crumbs, burned food flakes, loose carbonized pieces, and anything else that can be removed without wet cleaning.
This dry-cleaning step matters because loose crumbs mixed with baking soda paste quickly turn into a dirty slurry. Getting them out first makes the later wiping process noticeably easier.
!Hand checking an oven control panel to confirm the oven is switched off before cleaning
Start only when the oven is fully cooled and switched off.
!Oven racks and removable accessories placed neatly on a towel beside the oven
Remove racks and loose accessories so the oven cavity is easy to reach.
!Soft brush removing dry crumbs and burned food flakes from the bottom of an oven
Sweep out loose debris before introducing water or cleaning paste.
Know Which Oven Parts Must Stay Free of Paste
Before spreading anything inside the oven, take a minute to identify the components that should not be coated or saturated. Oven designs vary, so the owner's manual remains the best reference for your specific appliance.
Common sensitive areas include:
- Heating elements - Gas burner openings and ports - Convection fan slots - Air vents - Temperature sensors - Light sockets and fittings - Electrical connections - Door seals and gaskets - Hinges and mechanical openings
The goal is to clean durable, accessible surfaces without pushing paste or water into parts that were not designed to be wet-cleaned.
If your oven has exposed heating elements, leave a clear border around them. If it has gas openings, do not pack baking soda into the holes. Around a convection fan, clean only the accessible outer cover unless the manufacturer specifically says the cover is user-removable.
It also helps to protect the surrounding kitchen before you begin. Put an old towel, flattened cardboard, or a washable mat in front of the oven. Keep a bowl of clean water, several microfiber cloths, a trash bowl, and your cleaning tools close by.
A controlled setup reduces unnecessary movement through the kitchen while your hands and tools are greasy. It also prevents dirty paste from dripping onto flooring, cabinet fronts, or nearby appliances.
!Oven interior showing heating elements, fan, vents, sensor, light and gasket as areas to avoid
Identify vents, sensors, heating components and other sensitive areas before applying cleaner.
!Towel, water bowl, sponge and cleaning cloths arranged on the floor in front of an oven
Protect the floor and keep cleaning supplies within easy reach.
!Baking soda and water being mixed into a thick spreadable cleaning paste
A simple baking soda paste is the main cleaner used for this method.
Mix the Baking Soda Paste and Test the Finish First
For a basic cleaning paste, place about 1 cup of baking soda in a small bowl. Add water gradually, a few tablespoons at a time, and stir until the mixture becomes thick enough to cling to a vertical surface.
You are looking for a consistency similar to a thick spread or soft frosting. It should be easy to move with a sponge or silicone spatula but should not immediately run down the oven wall.
Avoid adding too much water at once. A runny mixture is harder to control and more likely to travel into seams and openings. If the paste becomes too thin, add a little more baking soda.
Before covering the oven interior, test the mixture on a small, inconspicuous area of the finish. Oven interiors can use different enamel formulations and specialty coatings, and not every surface should be treated the same way.
Apply a small amount of paste to the test area, allow it to sit briefly, then wipe it away with a damp cloth. Check the surface carefully for:
- Discoloration - Dulling - Texture changes - Unusual streaking - Damage to a specialty coating
If the test area changes noticeably, stop and consult the manufacturer's cleaning instructions. Do not assume that a method that works well on one oven is automatically appropriate for every oven finish.
Once compatibility is confirmed, spread a thin layer of paste over the greasy, durable areas. Focus on baked-on drips, dark splatter, and visible greasy film rather than coating every square inch unnecessarily.
!Small hidden area of an oven being tested with baking soda paste before wider application
Test an inconspicuous area before treating a larger section of the oven.
!Thin layer of baking soda paste being spread over greasy enamel inside an oven
Apply a thin, even layer to compatible greasy surfaces.
!Cleaning paste carefully applied around an oven sensor, heating element and fan opening
Leave clean borders around heating elements, sensors, vents and electrical fittings.
Treat the Door Glass Carefully and Give the Paste Time to Work
The inside of the oven door often collects a combination of greasy haze, brown splatter, and baked-on spots. You can treat compatible inner glass with the same paste, but control the moisture carefully.
Spread the paste only across the glass surface. Do not force it into the gasket, door vents, hinges, trim, or the edges between glass panels. Many oven doors contain multiple layers of glass, and liquid pushed between those layers can create a different cleaning problem that may require disassembly or service.
Once the paste is in place, stop scrubbing and let time do part of the work.
For moderate grease, a dwell time of about 30 to 60 minutes may be sufficient. Heavier, older deposits may need several hours. Keep the oven cold and switched off throughout the process.
The purpose of dwell time is simple: softened residue requires less mechanical force to remove. This is especially important on coated oven interiors where excessive scrubbing can leave permanent scratches or dull areas.
If the baking soda paste becomes completely dry and hard during a long wait, use a damp sponge to lightly rehydrate it. You do not need to soak the oven or spray large amounts of water around the cavity. A small amount of moisture is usually enough to make the paste workable again.
When in doubt, use less water and keep it under direct control with a sponge or cloth.
!Baking soda paste applied only to the inner oven door glass while avoiding seals and vents
Keep paste on the glass and away from gaskets, vents, trim and hinges.
!Baking soda paste resting on baked-on oven grease during a timed dwell period
Allow enough dwell time for the baked-on residue to soften before wiping.
!Damp sponge lightly rehydrating dried baking soda paste inside a cold oven
Lightly rehydrate dried paste instead of flooding the oven with water.
Test a Small Area Before Cleaning the Whole Oven
Do not immediately attack the darkest patch in the oven. Start by testing a smaller treated area with a damp microfiber cloth.
Use light pressure and wipe through the softened paste. If the greasy residue lifts easily and exposes the underlying enamel, the dwell time has done its job. If the deposit still feels hard, rough, or firmly attached, apply a little more paste and give it additional time.
This small test tells you how aggressively you actually need to work. In many cases, the difference between easy removal and hard scrubbing is simply another period of softening.
Once the test area releases, work through the oven in manageable sections. Cleaning one wall or part of the floor at a time keeps dirty paste from spreading everywhere.
A practical order is:
1. Upper accessible surfaces 2. One side wall 3. The opposite side wall 4. Rear accessible surfaces 5. Oven floor 6. Inner door glass
Fold your microfiber cloth frequently so you are always wiping with a reasonably clean section. Rinse it often or switch to another cloth once it becomes saturated with brown grease and baking soda.
Use light hand pressure first. A damp microfiber cloth or non-scratch sponge can remove a surprising amount of residue after sufficient dwell time. Abrasive pads should not be your starting point, especially on coated interiors.
The basic rule is to use the least aggressive method that works.
!Small test patch of softened oven grease wiping clean with a damp microfiber cloth
Test whether the residue releases easily before cleaning the entire cavity.
!Oven being cleaned one manageable section at a time with a microfiber cloth
Working section by section helps prevent loosened grease from being spread around.
!Hand gently wiping baked-on grease with a soft microfiber cloth using light pressure
Start with soft tools and light pressure before moving to more targeted methods.
Use Plastic Tools for Stubborn Spots Instead of Scraping Harder
Some deposits will remain after the first wipe. When grease has been heated repeatedly, it may release in layers rather than all at once.
For a stubborn softened patch, use a plastic pan scraper, silicone spatula, or another non-metal edge approved for your appliance. Hold the tool at a shallow angle and try to slide underneath the softened residue rather than digging downward into the oven finish.
Avoid reaching automatically for razor blades, metal putty knives, steel wool, or sharp-edged scrapers. These can scratch or permanently damage some oven interiors and glass surfaces unless the appliance manufacturer specifically approves their use.
If the plastic tool does not move the residue with reasonable pressure, stop. Do not keep increasing force.
Instead, re-soften the deposit by:
- Applying another small amount of baking soda paste - Resting a damp cloth over the spot - Allowing additional dwell time - Returning with the plastic scraper later
This soften-and-lift cycle can be repeated. It takes more patience, but it reduces the temptation to damage the appliance with excessive pressure.
For greasy corners where the oven wall meets the floor, a soft nylon brush or old soft toothbrush can be useful after the residue has softened. Use short, controlled strokes only on durable surfaces. Keep the bristles away from seals, gas ports, vents, and electrical openings.
!Plastic scraper held at a shallow angle to lift softened baked-on oven residue
A shallow-angle plastic scraper can lift softened spots without the aggression of a metal blade.
!Stubborn oven residue covered with fresh paste and a damp cloth for additional softening
Re-soften resistant deposits instead of increasing scraping force.
!Soft nylon brush cleaning a greasy oven corner while avoiding nearby seals and openings
Use a soft nylon brush for durable corners after the grease has softened.
Clean Near Fans and Openings Without Pushing Dirt Inside
The rear wall of a convection oven needs more precision than an open area of enamel. If there is grease on the accessible face of the fan cover, wipe that surface gently, but do not push paste or dirty water through the slots.
Do not remove the fan cover unless your owner's manual identifies it as a user-removable part and provides cleaning instructions. The fan assembly and electrical components behind the cover should remain dry and undisturbed.
The direction of your wiping also matters near vents, burner ports, seams, and openings. Move the cloth away from an opening whenever possible. This pulls loosened contamination outward instead of pushing it deeper into the appliance.
For example, if a line of dirty paste collects beside a vent, use the corner of a damp cloth to lift the material away from the vent. Do not scrub back and forth across the opening.
Once most of the baked-on grease has released, begin removing the bulk of the dirty paste. Use damp microfiber cloths and rinse or replace them frequently. A heavily saturated cloth stops collecting dirt effectively and can begin redistributing grease across areas that were already cleaned.
Work from relatively clean upper areas toward the dirtier lower sections. This makes it easier to manage drips, crumbs, and loosened residue as they move downward.
!Cloth gently cleaning the outside surface of a convection fan cover without entering the slots
Clean only the accessible face of the fan cover and keep moisture out of the slots.
!Cleaning cloth pulling dirty residue away from an oven vent instead of toward the opening
Wipe away from openings so grease and paste are not pushed inside.
!Several damp cloths being used to remove dirty baking soda paste from oven walls
Rinse or replace dirty cloths often as you remove the bulk of the paste.
Rinse Away the Chalky Film and Inspect the Door Glass
Removing the dirty paste is not the end of the cleaning process. Baking soda often leaves behind a pale, chalky residue that becomes more obvious as the surface dries.
Fill a bowl or sink with clean water and thoroughly rinse a fresh microfiber cloth. Wring it out well so it is damp rather than dripping. Wipe the interior again using plain water only.
Rinse the cloth repeatedly and continue until it stops picking up obvious white paste or greasy residue. Heavily treated ovens may need several clean-water passes.
Pay extra attention to horizontal ledges and corners, where baking soda tends to collect. Do not compensate by pouring or spraying water into the oven. Controlled wiping is safer around seams, fittings, and components.
The inner door glass deserves another close inspection. Greasy haze and thin baking soda streaks can be difficult to see straight on, so look at the glass from an angle under bright light. Reflections will often reveal streaks that are almost invisible from directly above.
Use a clean damp cloth to remove any haze you find, while continuing to keep excess moisture away from the gasket, trim, vents, and edges of the door.
After rinsing, use a dry microfiber towel on the accessible enamel, glass, and trim. Drying removes remaining moisture and also makes leftover chalky spots easier to detect.
!Fresh microfiber cloth rinsed in clean water and used to remove white baking soda residue
Use clean water and a well-wrung cloth to remove the remaining baking soda film.
!Oven door glass inspected under angled light to reveal faint streaks and greasy haze
Angled light makes haze and streaks on oven glass easier to see.
!Dry microfiber towel removing moisture from clean oven enamel and inner door glass
Dry accessible surfaces after the final rinse.
Check the Oven Carefully Before Reinstalling the Racks
A clean-looking oven can still hide small amounts of residue along the door ledge, in corners, or at the bottom of the cavity. Before reinstalling anything, perform a deliberate visual inspection.
Use a flashlight, strong kitchen lighting, or the oven's interior light if your appliance can safely operate the light without activating heat. Look for:
- White baking soda streaks - Small clumps of paste - Greasy smears - Loose crumbs - Residue along the door ledge - Damp areas that still need drying
Wipe away anything you find with an appropriately damp or dry cloth.
Clean the removable oven racks separately. Standard racks can often be washed with warm water, dish soap, and a non-scratch sponge, but rack finishes vary significantly. Telescoping, gliding, coated, or specialty racks may have specific care requirements, so check the manufacturer's instructions before soaking or scrubbing them.
Dry the racks completely. Water trapped around sliding mechanisms, supports, or coated surfaces should not be returned to the oven unnecessarily.
Once the cavity and racks are fully dry, reinstall them in their normal positions. Confirm that each rack sits correctly on its supports and moves smoothly. Nothing should obstruct the fan, heating area, or other internal components.
!Flashlight inspecting a cleaned oven floor and door ledge for remaining white residue
Inspect corners, ledges and the oven floor for small amounts of leftover residue.
!Standard oven racks being washed separately with warm soapy water and a non-scratch sponge
Clean removable racks according to their finish and the appliance manual.
!Clean dry oven racks being reinstalled into a fully dried oven cavity
Reinstall racks only after both the oven and removable parts are completely dry.
Finish Safely and Keep Grease From Baking On Again
If a little discoloration remains after cleaning, do not assume the answer is stronger chemistry. Some dark marks may be permanent staining or heat-related discoloration rather than removable grease.
Most importantly, never combine household cleaning chemicals in an attempt to make the process more powerful. Do not mix bleach, ammonia, acidic cleaners, commercial oven cleaner, or other products. Incompatible combinations can produce dangerous reactions and fumes.
Use one compatible cleaning method at a time and follow both the cleaner label and the oven manufacturer's instructions. If you decide to use a commercial oven product instead of baking soda, follow that product's directions for application, rinsing, ventilation, drying, and any required waiting period before heating the appliance.
Before the next cooking session, confirm that the oven is dry and free of loose cleaner residue or debris. If practical, open a nearby window or run the kitchen exhaust fan for ventilation. There should not be an obvious cleaning-product odor lingering inside the cavity.
The easiest way to deal with baked-on grease is to prevent a new layer from building up. After future cooking sessions, allow the oven to cool completely, then wipe accessible fresh splatter before repeated heating turns it into a hard deposit.
A simple maintenance routine can include:
- Removing loose crumbs after messy cooking - Wiping fresh grease once the oven is fully cool - Checking the bottom of the oven after spills - Cleaning door glass before haze becomes heavily baked on - Avoiding long periods of accumulated food residue - Following manufacturer guidance for specialty surfaces and self-cleaning cycles
Regular light maintenance usually requires far less effort than an occasional aggressive deep clean. More importantly, it reduces the need for sharp scrapers, abrasive pads, excessive moisture, or strong chemical products around sensitive oven components.
Never combine cleaning chemicals in an attempt to increase cleaning power.
!Clean dry oven in a ventilated kitchen with an open window and range hood running
Check for residue and ventilate the kitchen before returning the oven to normal use.
!Freshly cooled oven receiving a quick maintenance wipe to prevent future baked-on grease
Wiping fresh splatter after the oven cools can prevent another layer of baked-on buildup.
Fixed it?
Get one guide like this every Thursday.