How to Clean and Organize a Messy Spice Drawer in 30 Minutes
Turn a cluttered spice drawer into a clean, organized space in just 30 minutes. Remove spills, check spice freshness, sort duplicate jars, and make everyday seasonings easier to find without buying expensive organizers.
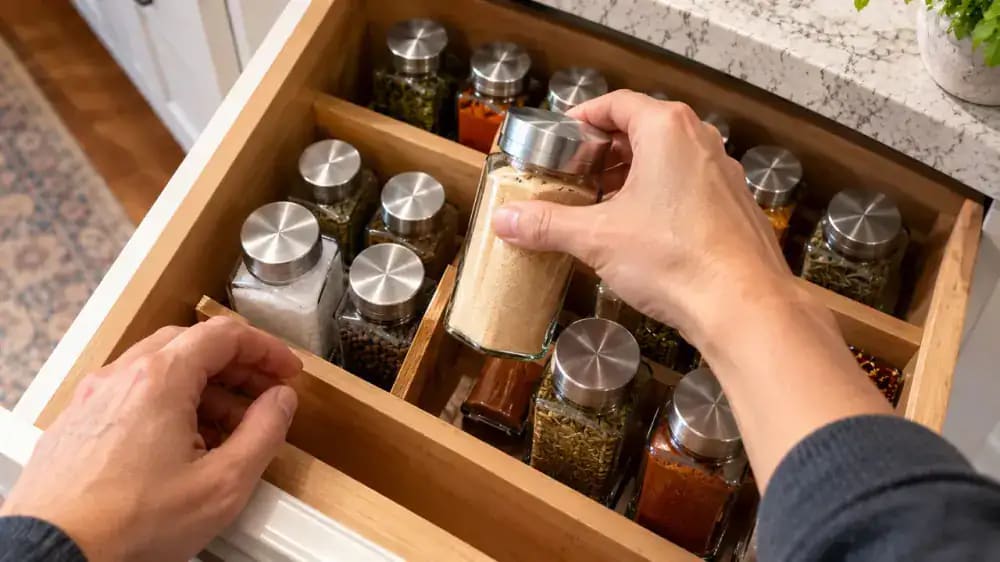
What you’ll need
Tap to tick things off before you start.
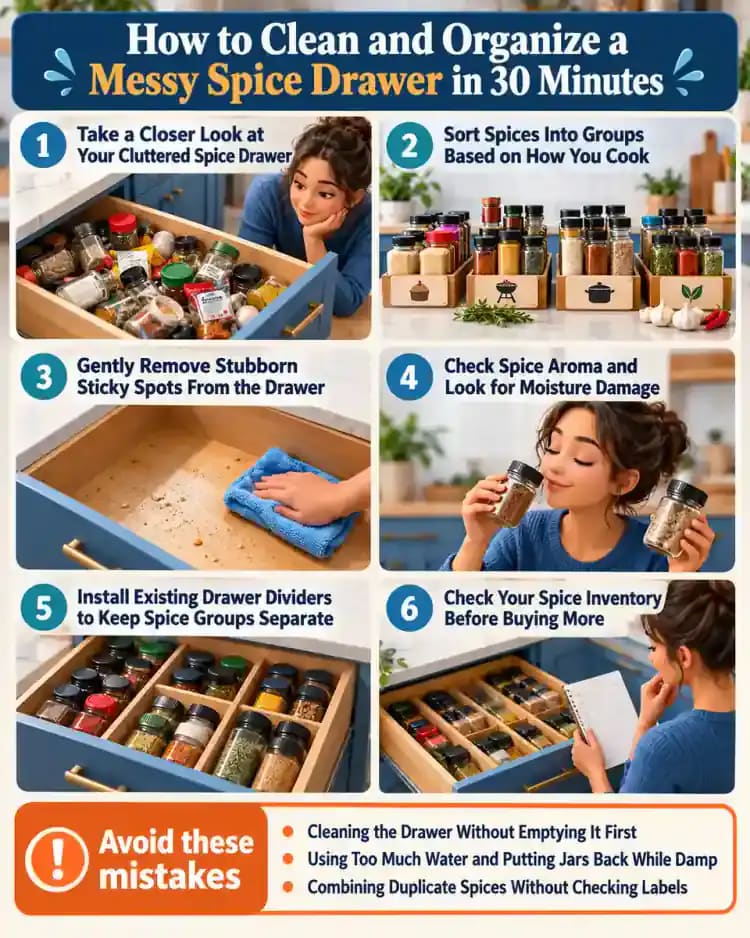
Take a Closer Look at Your Cluttered Spice Drawer
Open your spice drawer and take a moment to inspect what's inside. Look for overlapping jars, spilled paprika, loose cumin seeds, sticky lids, and duplicate seasonings hiding beneath other containers. Carefully move a few jars aside to reveal debris underneath. Notice which spices are difficult to find or identify. Before cleaning, identify the problem areas so you can focus your 30-minute reset on removing mess and improving access.
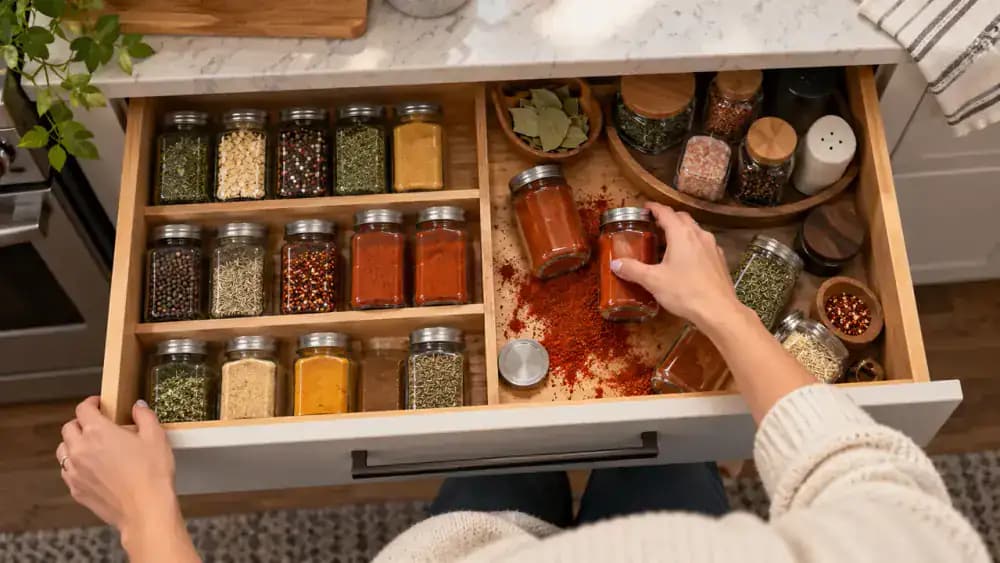
Set Up Your 30-Minute Cleaning Station
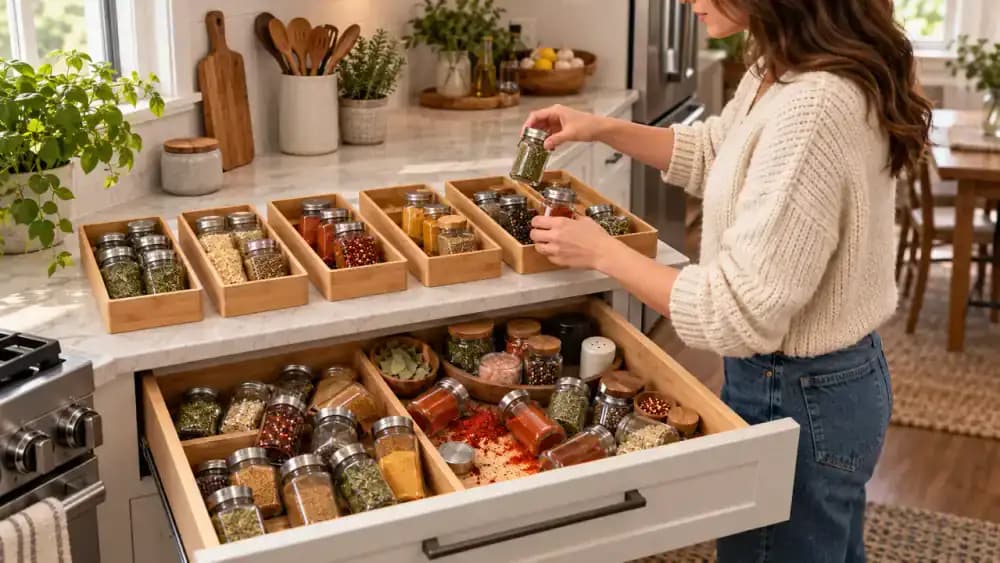
Clear a section of your countertop and arrange five reusable trays for sorting, debris removal, container cleaning, freshness checks, and organization. Place a microfiber cloth and soft cleaning brush nearby, along with mild dish soap, a vacuum with a crevice attachment, and a dry towel. Keep spice jars upright with their original labels and allergen information intact. Check your drawer's material before using moisture to avoid accidental damage.
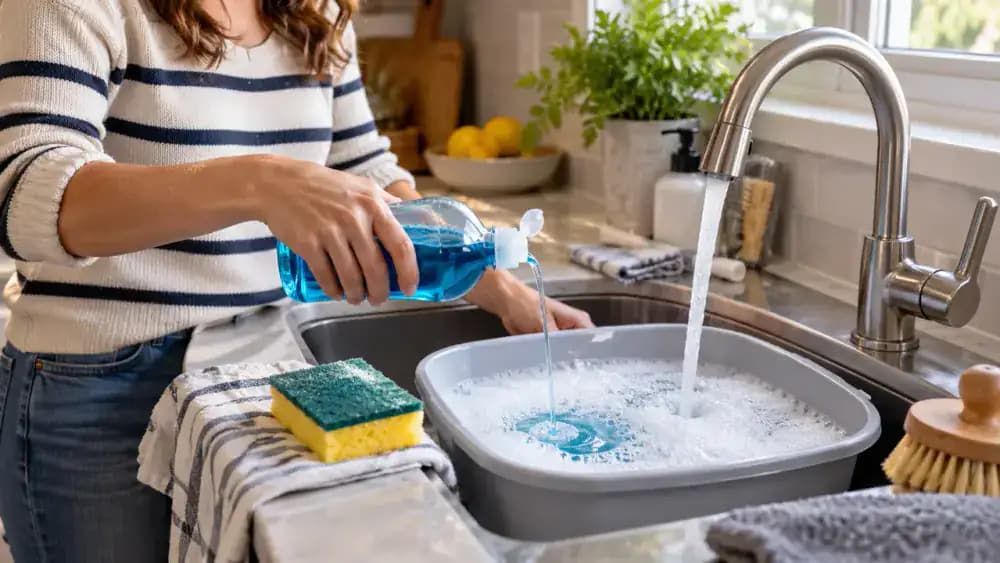
Gather Basic Supplies and Mix a Gentle Cleaning Solution
Fill a small bowl with warm water and add a few drops of mild dish soap. Set it beside your kitchen sink with two microfiber cloths, a soft cleaning brush, a dry towel, and a handheld vacuum fitted with a crevice attachment. Keep all cleaning supplies separate from food and spice containers. Before wiping the drawer, confirm its material can tolerate light moisture, and avoid soaking wooden surfaces.
Clear the Countertop and Inspect the Drawer Material
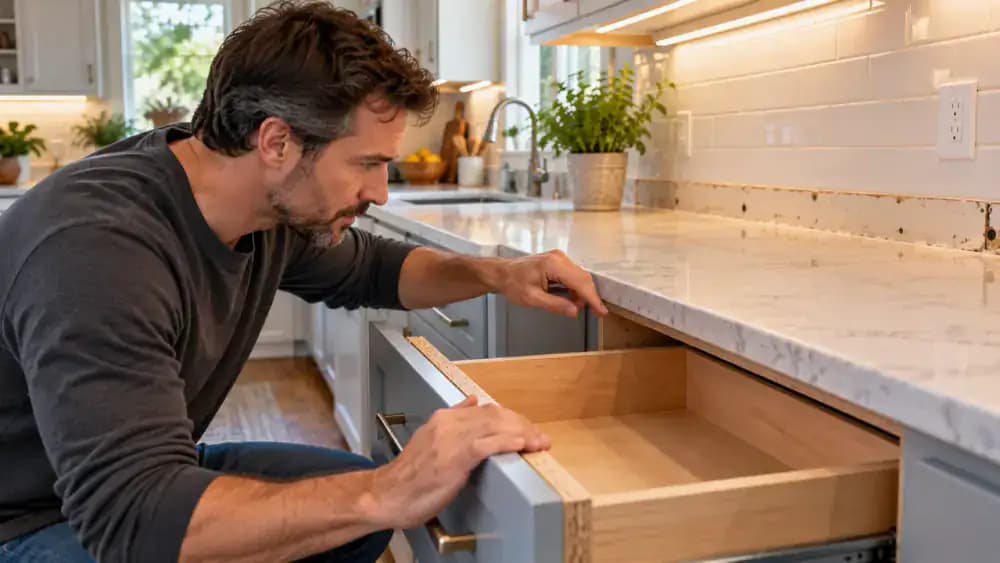
Move cutting boards, small appliances, and utensils away from the spice drawer to create enough dry countertop space for every container. Next, inspect the drawer's interior, paying special attention to exposed wood edges, seams, and finished surfaces. Gently run your fingertip along the front edge to identify unfinished areas. Check the manufacturer's cleaning recommendations before applying moisture, since excess water can cause certain materials to swell, warp, or lose their finish.
Empty the Spice Drawer One Jar at a Time
Carefully lift each spice container from the drawer and place it upright on your clean, dry countertop. Check that lids are securely closed before moving glass jars, and keep original labels, ingredient details, allergen warnings, and dates intact. Leave spilled seasoning undisturbed until the drawer is completely empty. Avoid stacking fragile containers or combining spices, even if they appear identical. This gives you a clear view of everything you own.
Sort Spices Into Groups Based on How You Cook
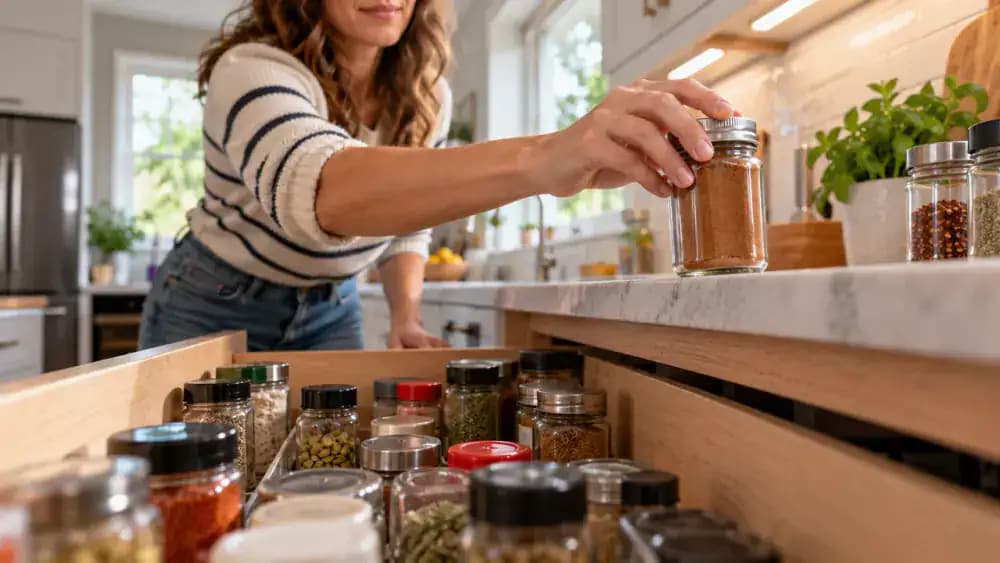
Arrange your closed spice jars into four groups on the clean countertop. Place everyday seasonings like salt, pepper, and garlic powder together, followed by baking spices, dried herbs, and specialty blends. Keep every container upright with its original label, ingredient list, allergen warnings, and expiration date intact. As you sort, notice duplicate seasonings and which spices you use most frequently. Do not open, pour, or combine any contents.

Inspect Spice Labels and Check Expiration Dates
Pick up each sealed spice jar and gently rotate it to check the original label, ingredient list, allergen warnings, and expiration or best-by date. Make sure the information remains readable and attached to its container. Place jars with damaged or unreadable labels in a separate discard area if their contents cannot be confidently identified. Never guess what an unidentified spice contains or combine products with different expiration dates.

Vacuum Spilled Spices From Drawer Corners and Edges
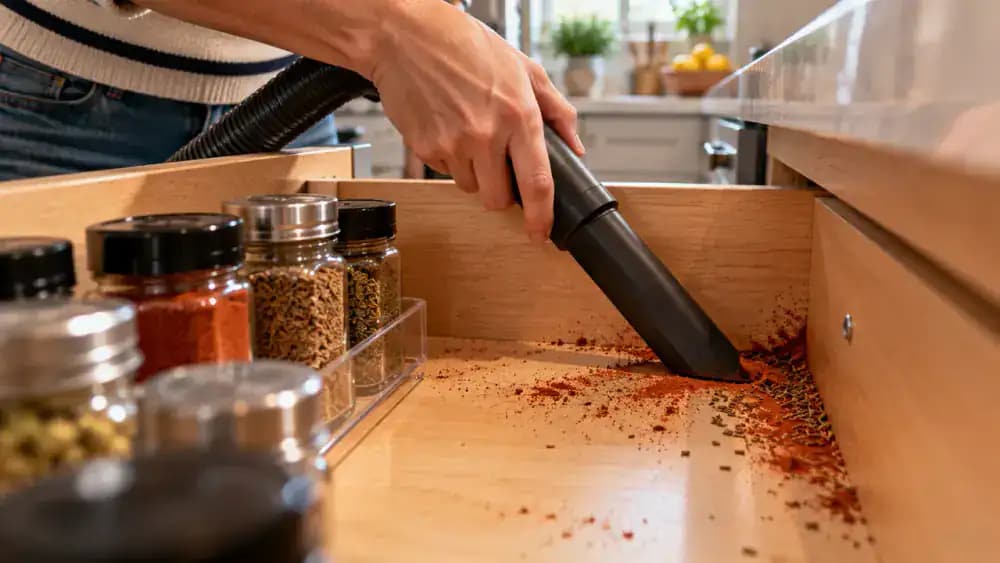
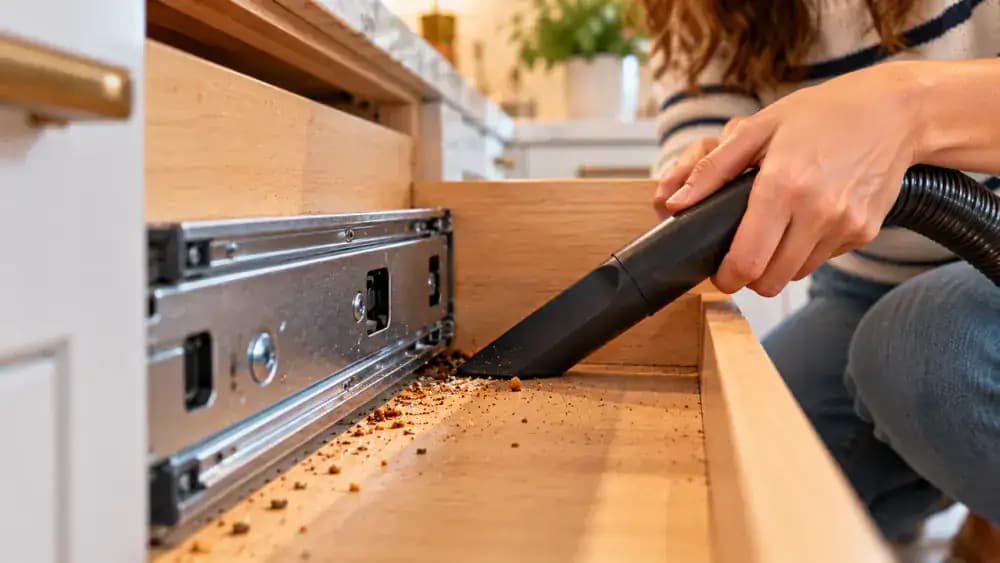
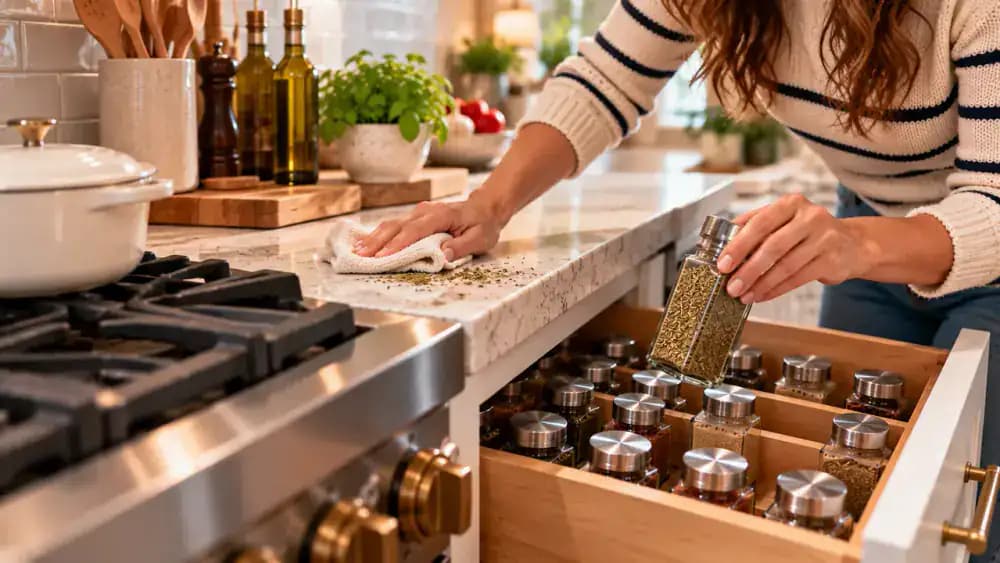
With the drawer completely empty, attach the narrow crevice nozzle to your handheld vacuum and slowly guide it along the bottom edges. Focus on collecting spilled paprika, cumin seeds, crumbs, and loose seasoning trapped in corners. Keep the nozzle close to the drawer surface to prevent powder from spreading onto nearby countertops. Work from the back corners toward the front, checking each edge before moving to the next area.
Loosen Trapped Spices With a Soft, Dry Brush
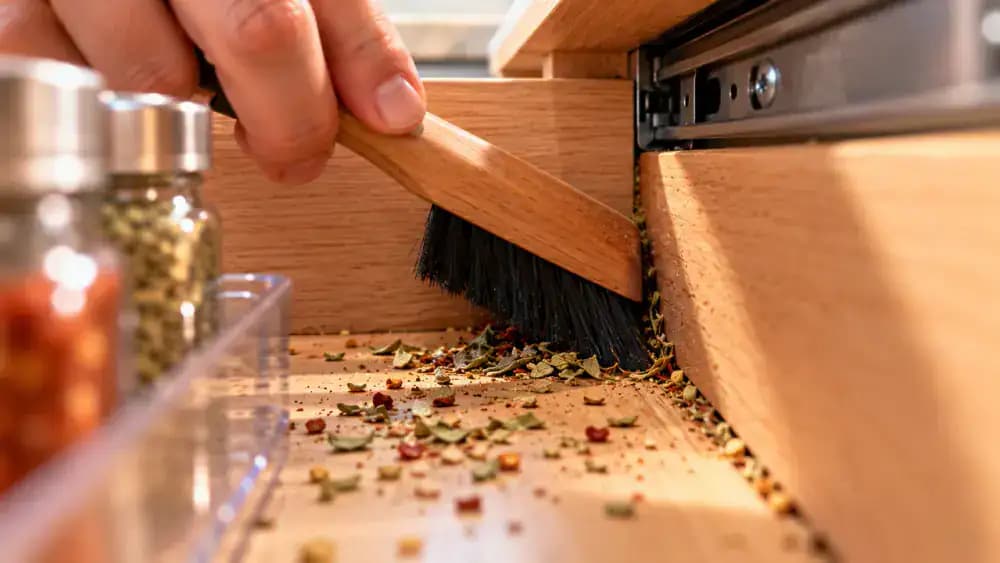
Inspect the drawer's corners, back panel, and narrow seams for seeds, herb flakes, or powder left behind after vacuuming. Use a small, soft-bristled brush to gently sweep trapped particles away from tight edges and toward the open center of the drawer. Apply light pressure to avoid scratching the surface or damaging unfinished wood. Once the debris is loosened, vacuum it up completely before introducing any cleaning solution or moisture.
Vacuum Crumbs and Spice Dust From Drawer Tracks
Pull the spice drawer fully open while keeping it securely supported on its runners. Locate the accessible metal tracks and side channels where crumbs and seasoning dust collect. Slowly guide your vacuum's crevice attachment alongside these areas, keeping the nozzle clear of moving hardware. Avoid forcing the attachment into narrow gaps or disturbing mounting screws. Keep water and cleaning solutions away from the sliding mechanism, and leave all components assembled.
Wipe the Drawer Interior With a Barely Damp Microfiber Cloth
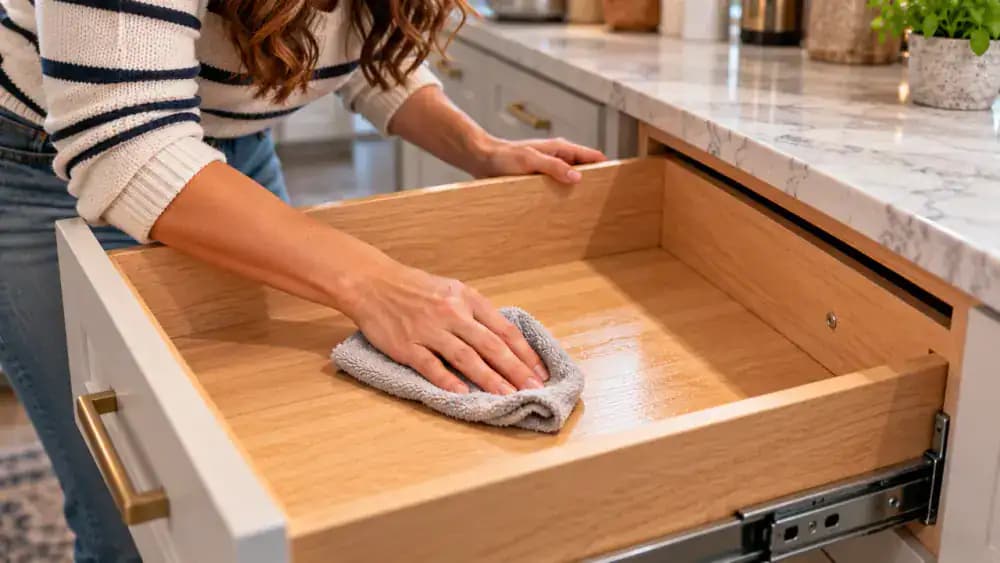
Dip a clean microfiber cloth into your prepared mild soapy water, then wring it out until it feels barely damp. Wipe the finished drawer bottom in smooth strokes, working from the back toward the front. Focus on removing remaining sticky residue without saturating the surface. Keep moisture away from unfinished wood edges, seams, and metal hardware. The cloth should never leave visible puddles or dripping water behind.
Gently Remove Stubborn Sticky Spots From the Drawer
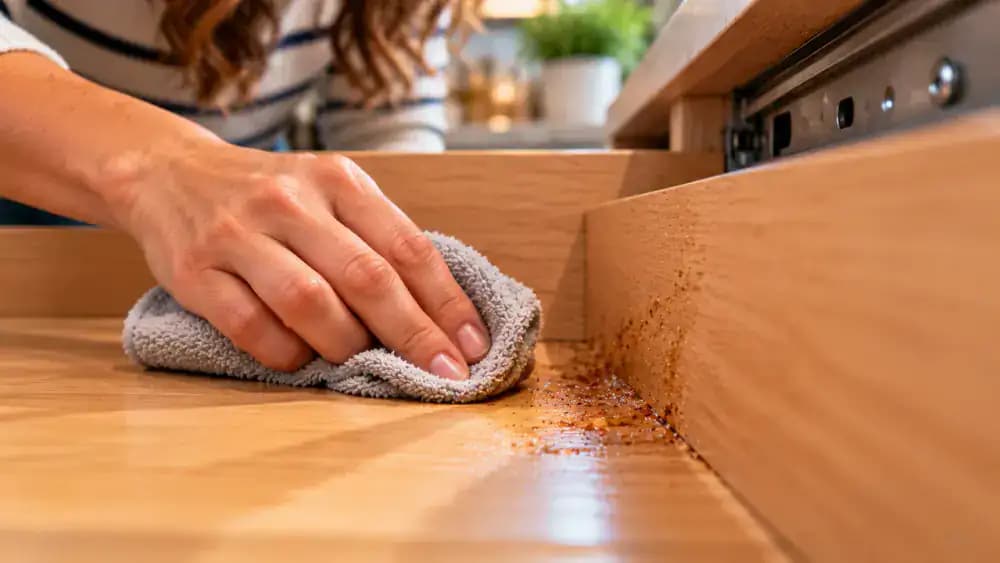
Locate any sticky patches left behind by spilled spices or leaking containers. If the drawer has a moisture-safe finish, fold a microfiber cloth around your fingertips and gently rub each spot in small circular motions using diluted mild dish soap. Apply light pressure to protect the wood finish. Avoid abrasive scrubbers, harsh chemicals, and excess water. Wipe away remaining soap with a separate, lightly damp cloth, then dry the area thoroughly.
Thoroughly Dry the Drawer Before Putting Spices Back
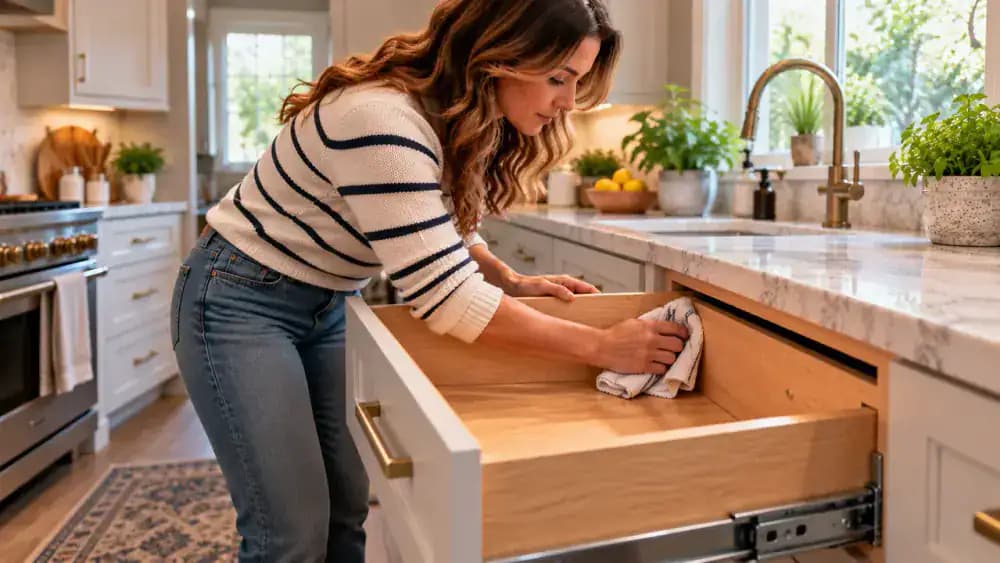
Use a clean, folded cotton towel to dry the entire drawer interior, starting at the back wall and moving across the bottom toward the front. Pay extra attention to corners, seams, and unfinished wood edges where moisture can collect. Gently press the towel into tight areas, then lift it to check for remaining damp spots. Keep the drawer open until every surface feels completely dry before returning any spice containers.
Clean Spice Jar Exteriors Without Damaging Labels
Pick up each securely closed spice jar and gently wipe its exterior with a lightly damp microfiber cloth. Focus on removing loose seasoning powder from the shoulders, fingerprints from the glass, and sticky residue near the base. Hold the container over a dry towel to catch any falling particles. Carefully work around paper labels, keeping them dry and preserving ingredient lists, allergen warnings, and expiration dates. Repeat with every jar.
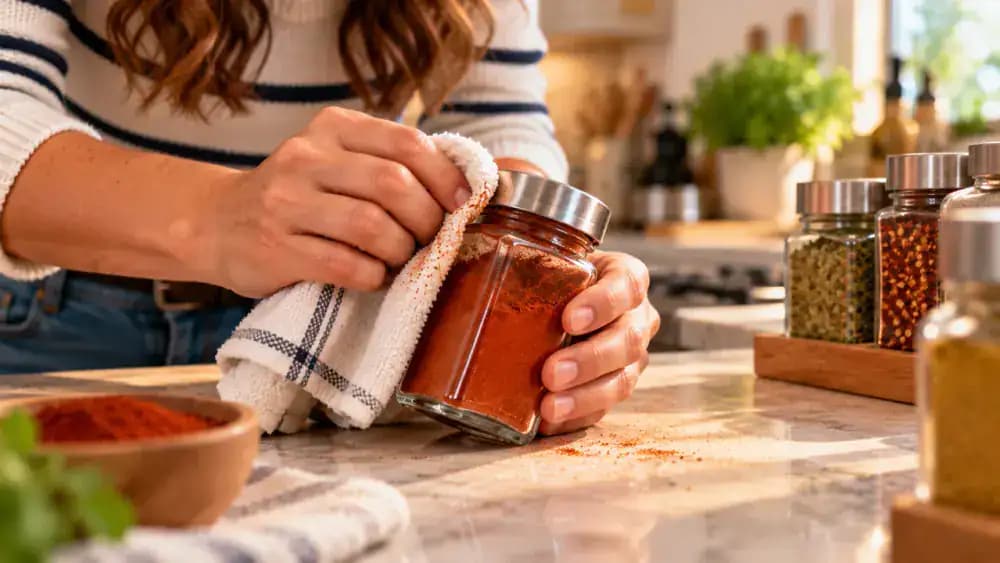
Remove Sticky Buildup From Spice Jar Lids and Grooves
Keep each spice jar tightly closed while inspecting its lid for sticky residue and trapped seasoning. Hold the container steady and use a soft, dry brush to loosen powder from the exterior grooves around the cap. Gently wipe the outside of the lid with a barely damp microfiber cloth, then dry it thoroughly. Avoid soaking the cap, opening the jar, or allowing moisture inside. Check that each lid remains securely closed.
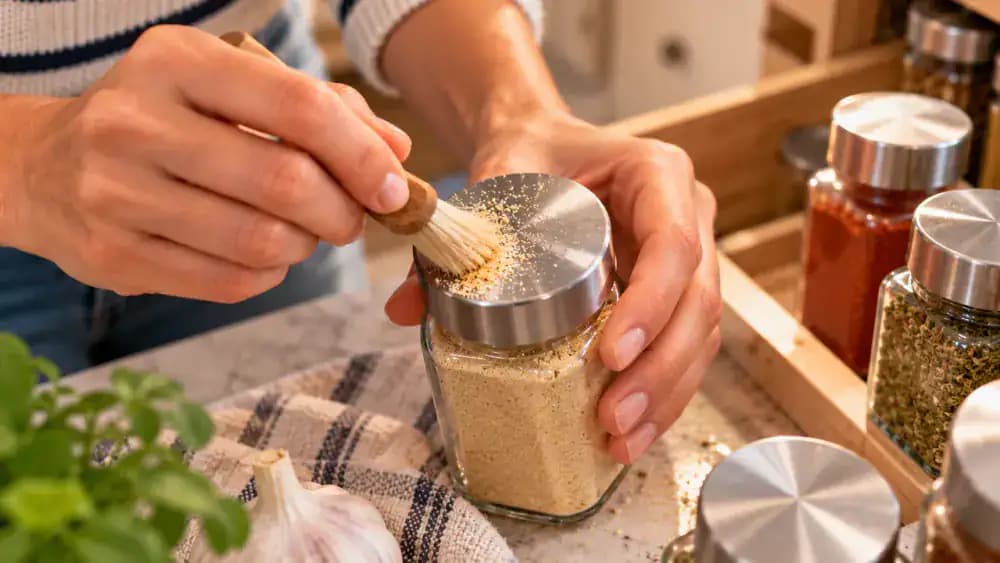
Dry Each Spice Jar and Check That the Lid Is Secure
Place each cleaned spice jar on a fresh, dry cotton towel and carefully remove any remaining moisture. Pay special attention to the base, underside of the cap, and edges of paper labels. Gently check that each lid is securely closed without opening the container. Rotate the jar to confirm its original label remains readable, including allergen warnings and expiration dates. Return completely dry jars upright to their designated spice groups.
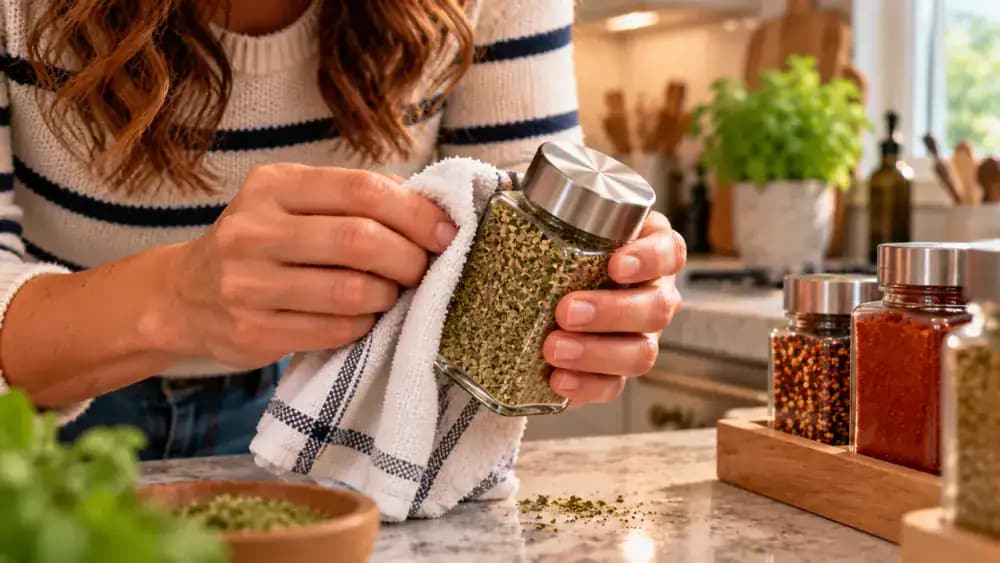
Check Spice Freshness and Separate Questionable Containers
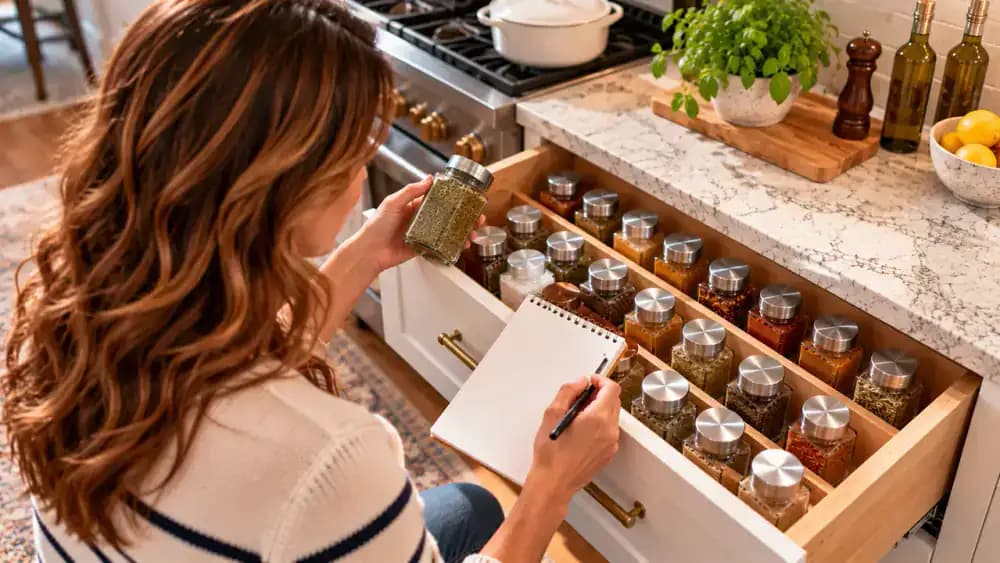
Examine each sealed spice jar and read the best-by date on its original label. Check the contents through the container for unusual discoloration, moisture clumps, or visible contamination. Remember that many dried spices gradually lose flavor after their best-by dates rather than becoming unsafe immediately. Set questionable containers aside without opening or tasting them. Record duplicates and older spices on a simple inventory checklist to help decide what needs replacing.

Check Spice Aroma and Look for Moisture Damage
Choose a clearly identified spice that shows no visible signs of contamination, then open its container over a clean, dry countertop. Hold the jar a short distance below your nose and gently check its aroma. A faint scent may indicate fading flavor. Look for damp clumps, unusual odors, or mold, and discard suspicious spices without tasting or smelling visibly moldy contents. Close acceptable containers securely after inspection.

Compare Duplicate Spice Jars and Keep Different Batches Separate
Place matching spice jars side by side and compare their original product names, ingredient lists, allergen warnings, and best-by dates. Even if two containers hold the same seasoning, keep them separate when their dates differ. Never combine unidentified spices or transfer contents between batches. Position the older jar slightly forward if it is still usable, so you can finish it first. Keep newer containers sealed and stored behind it.

Discard Unusable Spices and Make a Replacement List
Separate spices with unreadable labels, unknown contents, visible contamination, or moisture damage from the containers you plan to keep. Place unusable jars in the trash without opening them or pouring out their contents. Keep acceptable duplicates sealed in their original containers, even when expiration dates differ. Review your remaining inventory and write down only the seasonings that genuinely need replacing. This helps prevent unnecessary purchases and frees up valuable drawer space.
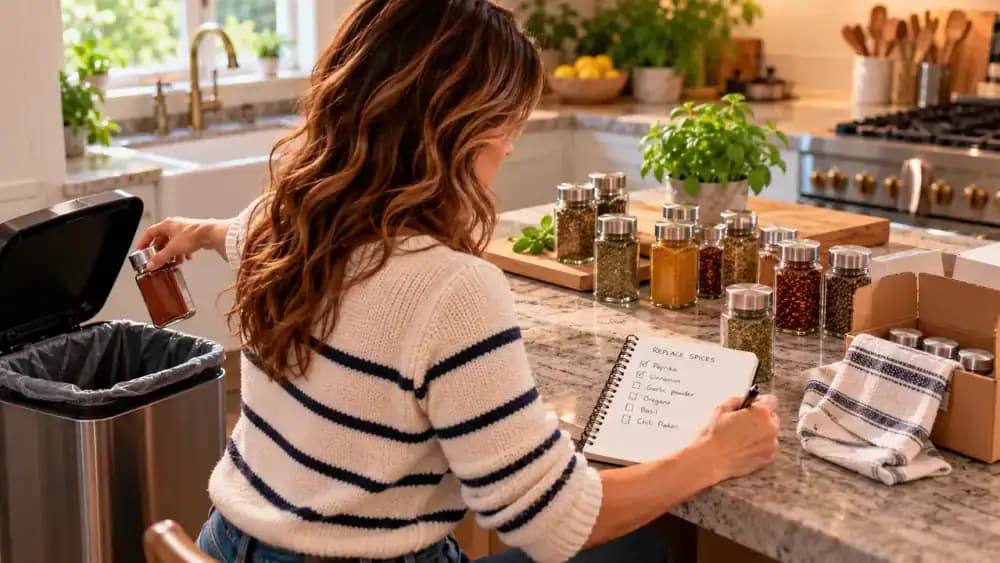
Measure Your Spice Drawer and Plan a Practical Layout
Use a tape measure to check the drawer's interior width and depth, then measure the available height beneath the countertop. Compare these measurements with your tallest sealed spice jars to make sure they fit without catching when the drawer closes. Keep containers upright on the counter while planning where each group belongs. Allow enough room to reach individual jars comfortably, and reuse existing dividers instead of purchasing new organizers.
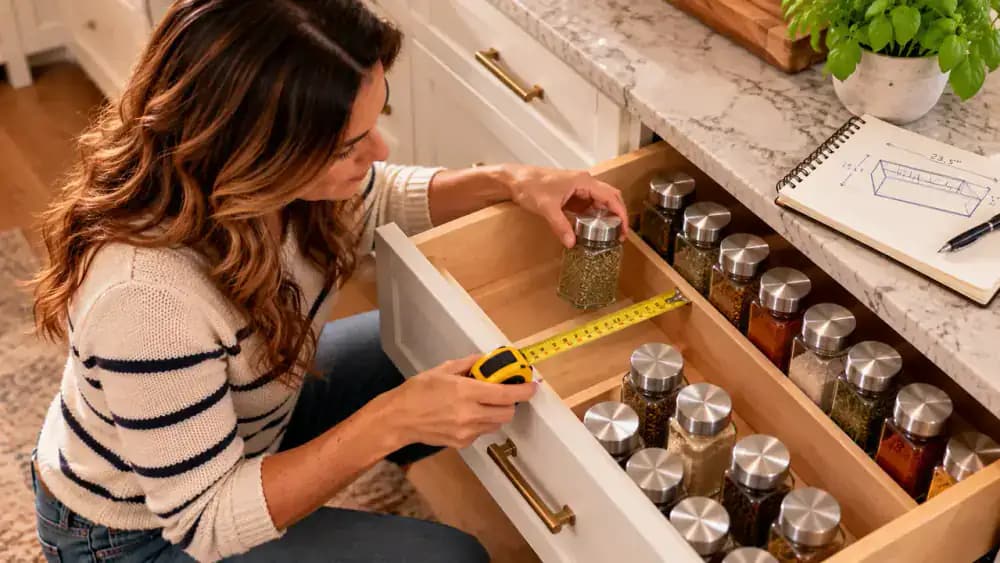
Arrange Your Most-Used Spices at the Front of the Drawer
Start refilling the clean, completely dry drawer with the seasonings you reach for most often. Place salt, black pepper, garlic powder, and paprika in a neat row near the front. Keep every container upright and securely closed, rotating each original label forward for easy identification. Leave enough space between jars to lift one without knocking over its neighbors. Keep ingredient information, allergen warnings, and expiration dates intact.
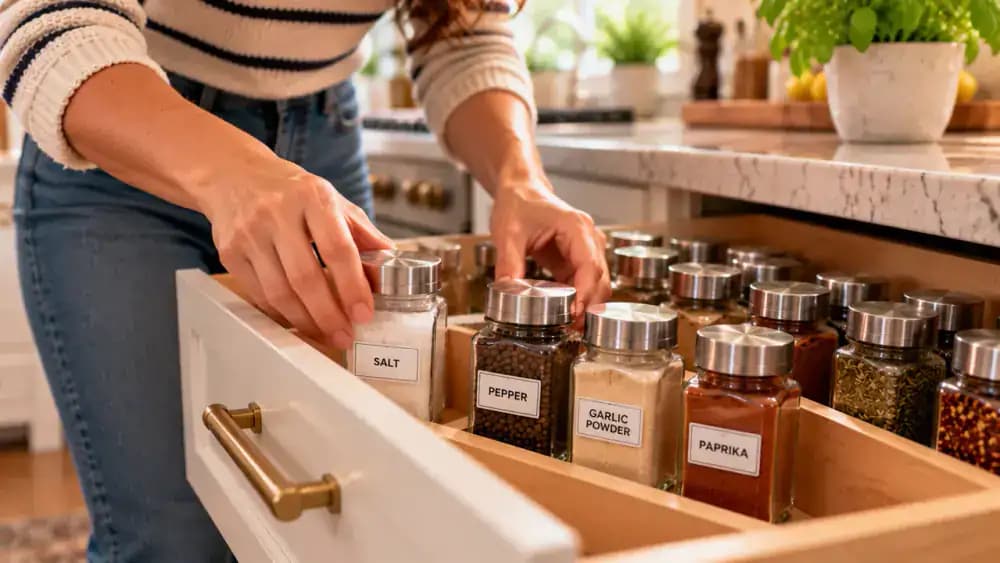
Organize Baking Spices, Dried Herbs, and Specialty Blends
Place less frequently used spices toward the back of the drawer, keeping similar seasonings together. Arrange cinnamon, nutmeg, and ginger in one baking section, with oregano, basil, and thyme grouped separately. Give specialty seasoning blends their own space. Position each sealed jar upright with its original label facing outward. Leave enough room to lift individual containers without disturbing neighboring jars, and keep ingredient information, allergen warnings, and dates intact.
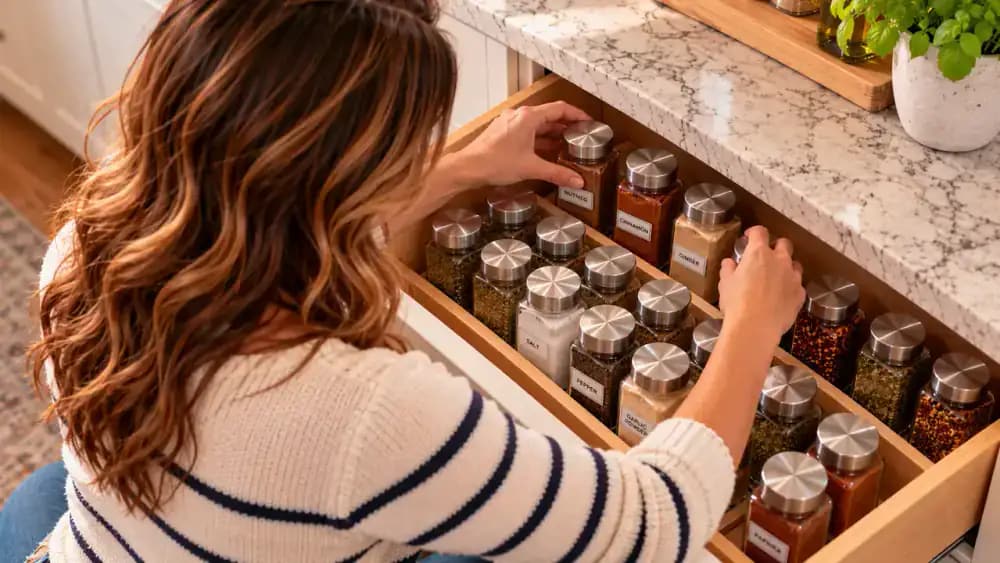
Install Existing Drawer Dividers to Keep Spice Groups Separate
Use a clean, dry drawer divider you already own to separate everyday seasonings from baking spices and dried herbs. Gently slide the adjustable divider into the open space between groups, positioning it securely against the drawer walls. Check its stability with light fingertip pressure without squeezing nearby jars. Make sure containers remain upright, labels stay visible, and the drawer can close smoothly. Avoid forcing the divider or using adhesives.
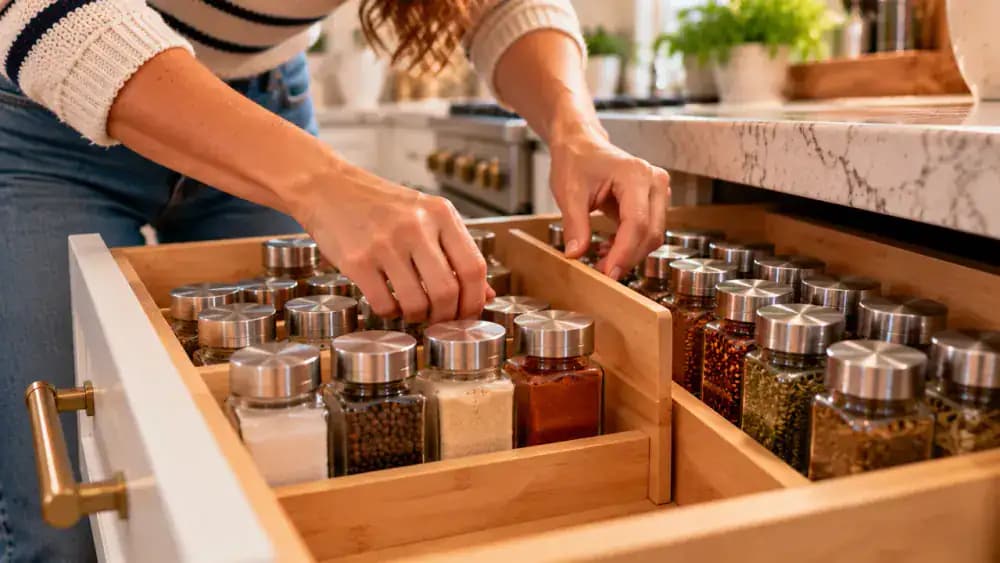
Turn Spice Jar Labels Forward for Easy Identification
Look across your organized spice drawer and check whether you can identify each seasoning without moving other containers. Gently rotate the smoked paprika jar so its original label faces the front, then adjust nearby cumin and turmeric jars for better visibility. Leave clear sightlines between rows, especially around shorter bottles. Keep ingredient lists, allergen warnings, and expiration dates intact and uncovered. Avoid overcrowding jars or disturbing the existing dividers.
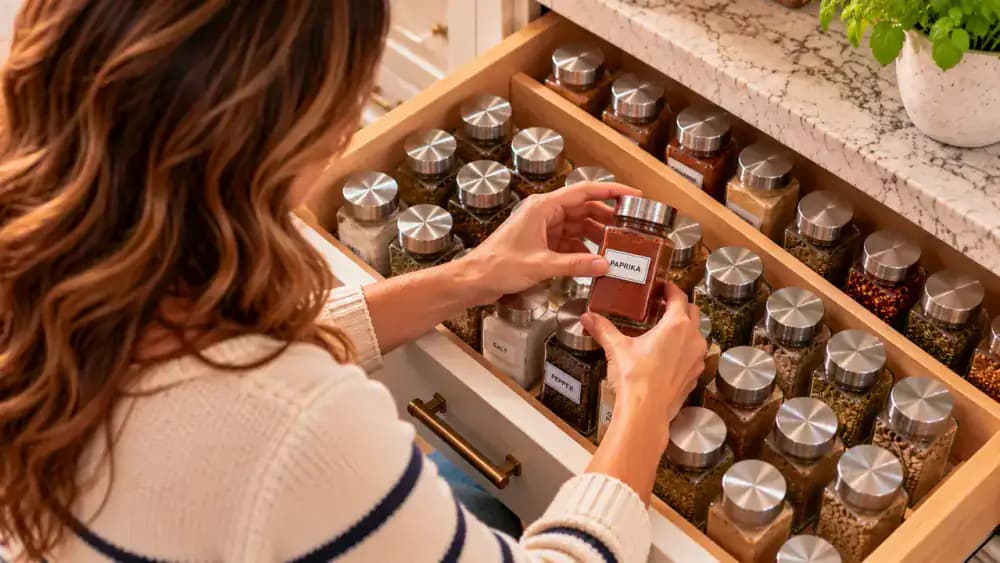
Check That Everyday Spices Are Easy to Reach
Reach into the front row and lift your salt, pepper, and garlic powder jars one at a time, returning each to its original position. Check that neighboring containers stay upright and nothing catches against the bamboo divider. If a jar feels difficult to remove, increase the spacing or rearrange nearby bottles. Prioritize comfortable access over a perfectly symmetrical layout, and keep every container sealed with its original label visible.
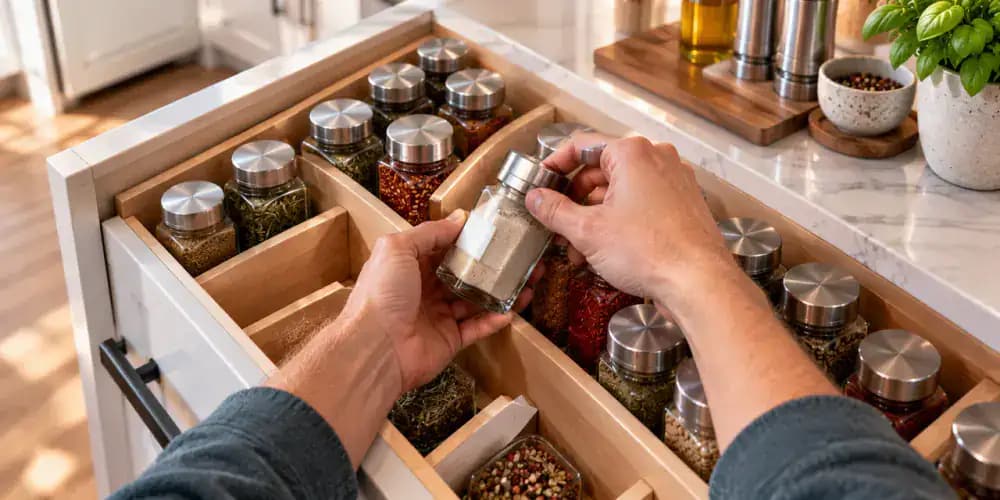
Make Sure the Spice Drawer Slides Without Obstructions
Gently push the organized spice drawer closed using its handle, then pull it open again to check for obstructions. Watch whether jars remain upright, dividers stay in place, and taller containers clear the cabinet frame. Listen for rattling or scraping that could indicate overcrowding. If anything shifts or catches, adjust the spacing or remove a jar. Repeat the movement slowly until the drawer opens and closes without resistance.
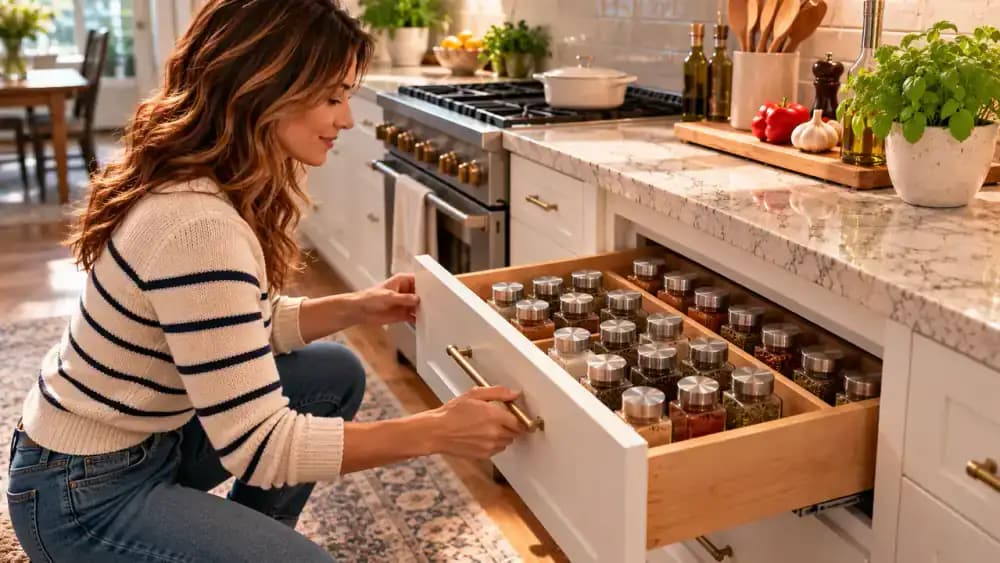
Inspect Spice Jar Lids, Labels, and Drawer Cleanliness
Check each spice jar one last time, gently pressing the lid to confirm it is securely closed. Rotate containers slightly to verify that original labels, ingredient lists, allergen warnings, and best-by dates remain readable. Inspect the drawer surface around the jars for leftover powder or moisture, removing any loose debris with a dry cloth. Keep duplicate spices with different expiration dates separate, and confirm every container remains upright and stable.
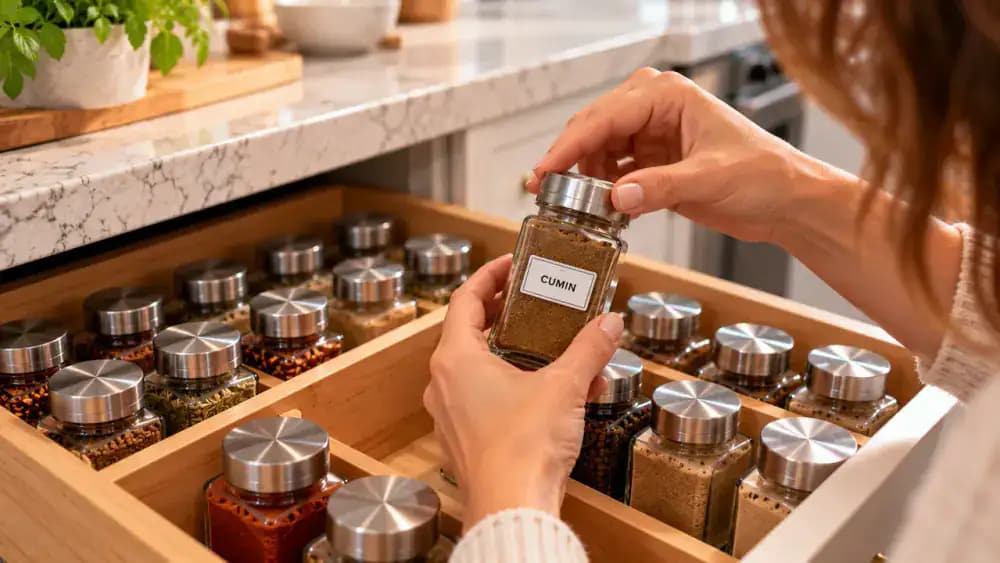
Wipe Up Spice Spills and Return Jars to Their Places
Keep a clean, dry microfiber cloth nearby so you can wipe up small spills as soon as they happen. Gently collect loose oregano flakes or other seasoning from the drawer without scattering them onto nearby food preparation surfaces. After cooking, check that each spice jar is securely closed and return it to its designated section. During regular kitchen cleaning, inspect corners and dividers for crumbs before buildup becomes difficult to remove.
Check Your Spice Inventory Before Buying More
Before heading to the grocery store, open your organized spice drawer and review the seasonings you already have. Check original labels and note any missing or unusable spices on your shopping list, such as ground coriander. Keep usable duplicates in their separate, labeled containers rather than combining them. This quick inventory check prevents unnecessary purchases, reduces clutter, and helps maintain an organized drawer without buying new containers or expensive accessories.
A messy spice drawer can turn even a simple dinner into a frustrating search. Between spilled cinnamon, sticky jar lids, duplicate seasonings, and labels you can barely read, finding the right ingredient often takes longer than it should. The good news? You don't need expensive organizers, matching containers, or an entire afternoon to fix it. With a few basic cleaning supplies and 30 minutes, you can turn that cluttered drawer into a clean, practical space where everything is easy to find.
This guide walks you through a straightforward reset, from emptying the drawer and removing stubborn spice residue to checking freshness and arranging your most-used seasonings within easy reach. You'll also learn how to handle duplicates, keep original labels and allergen information intact, and avoid mixing spices with uncertain identities or different expiration dates. The goal isn't a picture-perfect spice collection. It's a drawer that stays cleaner, makes cooking easier, and helps you see what you already have before buying more.
Where people go wrong
Cleaning the Drawer Without Emptying It First. Trying to clean around spice jars leaves powder, crumbs, and sticky residue trapped in corners and drawer tracks. Remove every container before cleaning, then use a vacuum with a crevice attachment and a soft brush to reach hidden debris without spreading dust onto food preparation surfaces.
Using Too Much Water and Putting Jars Back While Damp. Soaking the drawer or returning damp containers can cause moisture damage and create conditions for mold. Check whether the drawer material tolerates moisture, use a lightly damp microfiber cloth with mild dish soap, and dry every surface and jar completely before putting anything back.
Combining Duplicate Spices Without Checking Labels. Pouring similar-looking spices into one jar might save space, but it can mix different ingredients, expiration dates, or allergens. Keep original labels, ingredient information, and allergen warnings attached to each product. Never combine spices with uncertain identities or different expiration dates, and discard contaminated or unidentified contents.
Organizing Jars by Appearance Instead of How Often You Cook. Arranging spices by jar size or color may look tidy, but it makes frequently used seasonings harder to reach. Place everyday spices near the front, face labels outward, and group occasional-use ingredients together. Reuse existing dividers when helpful, and check that the drawer opens smoothly.
Questions people ask
Yes, a 30-minute reset is a practical goal for a typical spice drawer. Spend the first few minutes removing and sorting jars, then vacuum loose debris, wipe surfaces, and check spice freshness. Use the remaining time to arrange containers by frequency of use and make sure everything is completely dry.
Fixed it?
Get one guide like this every Thursday.