How to Clean Wooden Spoons Without Cracking or Damaging Them
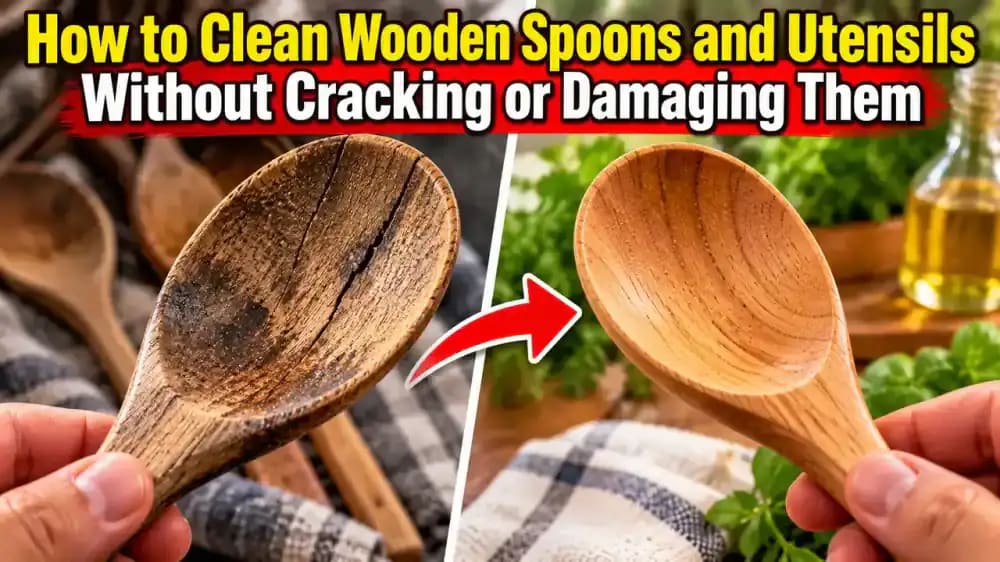
Keep wooden spoons, spatulas, and other kitchen utensils clean without damaging the wood. Learn how to remove food residue and lingering odors, dry utensils properly, and condition them safely to help prevent cracks and rough surfaces.
What you’ll need
Tap to tick things off before you start.
Spot the Warning Signs of Wood Damage
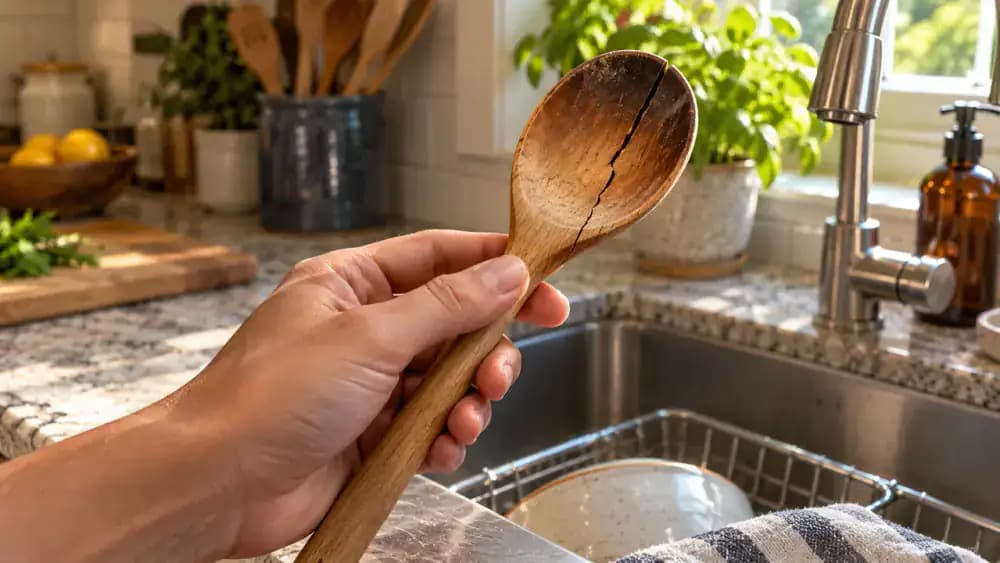
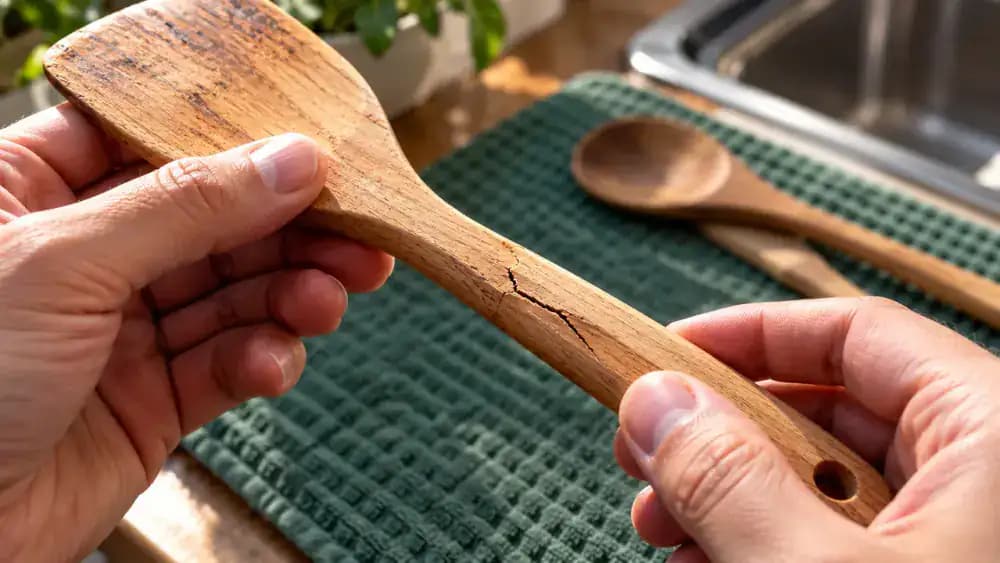
Place your wooden utensils on a clean countertop and examine each one closely. Gently rotate a spoon to check for rough grain, dark food stains, splinters, and small cracks, especially around the bowl and handle. Compare its surface with a smooth, undamaged utensil to recognize changes in texture. Prolonged soaking, dishwasher heat, and improper drying can contribute to deterioration. Set aside any cracked or splintering utensils for replacement rather than continued use.
Keep Wooden Spoons Out of Soaking Water and Dishwashers
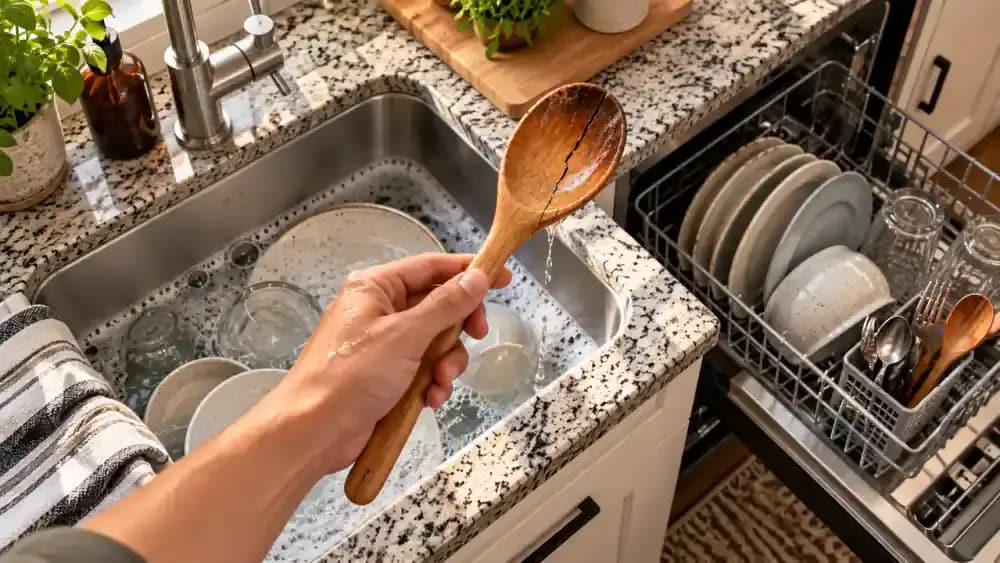
Remove wooden spoons from water promptly instead of leaving them submerged in the sink. As shown, lift the spoon from the container, let excess water drip off, and place it on a clean towel. Wood absorbs moisture and expands when wet, then contracts as it dries. Repeated soaking and dishwasher cycles expose utensils to prolonged moisture and heat, increasing the risk of raised grain, warping, and cracking over time.
Set Up a Gentle Cleaning Station
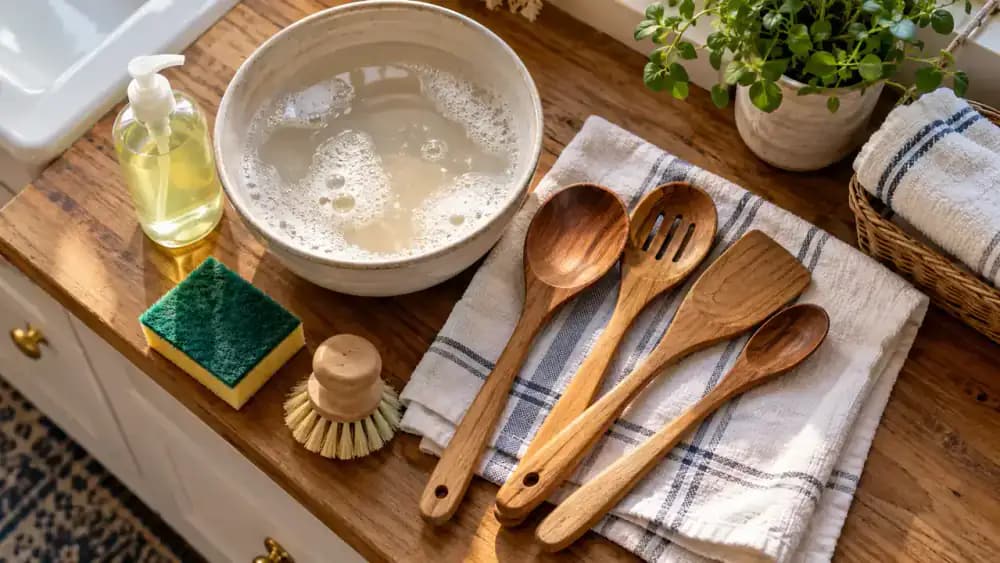
Arrange your supplies on a clean countertop before washing your wooden utensils. Place mild dish soap, a bowl of warm water, a soft sponge, a small cleaning brush, and two clean cotton towels within easy reach. Check that the sponge is nonabrasive and the brush has soft, flexible bristles. Keep the towels separate so one can absorb moisture immediately after rinsing while the other stays dry for handling clean utensils.
Check for Cracks, Splinters, and Loose Joints
Hold each dry wooden utensil under good lighting and gently examine its handle, edges, and cooking surface. Run your fingertips along smooth areas to identify roughness, but avoid touching sharp splinters. Look closely for hairline cracks, unusual discoloration, and separation around glued joints. Place damaged utensils in a separate tray for replacement, keeping them away from those ready for washing. Check manufacturer instructions when inspecting laminated or specialty wood.
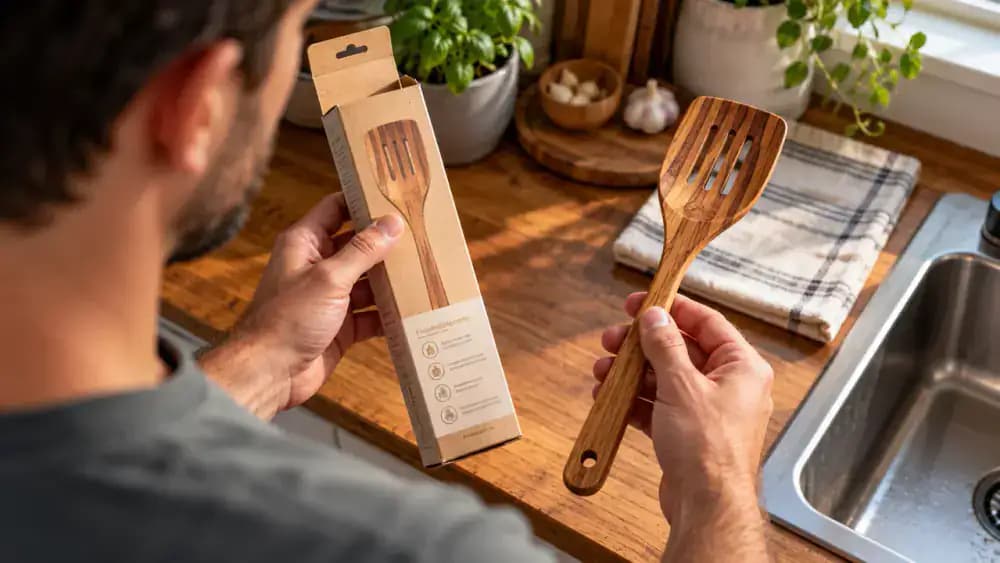
Check the Care Instructions for Specialty Wooden Utensils
Examine the packaging or product website for cleaning instructions specific to each wooden utensil. As shown, compare the laminated spatula with a solid wood spoon, paying attention to glued edges and protective finishes. Some specialty utensils require different washing methods to protect their adhesives and coatings. If the manufacturer provides specific care directions, follow those instead of general cleaning advice. Keep approved utensils beside a clean towel until washing.
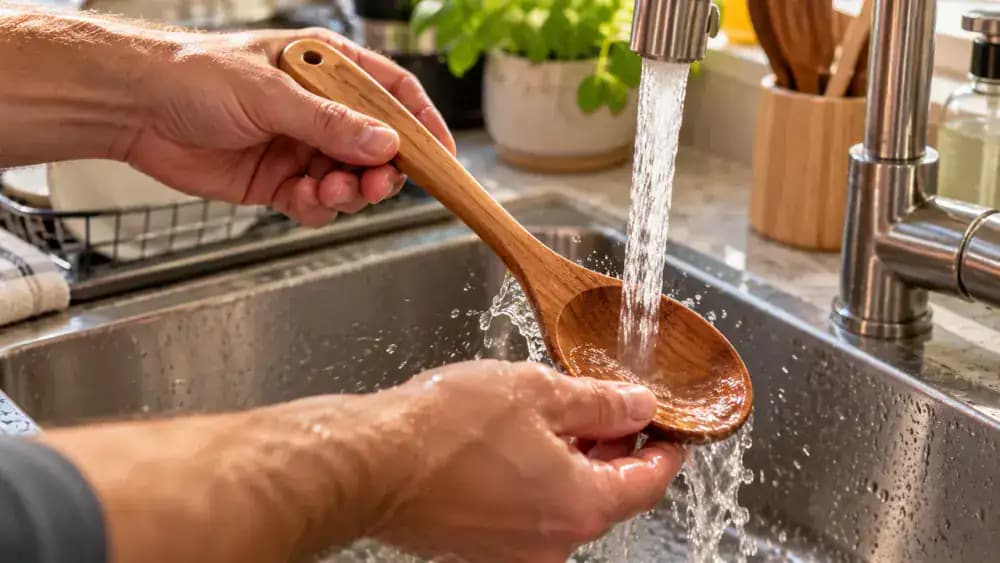
Rinse Wooden Spoons Under Warm Running Water
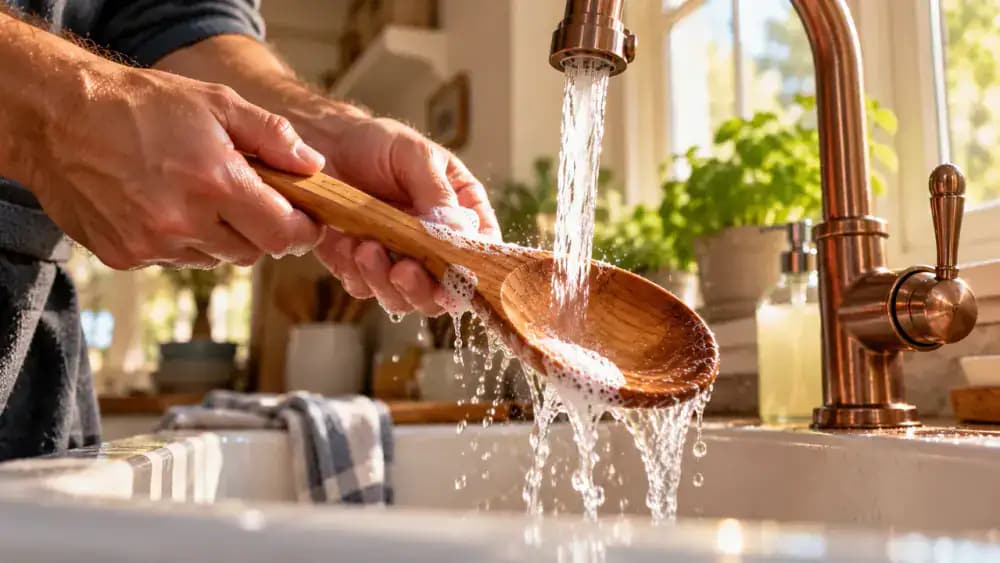
Hold an intact wooden spoon diagonally over the sink beneath a gentle stream of warm running water. Slowly rotate the spoon so water reaches the bowl, back, edges, and handle, loosening fresh food residue. Keep the utensil above the drain rather than placing it in standing water. Use warm, not hot, water and avoid unnecessary soaking. Once every surface is wet, lift the spoon away and prepare to apply mild dish soap.
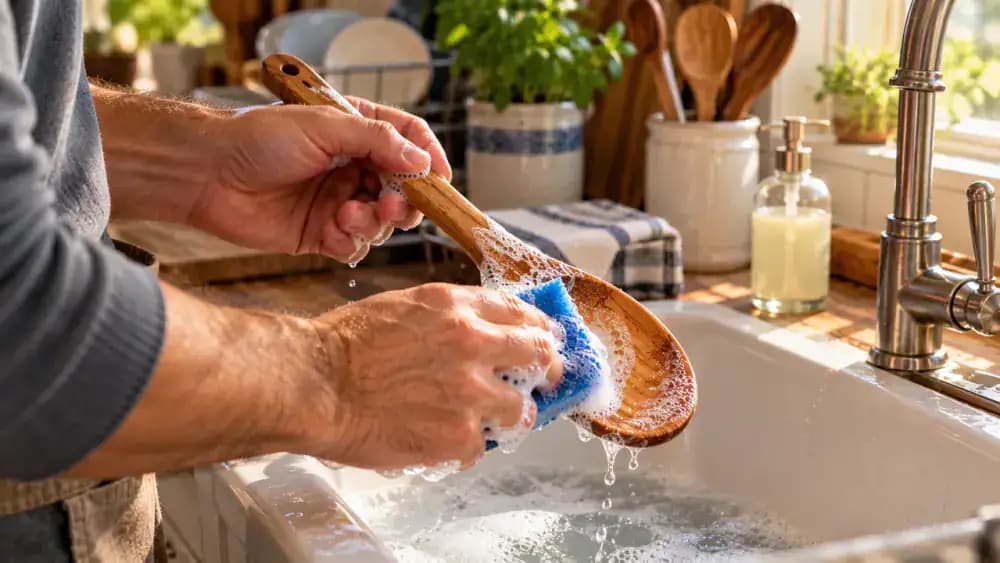
Clean Every Surface With Mild Dish Soap and a Soft Sponge
Add a small drop of mild dish soap to a damp, soft sponge. Hold the wooden spoon above the sink and gently wipe the bowl using smooth, circular motions. Turn the spoon to clean its back, edges, and entire handle with light, controlled pressure. Focus on surfaces that frequently contact food, where grease and residue can collect. Avoid abrasive scrubbers or forceful scrubbing, which can damage the wood's natural surface.
Rinse Thoroughly to Remove Soap and Food Residue
Hold the soapy wooden spoon beneath a gentle stream of warm running water, allowing the suds to wash into the sink. Slowly rotate the utensil to rinse its curved bowl, back, rounded edges, and entire handle. Pay particular attention to areas where soap can collect. Check that no slippery residue remains, but avoid prolonged water exposure. Once rinsed, lift the spoon away from the faucet and dry it immediately with a clean towel.
Towel-Dry Wooden Utensils Immediately After Rinsing
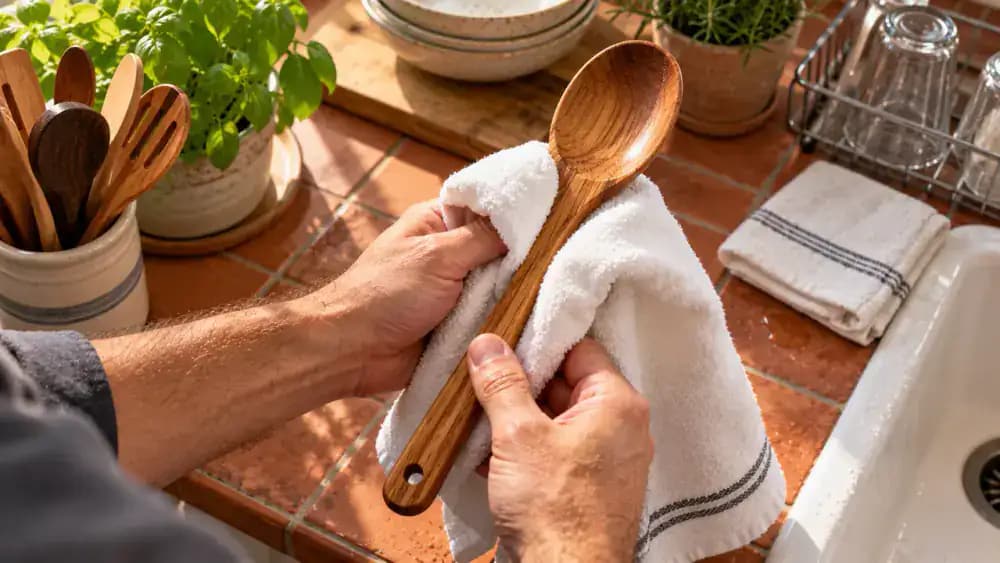
Transfer the freshly rinsed wooden spoon directly onto a clean, dry cotton towel. Gently fold the towel around the spoon bowl and blot away visible water droplets without rubbing aggressively. Continue wiping the curved edges, back, rounded tip, and entire handle, paying extra attention to areas where moisture collects. Removing surface water promptly helps limit unnecessary moisture exposure. Once towel-dried, move the spoon to a ventilated rack to finish air-drying completely.
Remove Trapped Food From Grooves and Spatula Slots
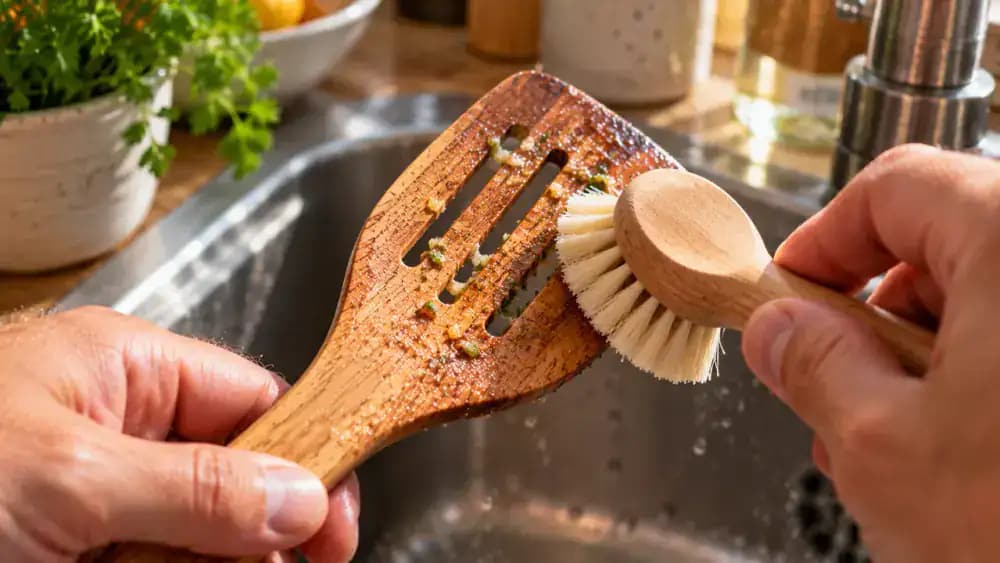
Hold the wooden spatula securely above the sink and use a damp, soft-bristled brush to loosen food trapped in narrow slots, shallow grooves, and handle joints. Work with short, gentle strokes along the natural wood grain, carefully following each edge without scratching the surface. Avoid sharp tools or aggressive scraping. Once the residue is loosened, rinse the utensil briefly with warm running water, towel-dry immediately, and allow it to air-dry completely.
Brush Both Sides of Narrow Wooden Spatula Slots
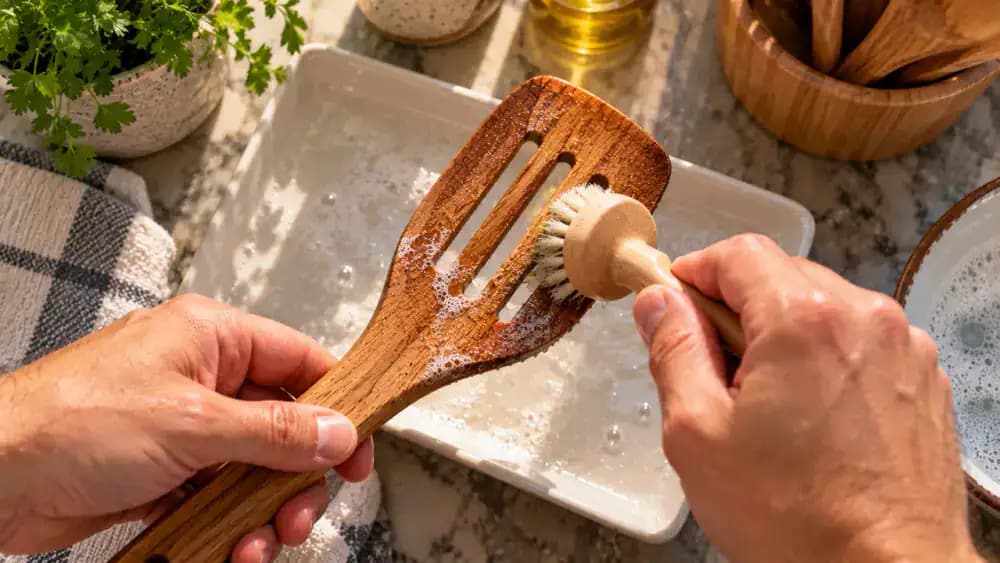
Hold the intact wooden spatula securely above a shallow cleaning tray. Guide a small, soft-bristled brush through each narrow slot using light pressure to dislodge trapped food particles. Turn the spatula over and repeat from the opposite side, making sure the bristles reach the inner edges. Inspect each opening for remaining residue before briefly rinsing and drying the utensil. Never force sharp tools into cracks or damaged joints. Replace damaged utensils instead.
Rinse Away Loosened Food and Inspect Every Slot
Hold the wooden spatula beneath a gentle stream of warm running water to flush loosened food particles from its slots and grooves. Rotate the utensil and inspect each opening from both sides, checking corners and narrow edges for remaining debris. If necessary, repeat gentle brushing before rinsing again. Blot the spatula with a clean, dry cotton towel, paying attention to accessible edges, then place it on a ventilated drying rack.
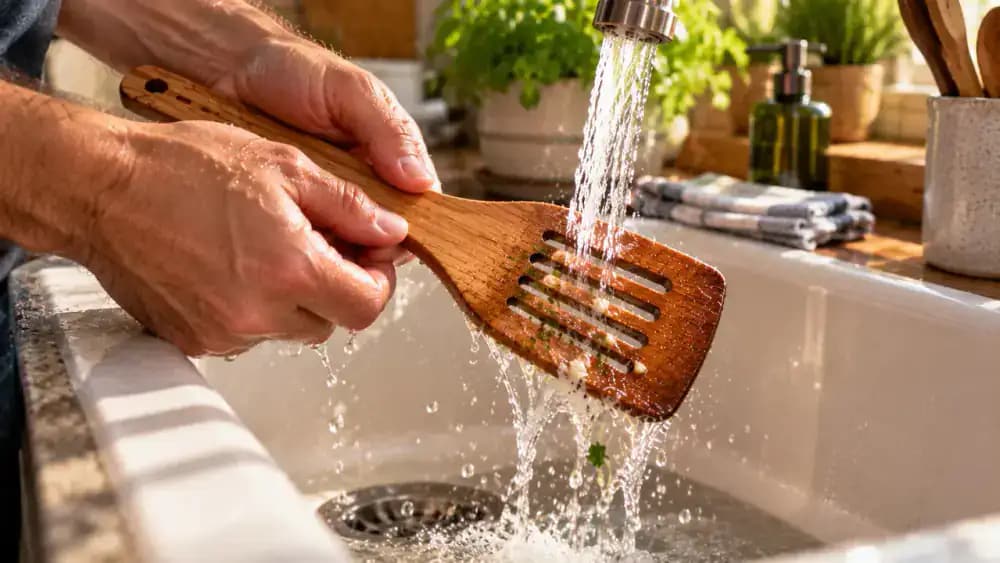
Check Wooden Spoons for Lingering Cooking Odors
Pick up a clean, towel-dried wooden spoon by its handle and bring the bowl close to your nose without touching your face. Check for lingering smells from garlic, onions, or strong spices, then examine the surface for remaining food residue. Place any spoon with noticeable odors on a separate clean tray for another gentle wash. Keep the other utensils on a ventilated rack until they are completely dry before storing.

Remove Stubborn Cooking Odors With a Second Gentle Wash
Hold the wooden spoon above the sink and apply a small drop of mild dish soap to a damp, soft sponge. Gently wipe the spoon bowl, back, edges, and handle, concentrating on surfaces that retain garlic or onion odors. Rinse thoroughly under warm running water without soaking the wood. Immediately blot away moisture with a clean cotton towel, then place the spoon on a ventilated rack to dry completely.
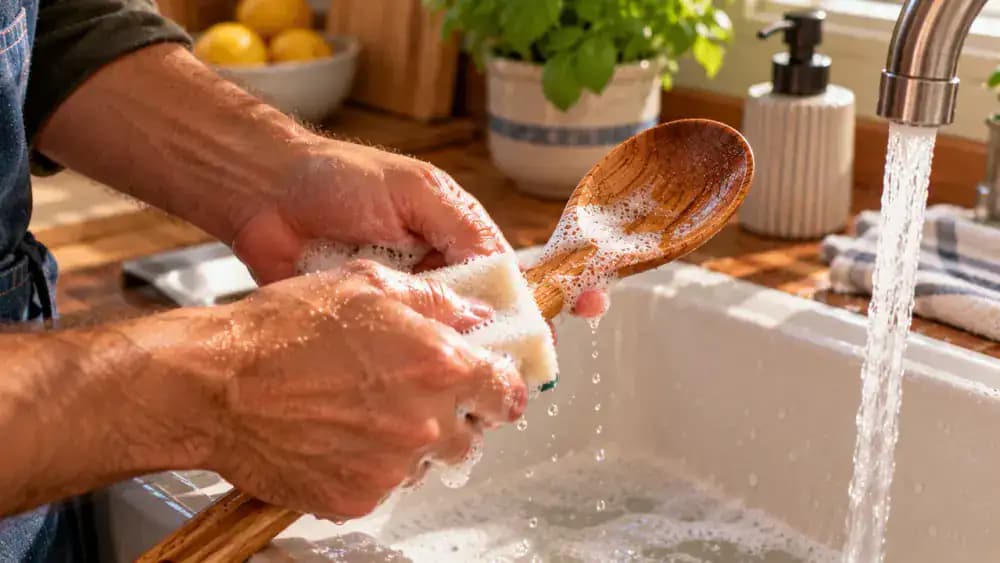
Decide When Persistent Odors Call for Replacement
Allow the freshly washed wooden spoon to air-dry completely on a ventilated rack before checking its smell again. Lift the dry spoon near your nose, then inspect the bowl, handle, and joints for trapped food residue or damage. Use good lighting to identify cracks or separated joints. If strong, unpleasant odors persist despite thorough cleaning and drying, replace the utensil rather than repeatedly soaking it or using harsh chemicals.

Space Wooden Utensils Apart on a Ventilated Drying Rack
Place each freshly washed and towel-dried wooden utensil individually on a clean, elevated drying rack. Arrange spoons and spatulas across separate supports, leaving visible gaps between their handles and heads. Adjust any overlapping pieces so air can circulate freely around every surface. Position the rack on a dry countertop away from the sink and standing water. Allow the utensils to air-dry completely before storing them to help prevent trapped moisture and warping.
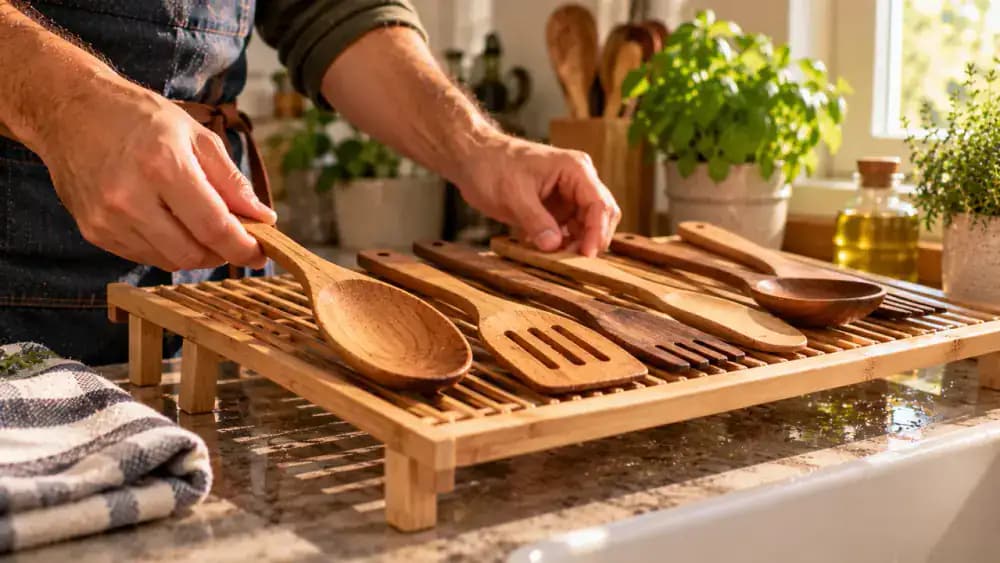
Move the Drying Rack Away From Heat and Direct Sunlight
Check where your wooden utensils are drying and move the rack away from sunny windows, heating vents, radiators, and hot stovetops. As shown, relocate the entire rack to a shaded, dry countertop and adjust nearby blinds if necessary. Excessive heat can dry the wood unevenly, increasing the risk of warping or cracking. Choose a well-ventilated spot at room temperature, keeping each utensil separated until it is completely dry.

Make Sure Wooden Utensils Are Completely Dry Before Storage
Lift each wooden utensil from the drying rack and examine its bowl, handle, edges, and grooves under good lighting. Gently touch the surface with clean fingertips to check for lingering dampness. Pay particular attention to narrow grooves where water droplets can remain hidden. If any area feels damp or shows visible moisture, return the utensil to the ventilated rack. Store wooden spoons and spatulas only after every surface is completely dry.
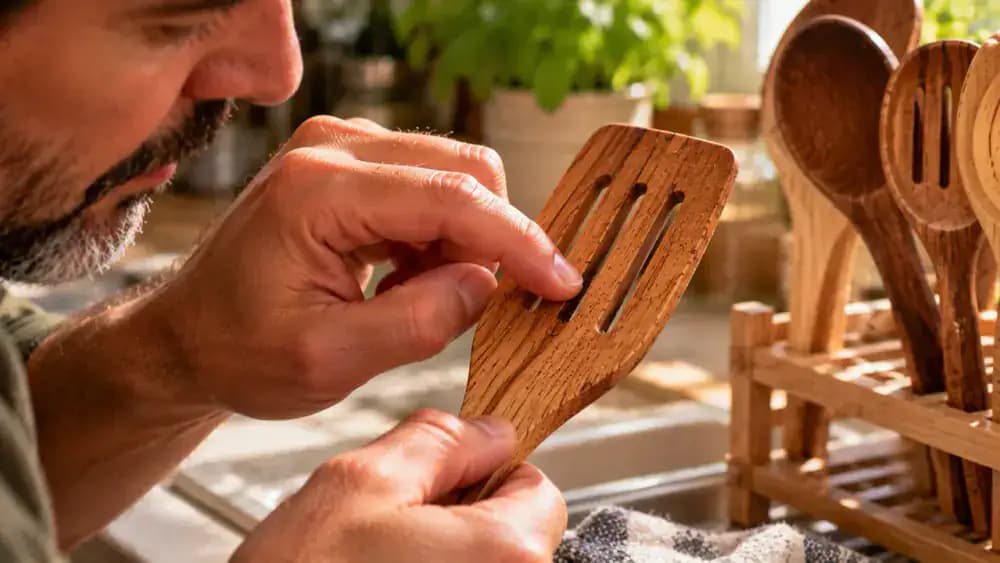
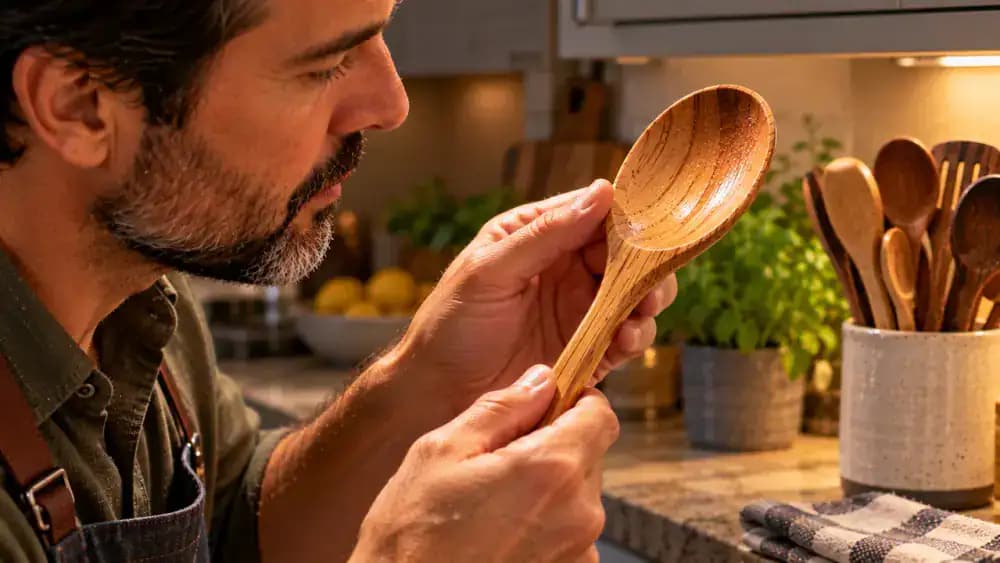
Inspect Dry Wooden Spoons for Raised Grain and Surface Damage
Hold each completely dry wooden spoon under good lighting and slowly rotate it to examine the bowl, back, neck, and handle. Look for raised grain, rough patches, cracks, or loose splinters. Gently feel smooth areas with your fingertips, avoiding sharp or damaged sections. Slight surface fuzziness may qualify for manufacturer-approved smoothing, but cracked or splintering utensils must be replaced. Set intact utensils aside for further care and separate damaged pieces immediately.
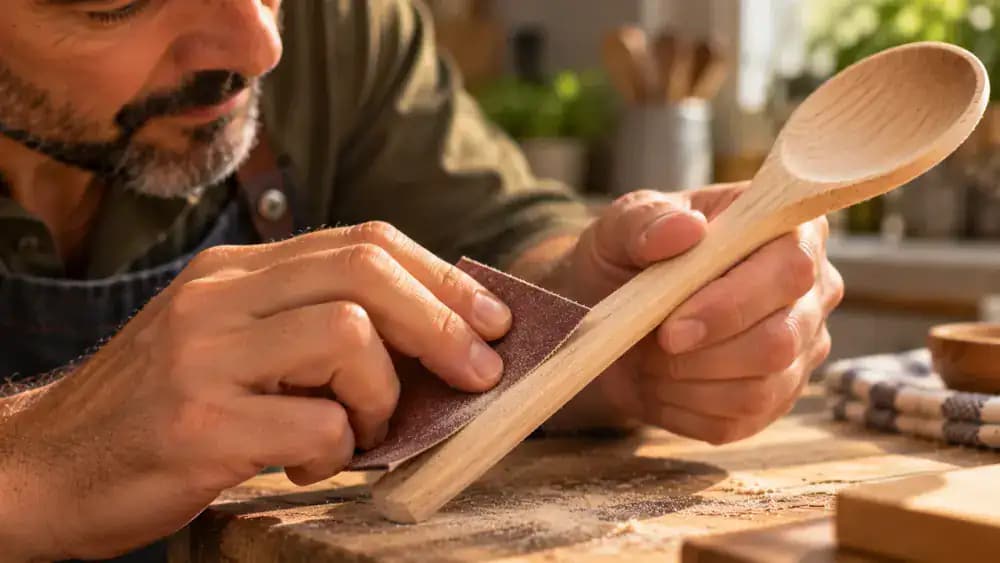
Gently Smooth Raised Wood Grain With Fine Sandpaper
If the manufacturer permits sanding, place a completely dry, intact, unfinished solid wood spoon on a stable work surface. Use 220-grit sandpaper to gently smooth small areas of raised grain with short, light strokes following the wood grain. Avoid excessive pressure or removing unnecessary material. Wipe away all sanding dust with a clean, dry, lint-free cloth, then inspect the surface carefully. Never sand cracked or splintering utensils.
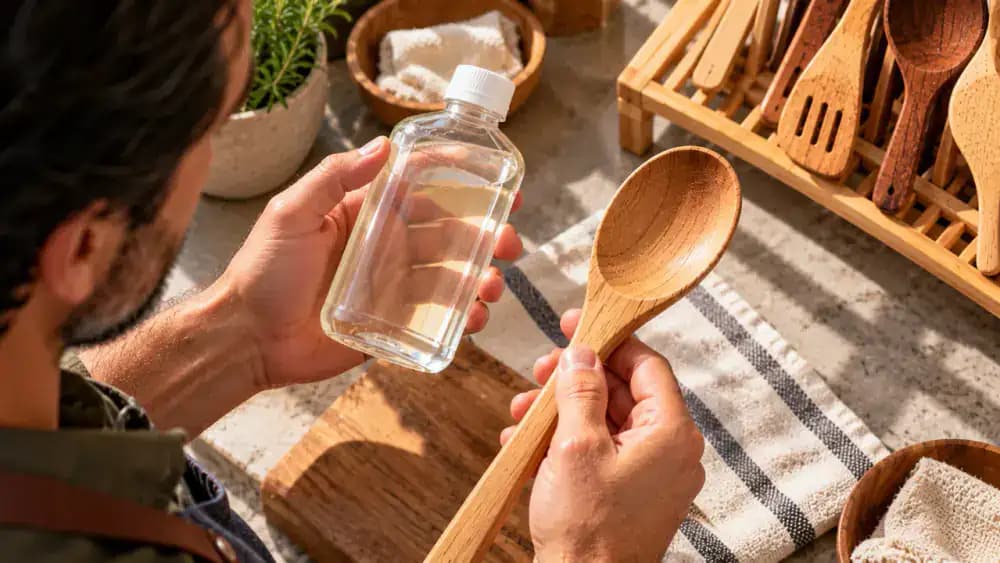
Choose a Food-Safe Conditioner for Wooden Kitchen Utensils
Place your clean, completely dry wooden spoon on a fresh cotton cloth and examine the label of a wood conditioner before using it. Choose a product specifically approved for food-contact wooden utensils, such as food-grade mineral oil. Read the application directions and confirm compatibility with your utensil's manufacturer instructions. Avoid cooking oils that can turn rancid, furniture polish, and non-food-safe finishes. Only condition structurally intact utensils that are suitable for treatment.
Apply a Thin, Even Layer of Food-Safe Wood Conditioner
Place a completely clean, dry, intact wooden spoon on a protected work surface. Following the product instructions, add a few drops of food-grade mineral oil to a clean, lint-free cotton cloth. Gently spread the conditioner across the spoon bowl, back, rounded edges, neck, and handle using smooth, controlled strokes. Aim for thin, even coverage without oversaturating the wood. Allow the conditioner to absorb according to the manufacturer's directions before removing any excess.
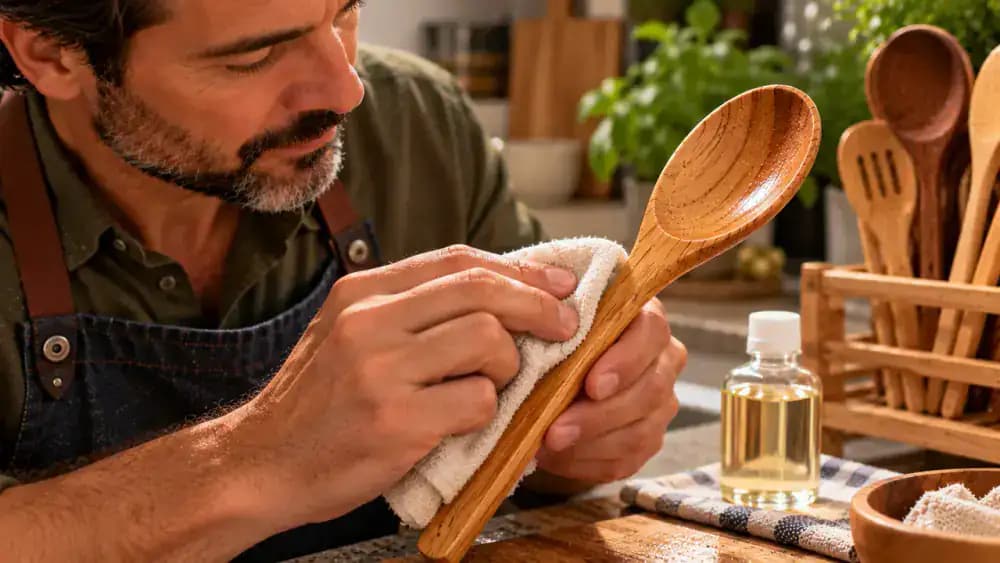
Wipe Away Excess Conditioner and Check for Greasy Spots
After allowing the food-safe conditioner to absorb for the time specified on its label, use a fresh, dry, lint-free cotton cloth to remove excess oil. Gently wipe the spoon bowl, back, rounded edges, and entire handle. Rotate the utensil under good lighting to check for shiny patches, then lightly touch the handle to detect slippery residue. Place the spoon on a clean stand and follow the manufacturer's resting instructions before using it.
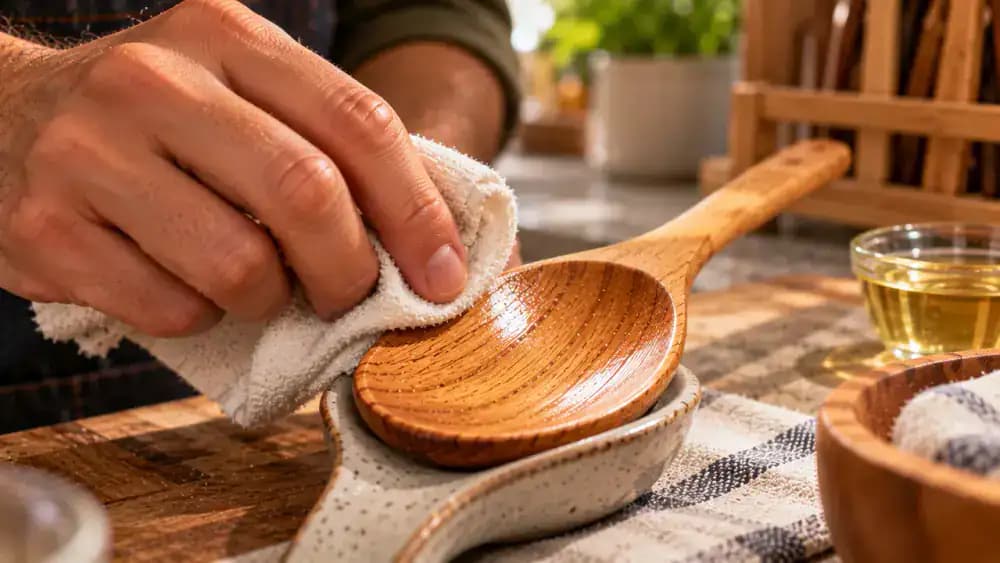
Inspect the Conditioned Wooden Spoon Before Using It
Once the manufacturer's recommended resting time has passed, lift the conditioned wooden spoon and rotate it under bright lighting. Examine the bowl, rounded edges, neck, and handle for cracks, splinters, or loose joints. Gently touch an undamaged area to check for smoothness and greasy residue. Press a clean, lint-free cloth against the surface to detect excess oil. Set aside any damaged utensils for replacement, and store only clean, dry, intact spoons.
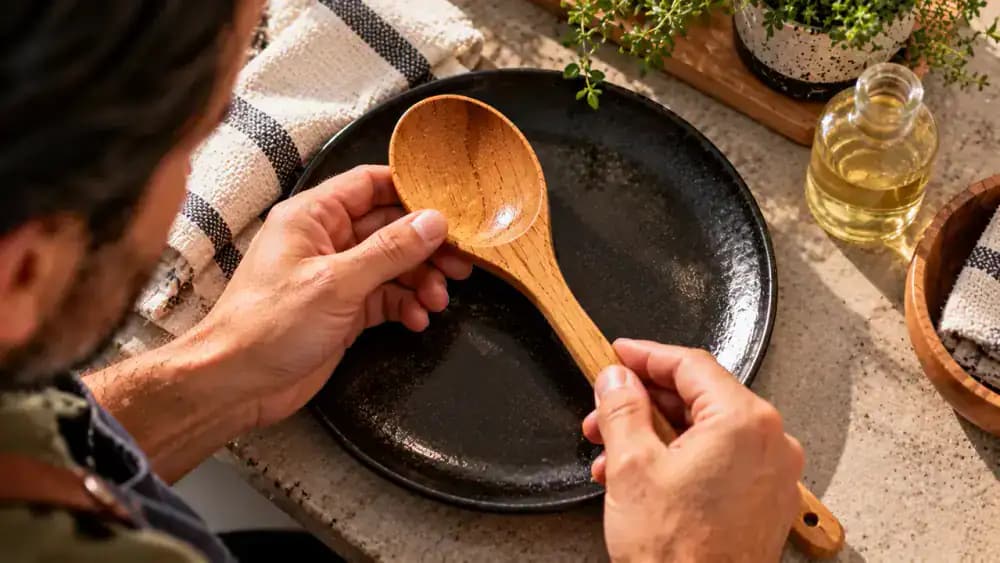
Store Clean Wooden Utensils in a Dry, Uncrowded Drawer
Open a clean, completely dry kitchen drawer and arrange your wooden utensils loosely inside a utensil organizer. Place each spoon and spatula in a separate compartment when possible, leaving enough space to prevent crowding, bending, or overlapping. Confirm that every utensil is fully dry and has completed any required conditioning before storage. Keep the drawer away from sink splashes and excessive heat, and make sure handles do not catch when closing it.
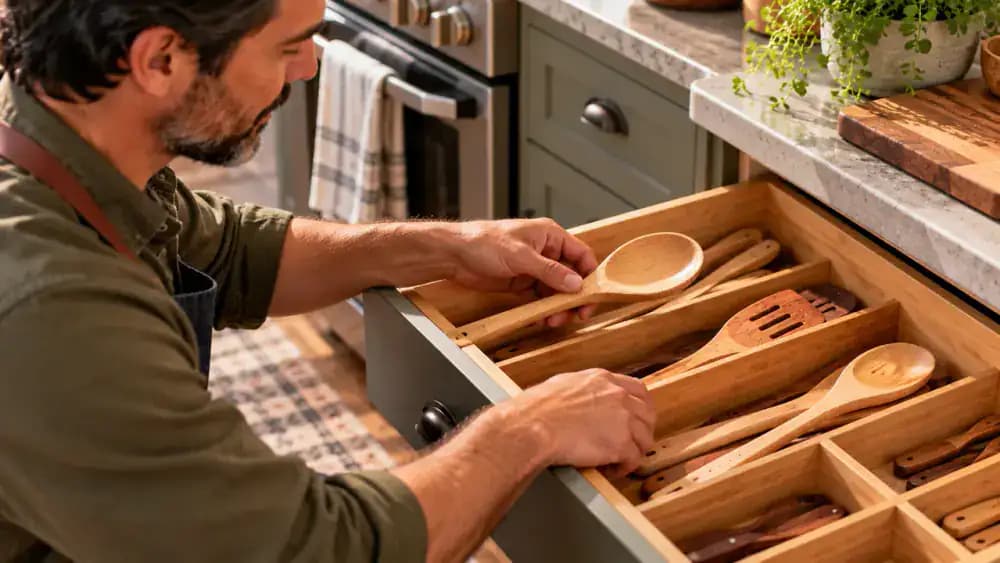
Follow a Simple Daily Routine to Keep Wooden Utensils in Good Condition
After each use, wash your wooden spoon promptly with mild dish soap, warm running water, and a soft sponge. Rinse away all soap residue, then immediately blot the utensil with a clean cotton towel. Place it on an elevated rack with enough airflow to dry completely before storage. Check regularly for cracks, splinters, or rough surfaces, and condition suitable wood when needed according to manufacturer instructions. Replace any cracked or splintering utensils.
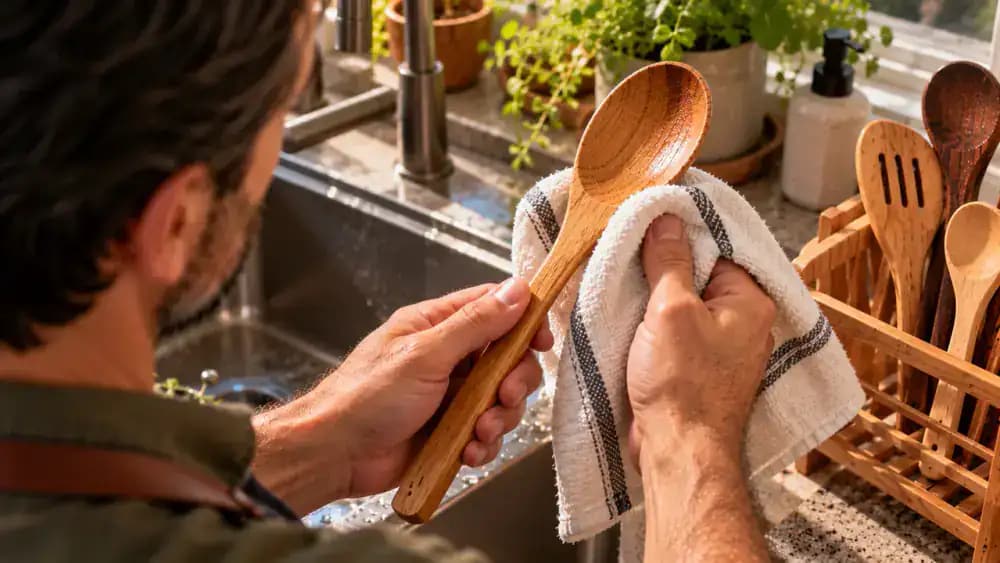
Check When Wooden Utensils Need Conditioning or Replacement
Arrange your clean, completely dry wooden utensils on a well-lit surface and examine each one for dullness, raised grain, lingering odors, cracks, or loose joints. Compare an intact spoon with a visibly damaged utensil to identify maintenance needs. Check manufacturer instructions before applying food-safe conditioner to suitable unfinished wood. Set aside cracked or splintering utensils for replacement, and discard any utensil that cannot be cleaned thoroughly. Never use conditioning to conceal structural damage.
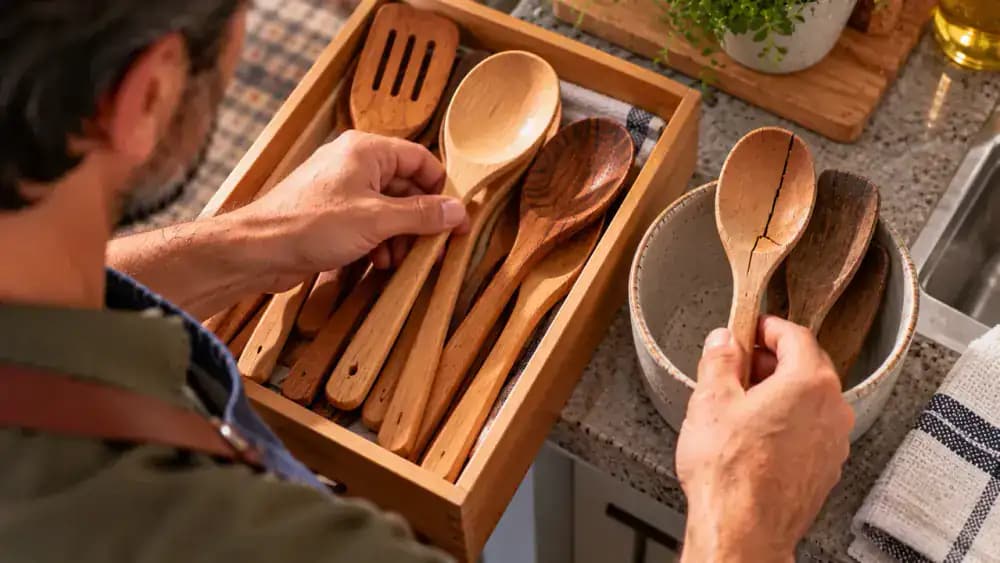
Avoid Everyday Habits That Damage Wooden Utensils
Keep wooden spoons out of the dishwasher and move spatulas away from standing water instead of leaving them to soak. Place utensils on a dry surface away from hot stovetops, radiators, and direct sunlight. For everyday cleaning, use mild dish soap, warm water, and a soft sponge rather than abrasive scrubbers. Avoid unsuitable oils and finishes. These simple precautions help protect wooden surfaces from unnecessary moisture, heat, and wear.
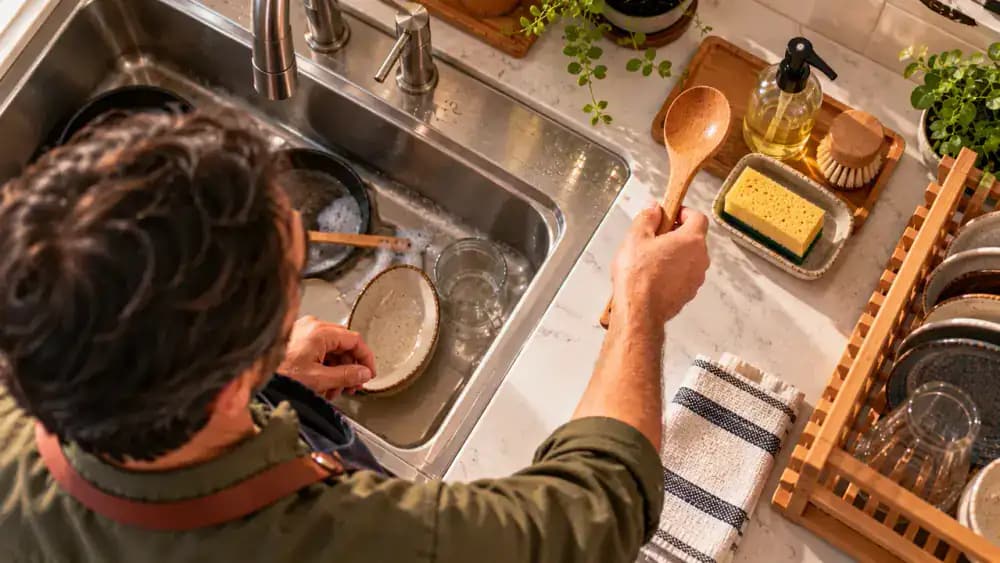
Review Your Wooden Utensil Care Checklist
Review the care checklist before returning wooden utensils to everyday use. Inspect for damage, wash with mild dish soap, clean grooves using a soft brush, and rinse thoroughly. Towel-dry immediately, then allow complete air-drying on a ventilated rack. Check for lingering odors, roughness, cracks, and splinters. Apply manufacturer-approved food-safe conditioner only when appropriate for intact wood. Replace damaged utensils rather than attempting repairs that could make them unsafe for cooking.
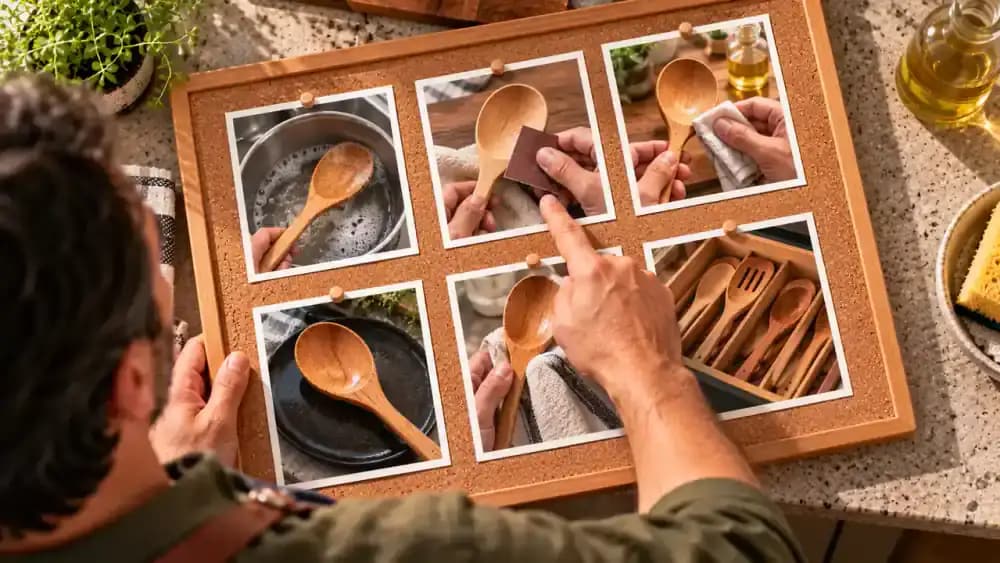
Keep Wooden Spoons Ready for Everyday Cooking
Choose a clean, completely dry wooden spoon from its storage holder and briefly inspect the bowl and handle before using it. Check for cracks, splinters, or lingering residue, then use the intact spoon for everyday food preparation. After stirring, place it on a clean spoon rest rather than a wet countertop. Continue gentle hand-washing, thorough drying, and regular inspections to maintain your utensils. Replace damaged pieces and follow manufacturer care instructions.

Wooden spoons and kitchen utensils are everyday essentials, but keeping them clean without damaging the wood takes a little care. Over time, they can develop stubborn food stains, lingering cooking odors, rough surfaces, and even cracks. Common cleaning habits, such as leaving wooden spoons soaking in the sink, running them through the dishwasher, or drying them near direct heat, can make these problems worse. Fortunately, you don't need harsh chemicals or complicated cleaning methods to keep your wooden utensils in good condition.
The best way to clean wooden spoons is to hand-wash them with mild dish soap and warm water, remove trapped food gently, and dry them thoroughly after every use. In this guide, you'll learn how to clean wooden spoons and spatulas, tackle lingering odors, and maintain the wood with appropriate food-safe conditioning products. You'll also learn when an utensil needs replacing rather than cleaning. Never continue using cracked or splintering utensils, and always follow manufacturer instructions for laminated or specialty wood.
Where people go wrong
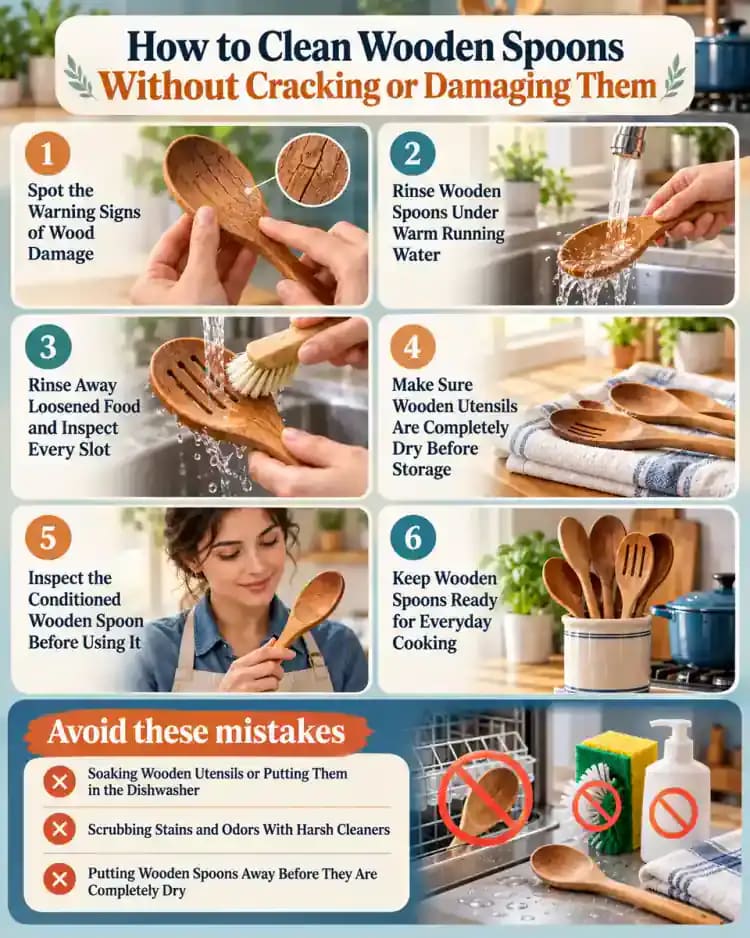
Soaking Wooden Utensils or Putting Them in the Dishwasher. Leaving wooden spoons submerged in water or running them through dishwasher cycles exposes the wood to excessive moisture and heat. This can contribute to swelling, warping, and cracking over time. Instead, hand-wash utensils promptly with mild dish soap and warm running water, then rinse thoroughly.
Scrubbing Stains and Odors With Harsh Cleaners. Aggressive scrubbing, abrasive brushes, and harsh cleaning chemicals can damage wooden surfaces without properly addressing trapped food or lingering smells. Use a soft sponge and gentle brush to clean grooves and edges. For persistent cooking odors, repeat the gentle wash rather than soaking the utensil.
Putting Wooden Spoons Away Before They Are Completely Dry. Storing wooden utensils while they are still damp traps moisture against the wood and can contribute to deterioration. Dry each utensil immediately with a clean towel, then place it on a ventilated drying rack. Avoid direct heat and wait until the wood is completely dry before storing.
Ignoring Cracks, Splinters, and Unsafe Wood Treatments. Continuing to use cracked or splintering utensils creates avoidable safety concerns, while applying non-food-safe oils or finishes can make kitchen tools unsuitable for food contact. Inspect utensils regularly, replace damaged pieces, and use only appropriate food-safe conditioners. Follow manufacturer instructions for laminated or specialty wood.
Questions people ask
Yes, mild dish soap and warm running water are suitable for cleaning wooden spoons and most everyday wooden utensils. Use a soft sponge to gently wash every surface, paying attention to areas where food collects. Rinse thoroughly, towel-dry immediately, and let the utensil air-dry completely before putting it away.
Fixed it?
Get one guide like this every Thursday.