How to Clean Sticky Air Fryer Grease Without Damaging the Nonstick Coating
Sticky grease, clogged basket holes, and baked-on residue can make your air fryer difficult to clean. Learn how to loosen stubborn buildup with warm soapy water, gentle tools, and safe cleaning techniques that protect the nonstick coating.

What you’ll need
Tap to tick things off before you start.
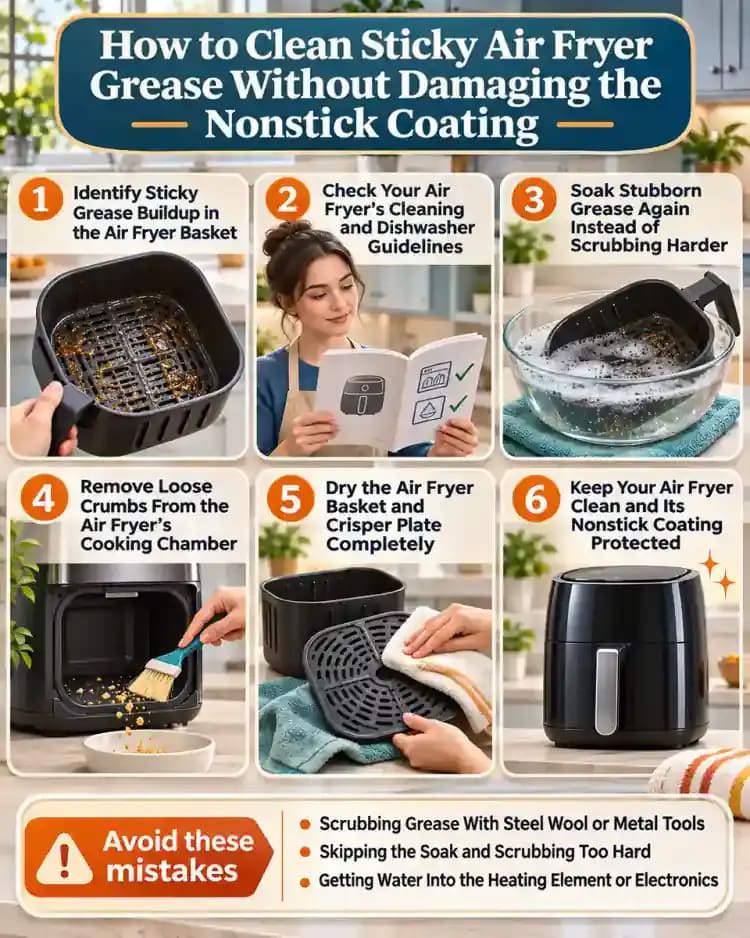
Identify Sticky Grease Buildup in the Air Fryer Basket
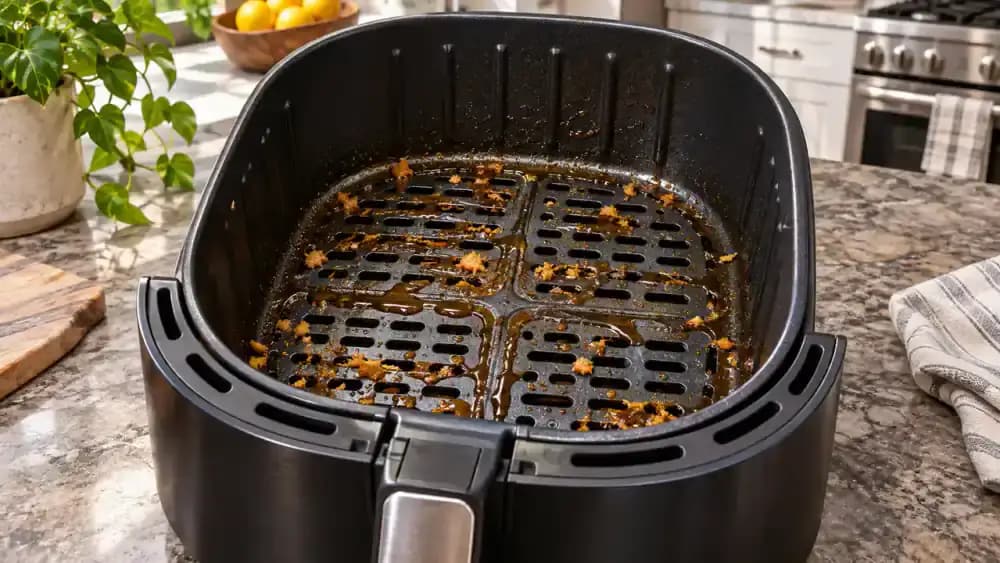
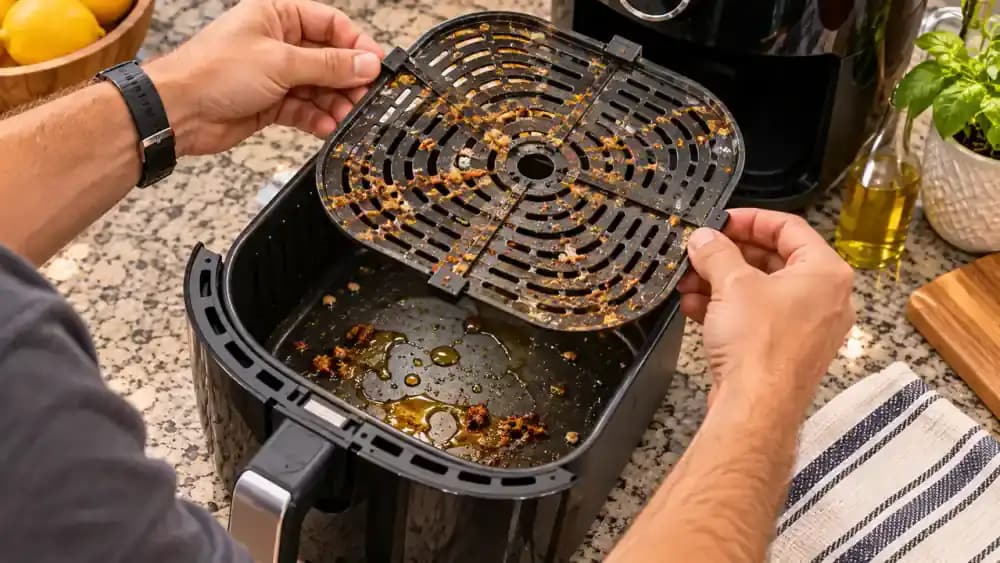
Place the completely cooled, removable air fryer basket on a clean countertop and gently tilt it to inspect the cooking surface. Look for amber-colored sticky grease, baked-on residue around the small perforations, and buildup along the corners and tray edges. Check areas where crumbs collect or the surface still feels tacky after washing. Avoid scraping stubborn spots, since abrasive tools can damage the intact nonstick coating beneath the grease.
Choose Soft Cleaning Tools to Protect the Nonstick Surface
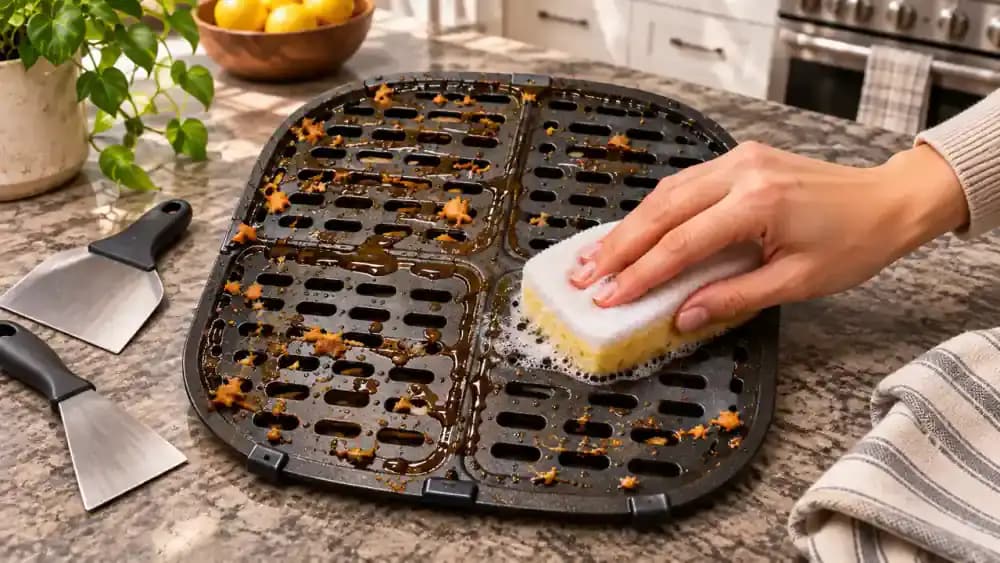
Place a soft, nonabrasive sponge and mild dish soap beside the completely cooled, removable crisper plate. As shown, gently press the sponge against a greasy area to demonstrate how little pressure is needed. Keep metal scrapers, steel wool, and rough scouring pads away from coated surfaces. Before actually scrubbing, let approved removable parts soak in warm, soapy water to soften stubborn residue and reduce friction against the nonstick coating.
Unplug the Air Fryer and Let It Cool Completely
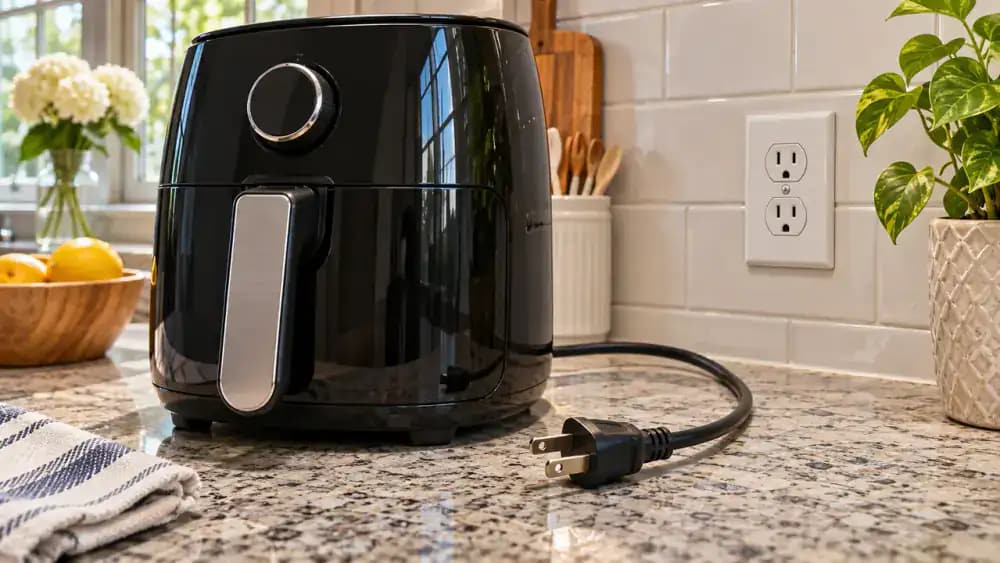
Turn off the air fryer and disconnect it from the wall outlet before beginning any cleaning. As shown, grip the insulated plug firmly and pull it straight out rather than tugging on the power cord. Keep the countertop, outlet, and your hands completely dry. Even after the display turns off, the basket and internal components may remain hot. Wait until the entire appliance has cooled before removing any parts.
Remove the Cooled Air Fryer Basket Safely
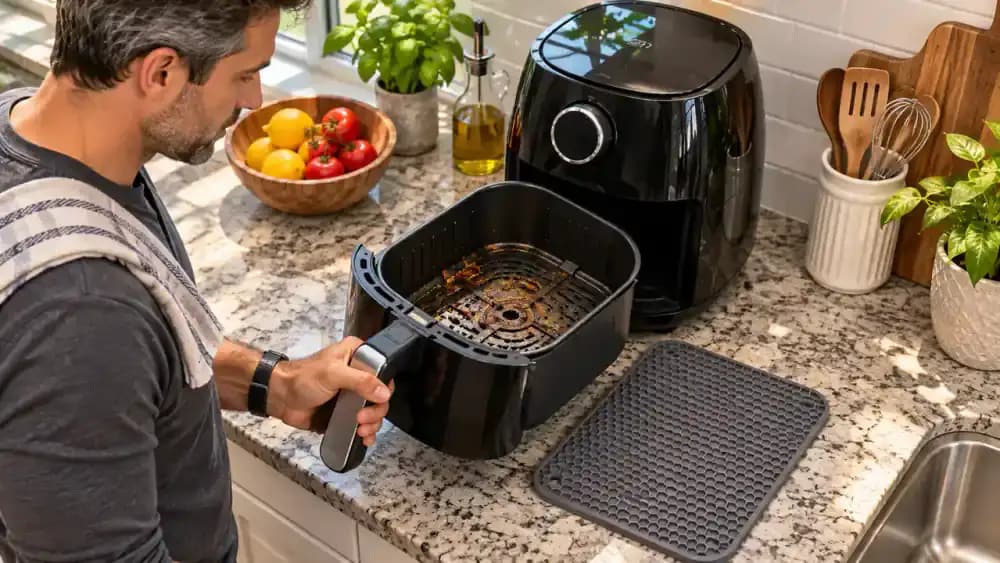
With the air fryer unplugged, wait until the basket, crisper plate, and interior surfaces have cooled completely. Follow your manufacturer's recommended cooling time rather than assuming the appliance is safe because cooking has stopped. Once everything is cool to the touch, grip the basket handle and slide it straight out, as shown. Place the basket upright on a stable, heat-resistant mat to prevent slipping while preparing for cleaning.
Lift Out the Crisper Plate and Approved Removable Parts
Set the completely cooled air fryer basket on a stable surface, using a folded towel to prevent slipping. Locate the crisper plate's designated silicone tabs or handles and gently lift it straight out, as shown. Place the plate beside the basket without scraping the nonstick surfaces together. Check your owner's manual before removing additional components, since some parts are not designed for disassembly or soaking. Never force a stuck component loose.
Check Your Air Fryer's Cleaning and Dishwasher Guidelines
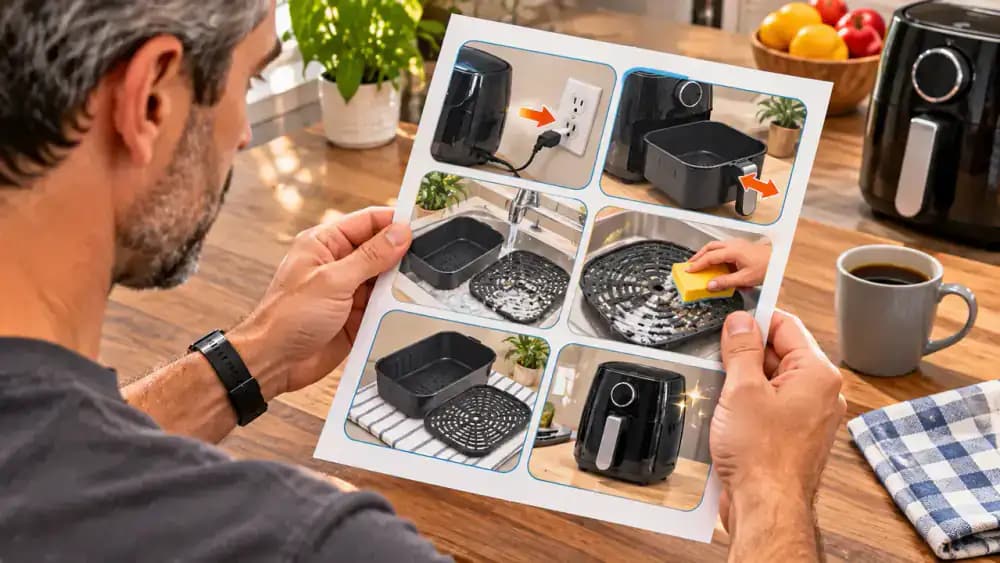
Open your air fryer's owner's manual to the cleaning and maintenance section, as shown, and review the instructions for each removable component. Look for dishwasher-safe symbols, approved soaking methods, recommended detergents, and special precautions for nonstick surfaces. Some baskets and crisper plates require gentle handwashing, even when other parts are dishwasher-safe. If instructions differ between components, follow each requirement separately. Never submerge a part unless the manufacturer explicitly permits it.
Prepare Gentle Cleaning Supplies for the Air Fryer
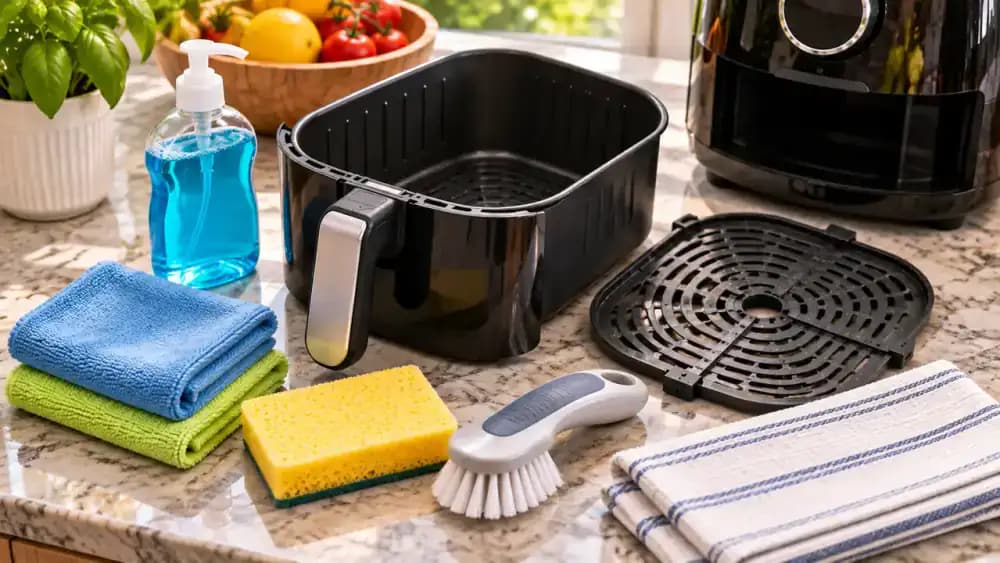
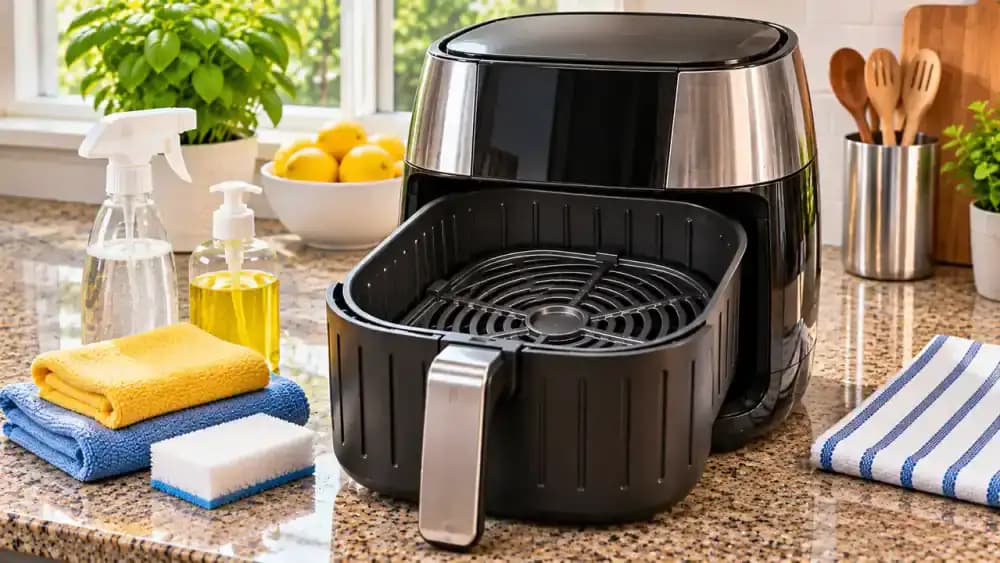
Arrange mild dish soap, a soft nonabrasive sponge, two microfiber cloths, a soft nylon brush, and a clean drying towel on your countertop, as shown. Set an empty bowl nearby for warm water when you begin washing approved removable parts. Keep the cooled basket and crisper plate separate from the unplugged main appliance. Avoid harsh degreasers, steel wool, and metal scrapers that could damage the nonstick coating during cleaning.
Mix Warm Water and Mild Dish Soap for Soaking
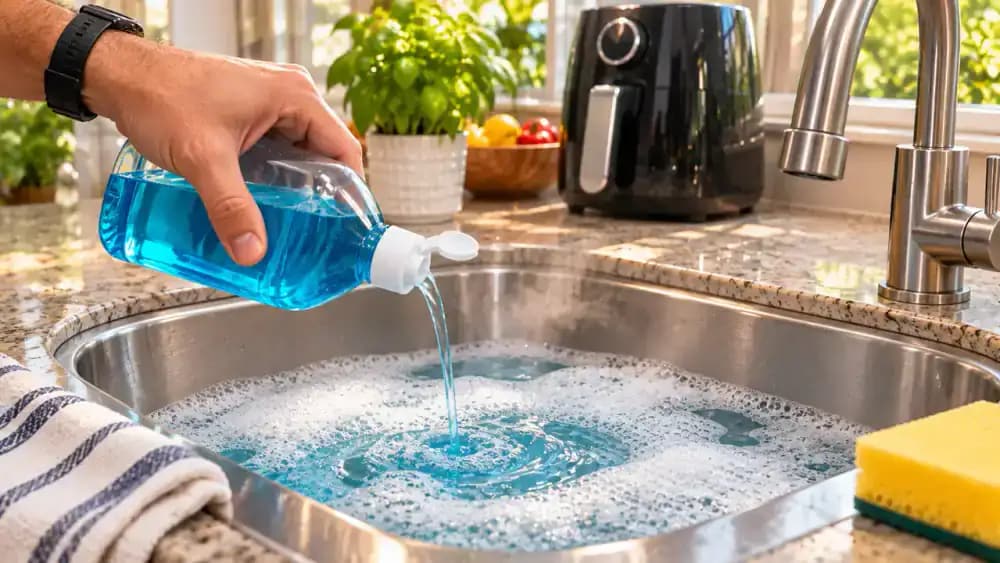
Fill a clean sink or wash basin with comfortably warm water, leaving enough room for the approved removable air fryer parts. Add a few drops of mild dish soap, as shown, and gently swirl the water to distribute the soap evenly. Avoid boiling water, which may damage certain nonstick coatings or components. Keep the basin away from the main appliance, and confirm that each removable part is approved for soaking before submerging it.
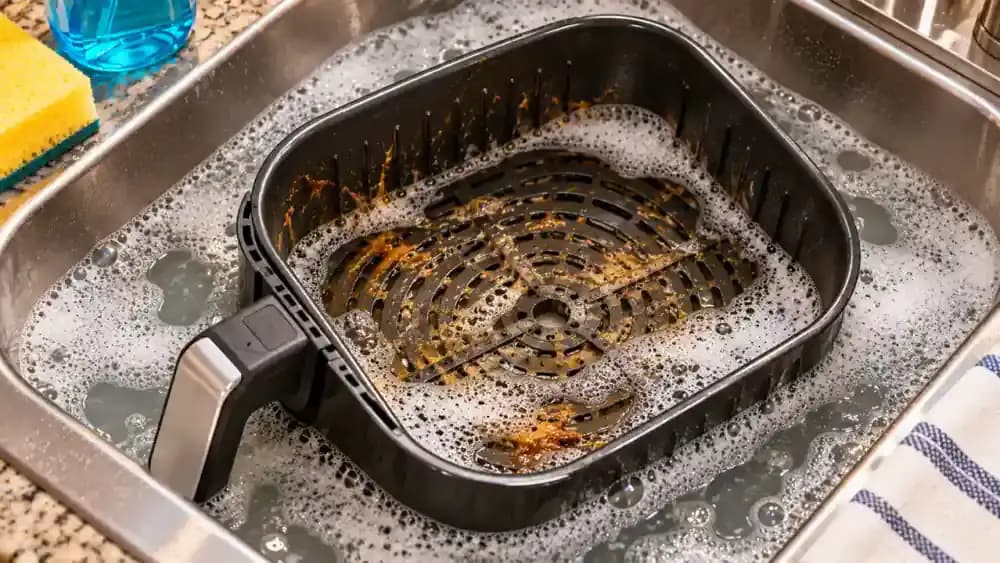
Soak the Air Fryer Basket for 10-20 Minutes
Carefully lower the completely cooled, removable air fryer basket into the basin of warm, soapy water, as shown. Only submerge it if your manufacturer's instructions permit soaking. Make sure the greasy interior, corners, and edges contact the water without forcing the basket against the basin. Let it soak for 10-20 minutes, or follow your model's recommended duration. This softens stubborn grease and makes gentle cleaning easier without aggressive scrubbing.
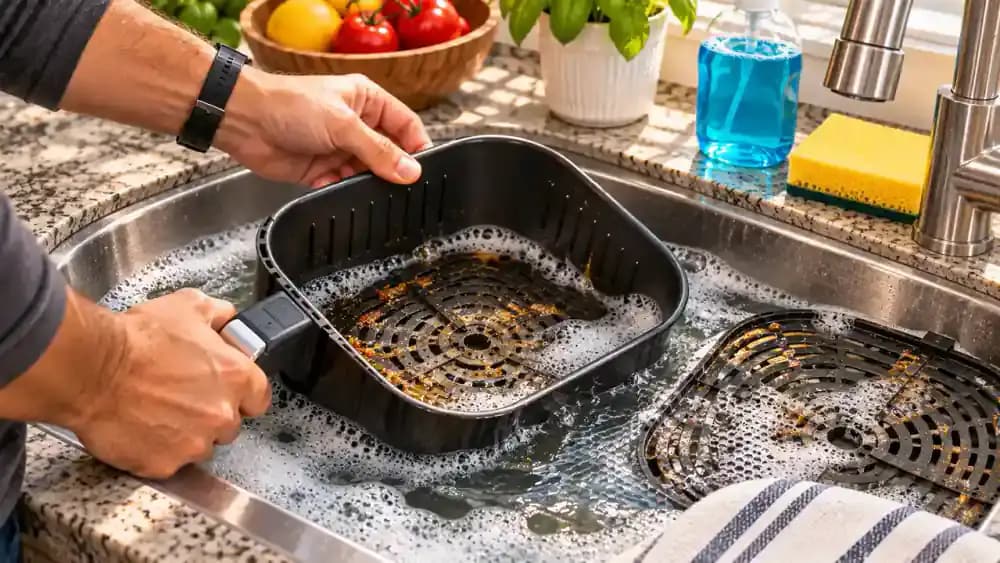
Test the Softened Grease Before Scrubbing
After the recommended soaking time, carefully lift the removable basket from the soapy water and let excess moisture drain over the sink. Place it on a clean draining rack, then gently press a soft, damp sponge against one greasy spot, as shown. If the residue shifts with light pressure, it is ready for cleaning. If it remains firmly attached, repeat the soak if permitted instead of scrubbing harder.
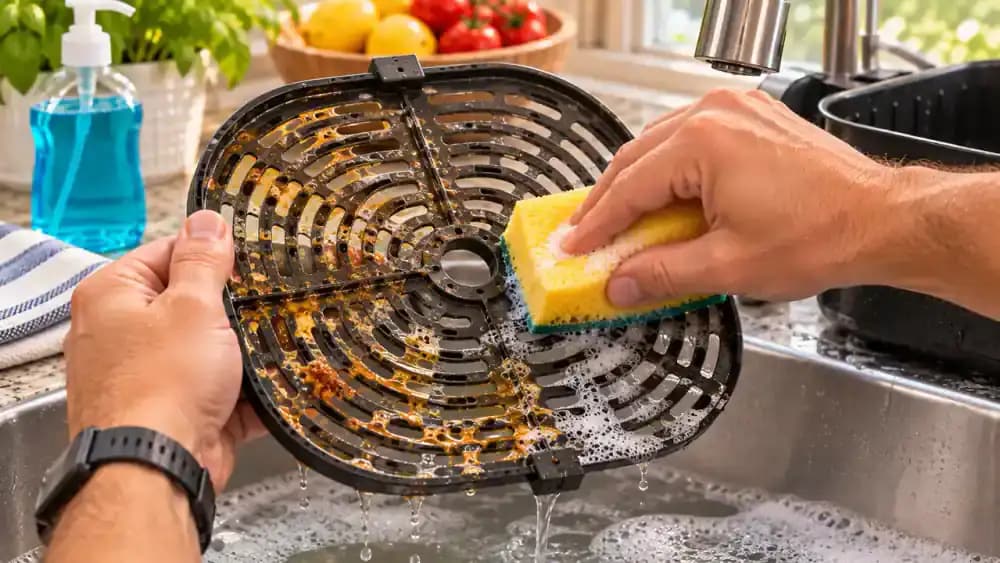
Remove Softened Grease With Gentle Circular Motions
Hold the cooled basket steady by its handle and move a damp, soapy, nonabrasive sponge in small circular motions across the bottom and inner walls, as shown. Apply light pressure and clean one section at a time, allowing the softened grease to lift gradually. Rinse the sponge under running water whenever it collects residue, then continue cleaning. Avoid forceful scrubbing, especially around corners and areas where grease remains firmly attached.
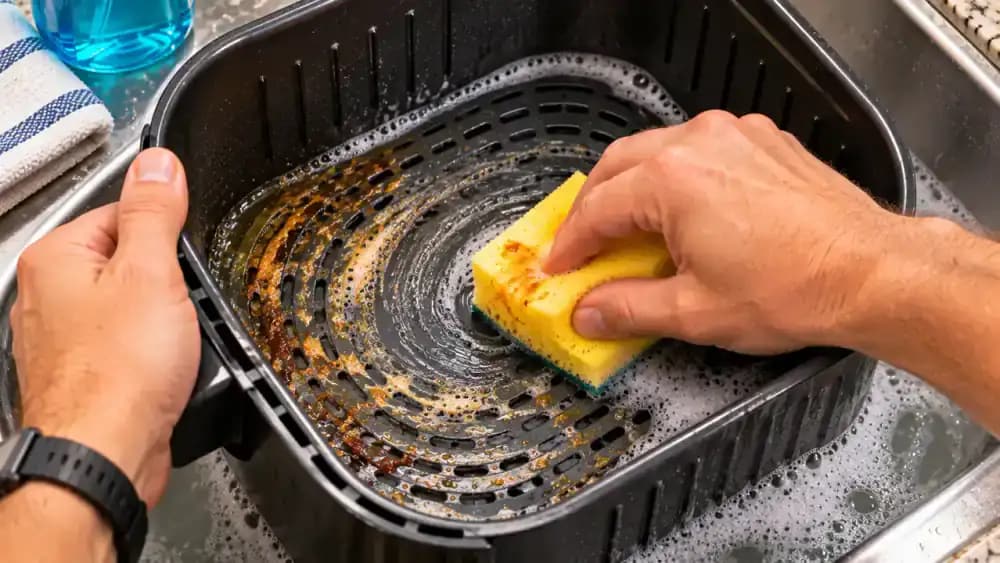
Soak Stubborn Grease Again Instead of Scrubbing Harder
If sticky grease remains after gentle cleaning, stop scrubbing rather than increasing pressure. As shown, lift the soft sponge away from the stubborn patch and carefully return the removable basket to warm, soapy water. Only repeat soaking if your manufacturer's instructions permit it. Allow additional time for the residue to soften, then try wiping it again with light circular motions. Never force stubborn buildup off with metal tools or abrasive pads.
Remove Trapped Grease From Air Fryer Basket Corners
Hold the cooled, removable air fryer basket steady and use a soft nylon brush or toothbrush dipped in mild, soapy water to reach greasy corners. As shown, angle the bristles gently along the seam where the basket floor meets the side wall. Work with short, controlled strokes to loosen trapped residue without scratching the nonstick coating. Rinse the brush as grease accumulates, and avoid forcing bristles into narrow gaps.
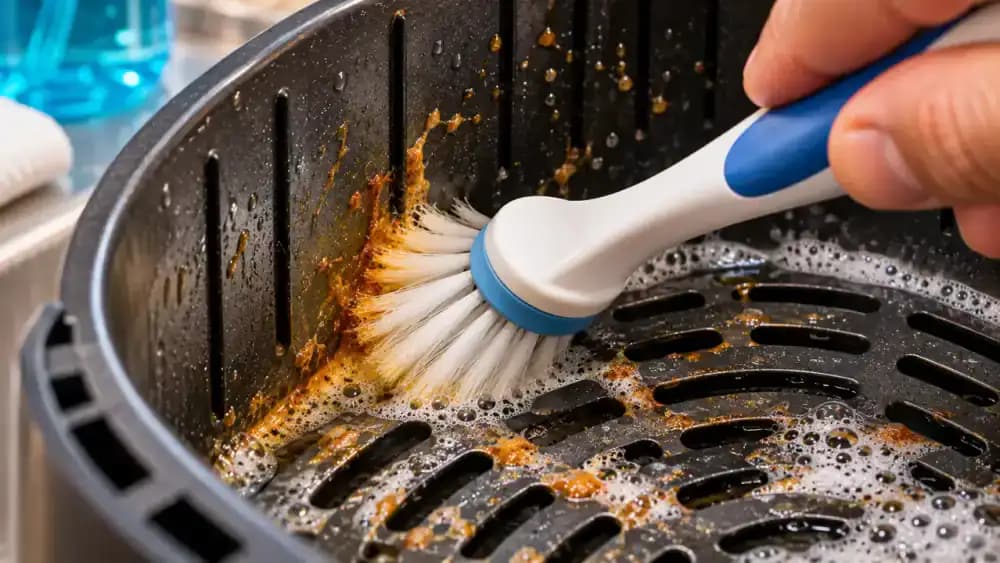
Clear Grease and Food Residue From Crisper Plate Holes
Place the completely cooled, removable crisper plate on a soft, stable surface and hold it securely by its designated grip. As shown, gently sweep a soft nylon brush dipped in mild, soapy water across the ventilation holes to loosen trapped grease and food particles. Carefully turn the plate over and clean the opposite side. Use short, controlled strokes without forcing bristles through the openings or scratching the nonstick coating.
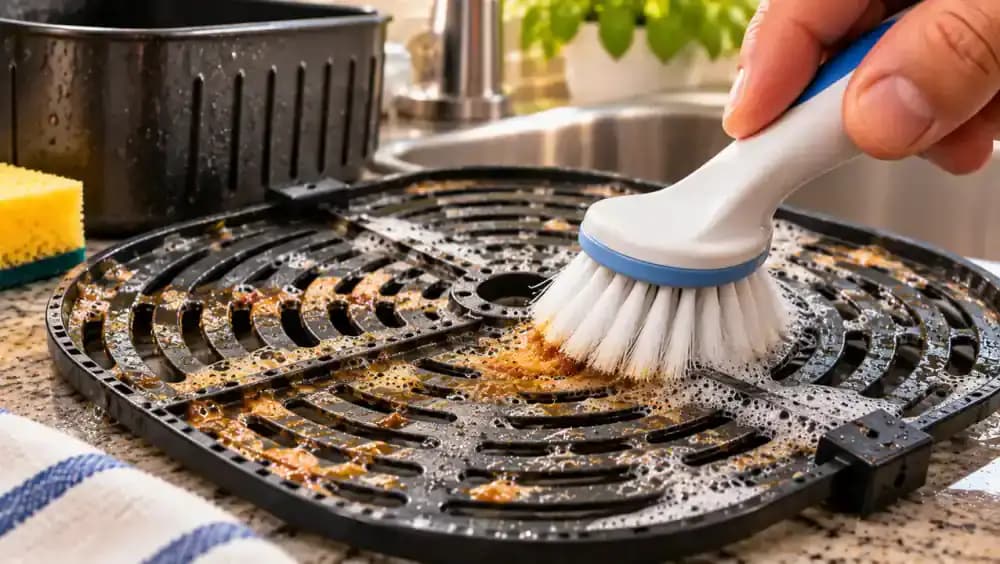
Wipe Sticky Grease From Crisper Plate Edges and Grooves
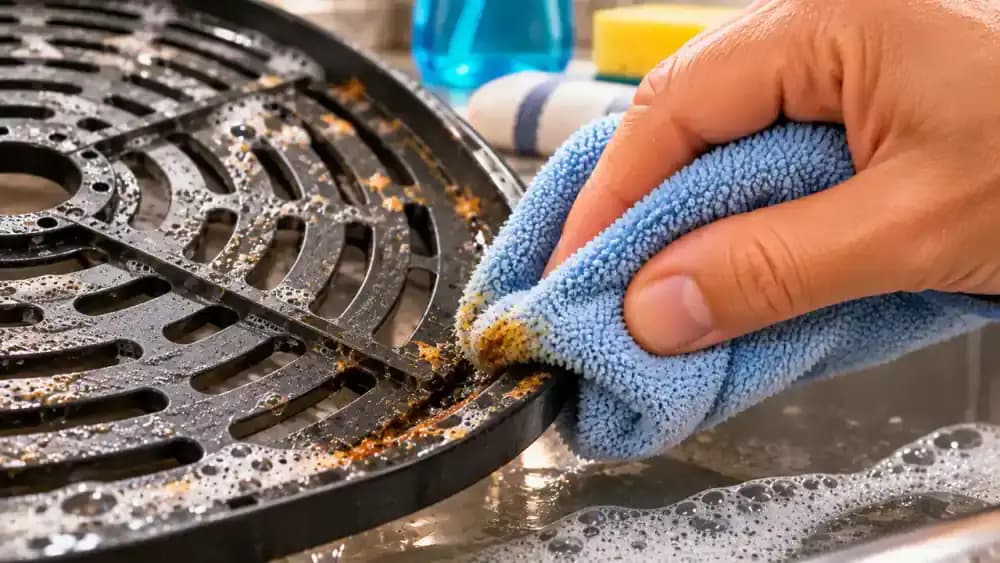
Hold the completely cooled crisper plate securely by its designated grip and inspect the raised rim for trapped grease. As shown, wrap a damp microfiber cloth around your fingertip and gently follow the curved edge, wiping softened residue from the narrow channel. Use a soft nylon brush for grooves the cloth cannot reach. Rotate the plate as needed to clean its entire perimeter, keeping pressure light to protect the nonstick coating.
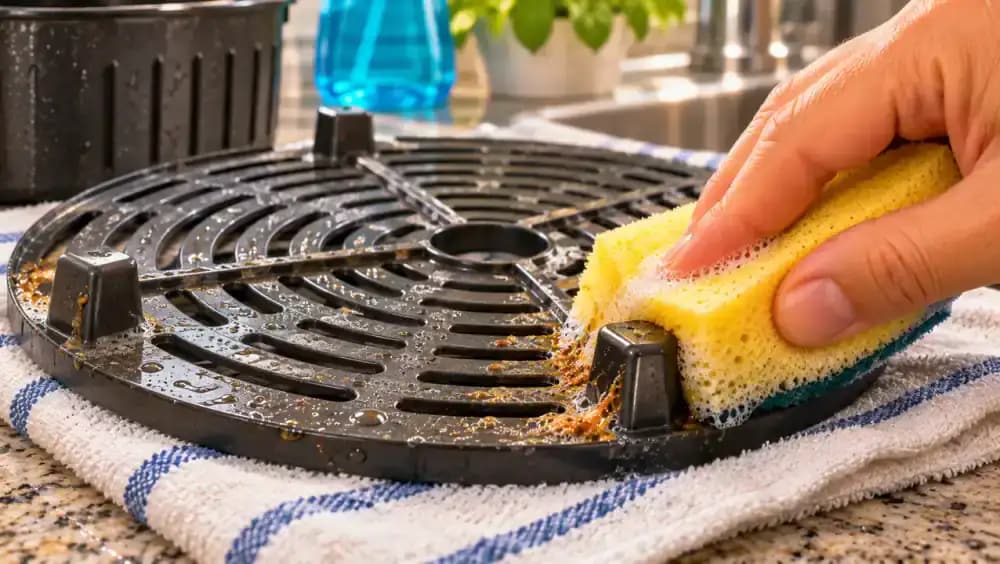
Clean Grease Beneath the Crisper Plate and Around Its Supports
Turn the completely cooled, removable crisper plate upside down on a soft towel to expose its underside, raised supports, and structural ridges. As shown, gently wipe greasy areas with a damp, soapy, nonabrasive sponge using short, controlled motions. Use a soft nylon brush to reach narrow spaces around the support feet. Check each support carefully, since grease can remain hidden underneath even when the top surface appears clean.
Remove Grease and Crumbs Around the Air Fryer Basket Handle
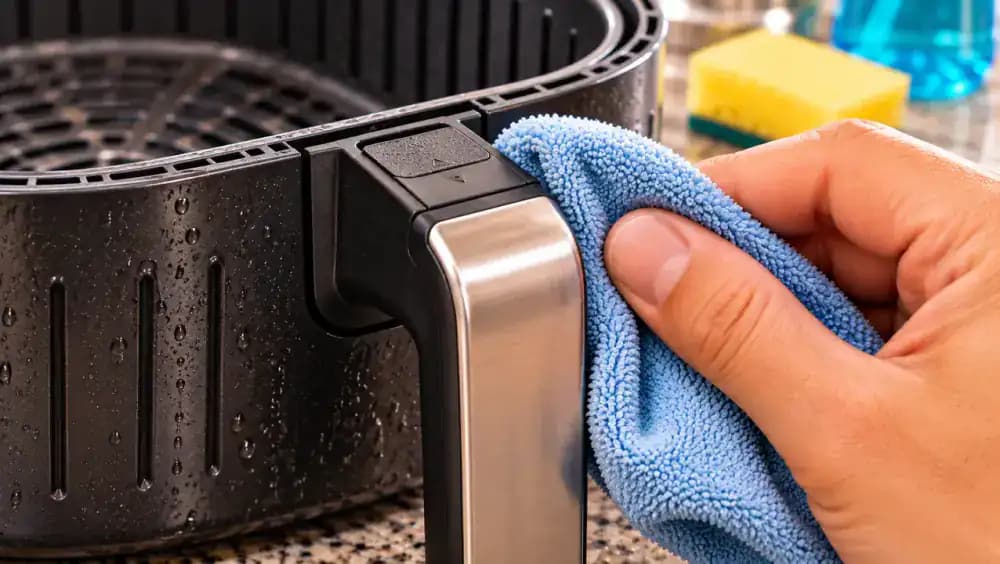
Place the completely cooled, removable basket upright on a dry, stable surface and inspect where the handle attaches. As shown, use a lightly damp microfiber cloth to wipe grease from the handle base and accessible seams. Gently sweep trapped crumbs from narrow exterior grooves with a soft nylon brush. Keep the handle securely attached, avoid pushing moisture into its mechanism, and never soak the handle assembly unless your manufacturer's instructions specifically allow it.
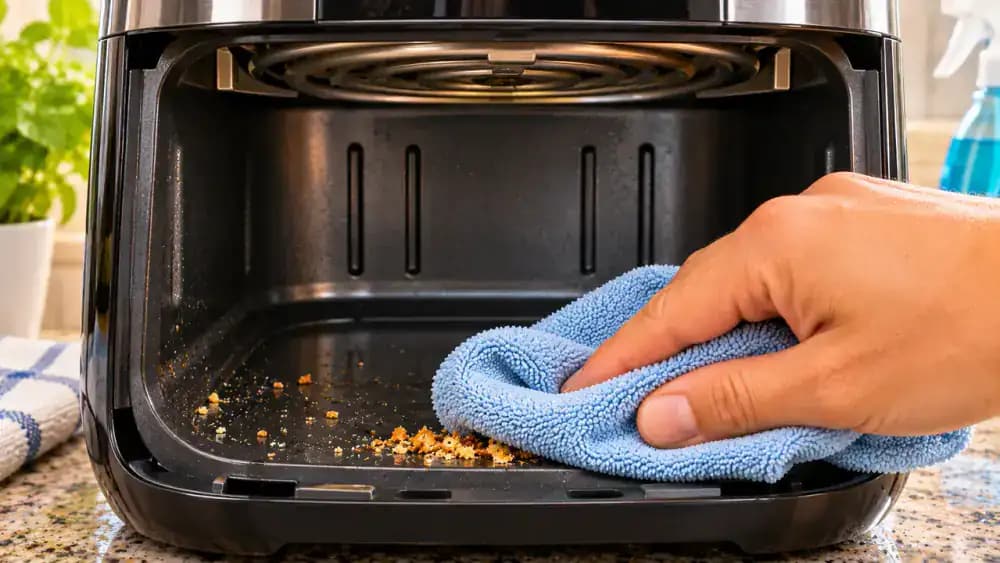
Remove Loose Crumbs From the Air Fryer's Cooking Chamber
With the basket and crisper plate removed, confirm that the main air fryer unit is unplugged and completely cool. Look inside the empty cooking chamber for loose crumbs and food particles. As shown, use a clean, dry microfiber cloth to gently collect debris from the accessible lower surface. Work with short, controlled wiping motions and check the corners for remaining crumbs. Keep your hands and cloth away from the heating element and fan.
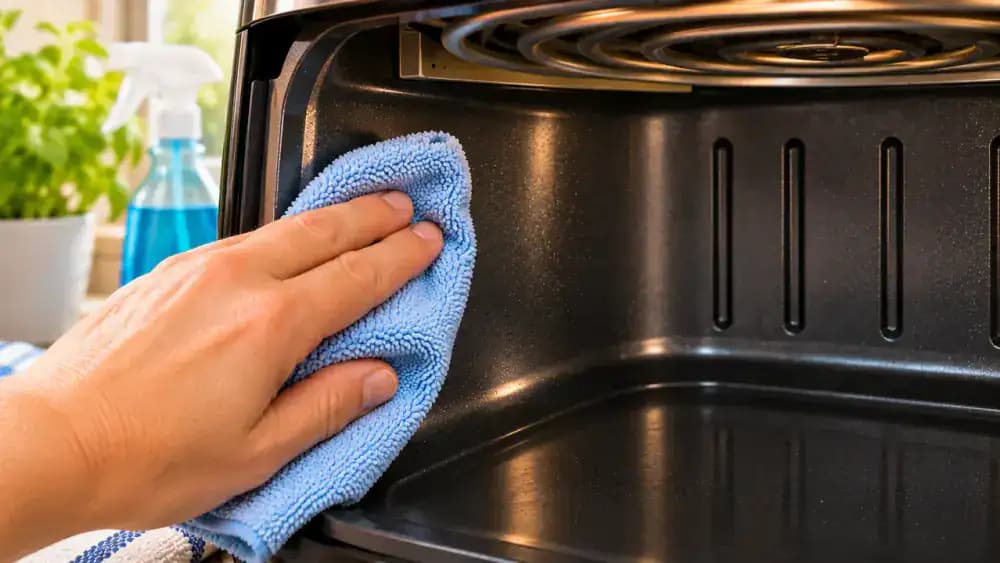
Wipe Grease From Accessible Air Fryer Interior Walls
Check your manufacturer's instructions before cleaning the air fryer's interior walls. If permitted, lightly dampen a microfiber cloth with warm water and mild dish soap, then wring it out thoroughly. As shown, gently wipe accessible lower side walls using slow, controlled horizontal strokes. Work on small greasy areas without allowing moisture to drip or enter openings. Keep the cloth away from the heating element, fan, ventilation openings, and electronics.
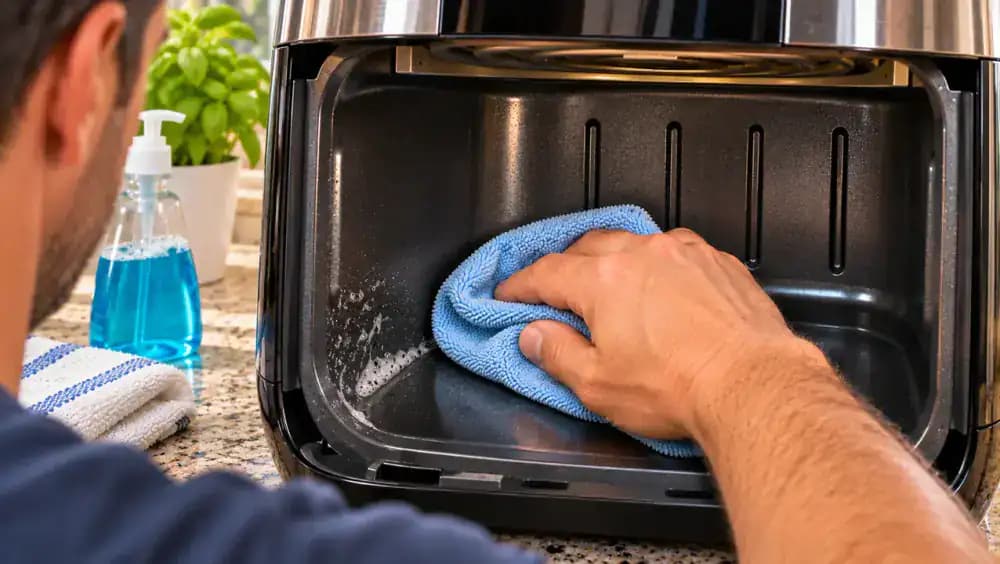
Wipe Away Soap Residue Without Wetting Internal Components
Dampen a second, clean microfiber cloth with plain water and wring it out thoroughly over a bowl until no droplets fall. As shown, gently wipe the accessible lower interior walls to remove any remaining soap film. Only clean surfaces approved by your air fryer's manufacturer, using slow, controlled strokes and minimal moisture. Keep the heating element, fan, ventilation openings, and electronics completely dry. Never spray or pour water inside the appliance.
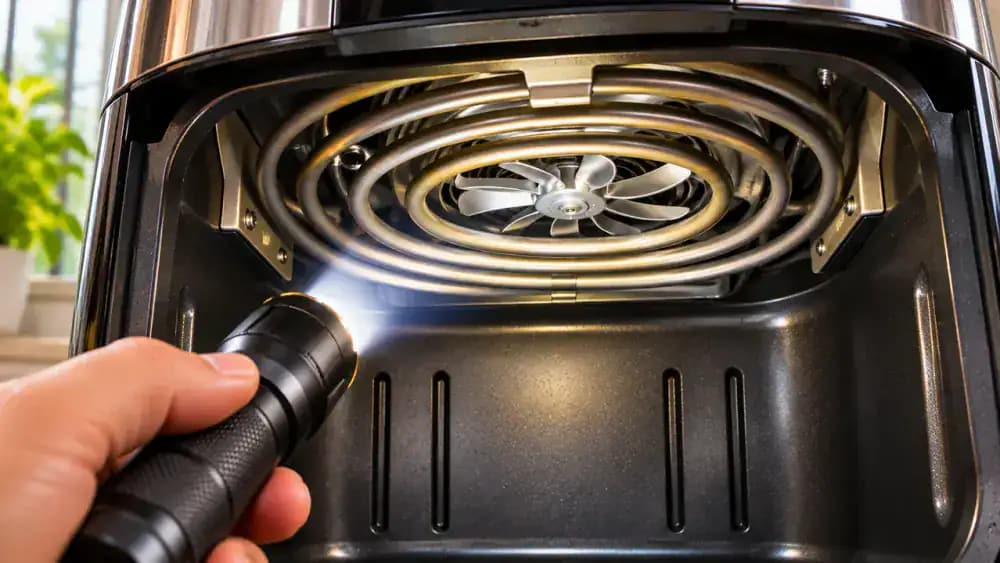
Inspect the Air Fryer Heating Element and Fan Without Touching Them
With the air fryer unplugged and completely cool, use a small flashlight to inspect the upper heating area through the empty cooking chamber. As shown, hold the flashlight outside the opening and look for visible grease, crumbs, or residue near the heating element and ventilation openings. Do not touch these components or insert cleaning tools. If buildup remains in inaccessible areas, consult your manufacturer's instructions or customer support before attempting further cleaning.
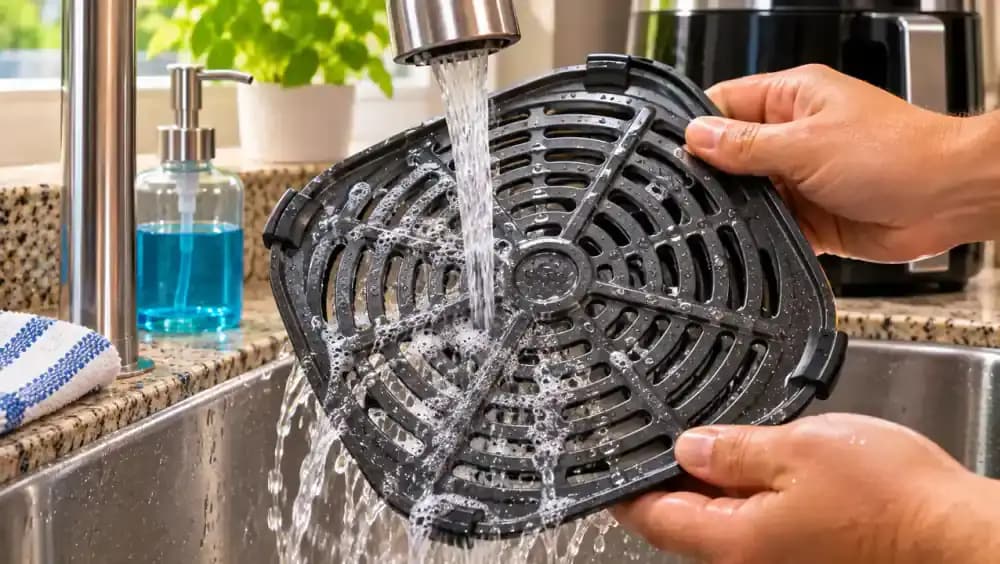
Rinse Soap and Loosened Grease From Removable Air Fryer Parts
Hold the completely cooled crisper plate by its designated grip beneath a gentle stream of warm running water, as shown, if your manufacturer's instructions permit rinsing. Slowly rotate the plate so water flows through the ventilation holes and along the raised edges. Rinse the removable basket separately, paying attention to corners where soap can collect. Continue until visible suds and loosened grease are removed, keeping the main appliance completely away from water.
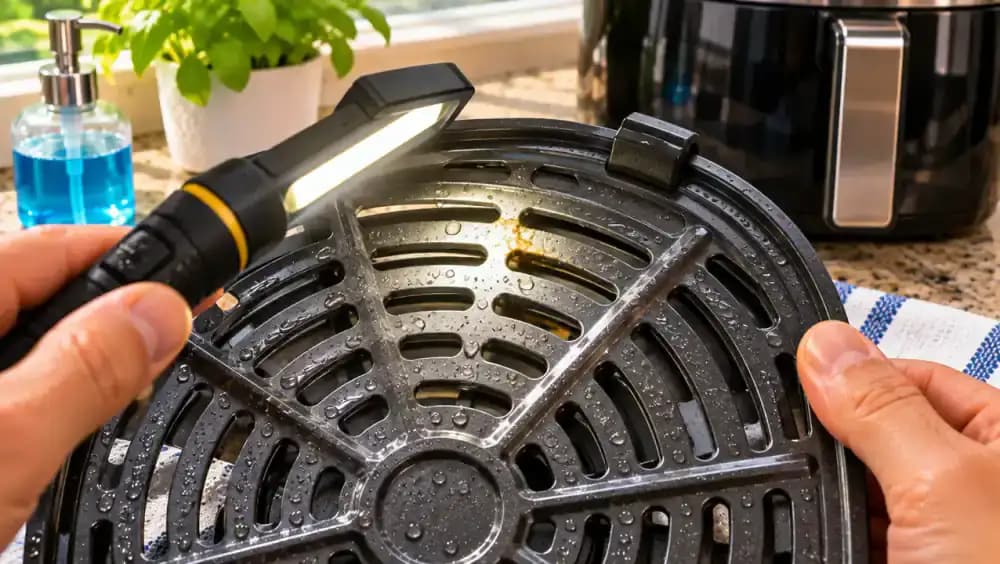
Check for Remaining Grease and Nonstick Coating Damage
Place the rinsed air fryer basket and crisper plate on a clean, absorbent towel under bright lighting. As shown, carefully rotate each component to inspect the cooking surfaces, corners, ventilation holes, raised edges, and underside. Look for leftover grease, soap residue, scratches, chips, or peeling nonstick coating. Repeat gentle cleaning if residue remains. If you discover coating damage, stop using the affected component and contact the manufacturer before cooking again.
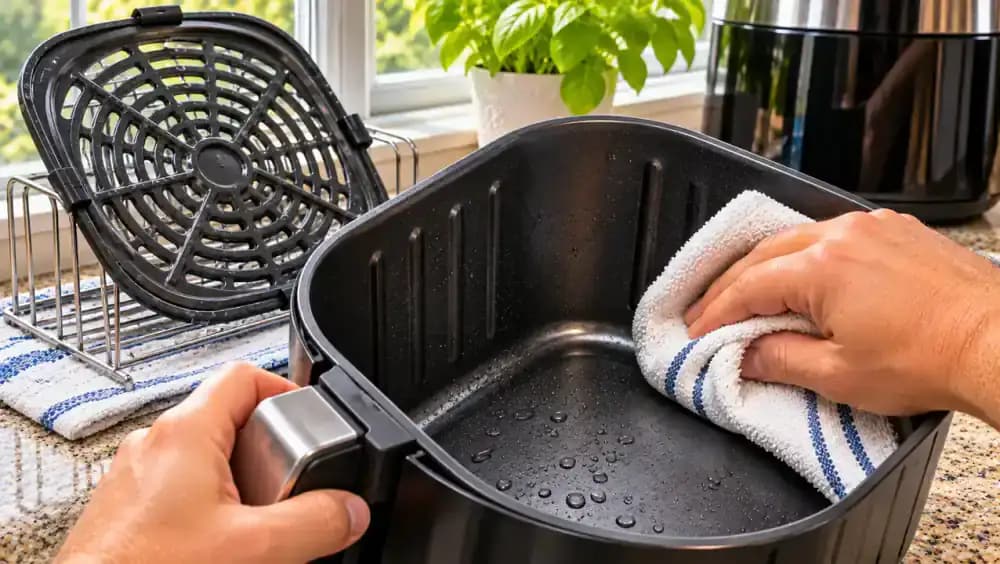
Dry the Air Fryer Basket and Crisper Plate Completely
Place the freshly rinsed basket on a clean, absorbent towel and gently blot its floor, corners, and inner walls. As shown, use a dry microfiber cloth to absorb moisture without rubbing aggressively. Pay special attention to the crisper plate's ventilation holes, raised edges, and underside supports where droplets can collect. Carefully tilt each component over the sink to release trapped water, then leave everything on a drying rack until completely dry.
Allow the Air Fryer Cooking Chamber to Air-Dry Completely
Leave the air fryer unplugged with its basket removed so air can circulate naturally through the open cooking chamber. As shown, use a clean, dry microfiber cloth to gently check an accessible lower interior ledge for remaining moisture. Keep your hands away from the heating element, fan, and ventilation openings. Allow the chamber and removable components to finish drying separately. Never turn on the appliance or use heating tools to accelerate drying.
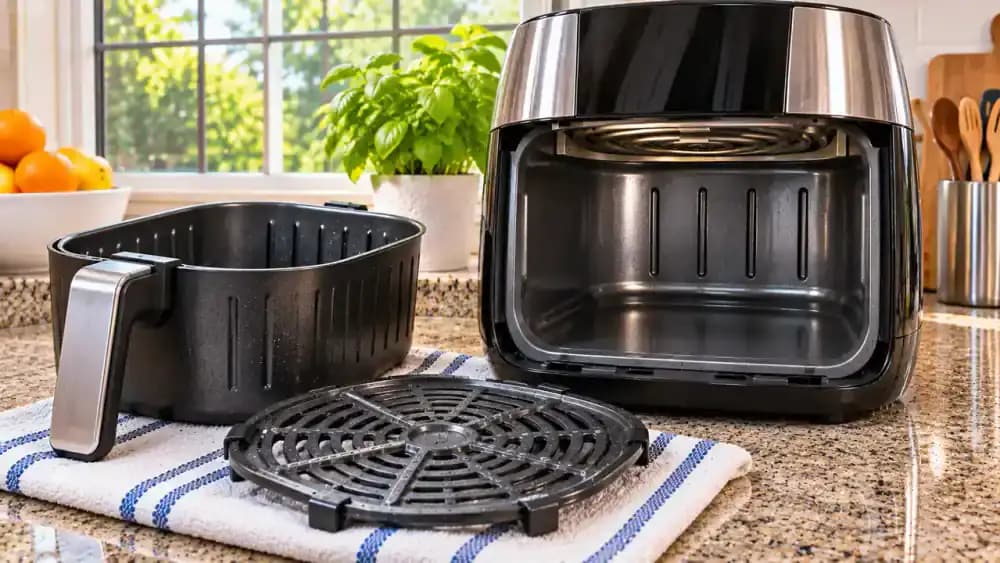
Reinstall the Crisper Plate and Slide the Basket Into Place
Confirm that the basket, crisper plate, and cooking chamber are completely dry before reassembly. As shown, hold the crisper plate by its designated grips and lower it carefully into the basket, ensuring it rests flat on its supports. Grip the basket handle and gently slide the assembled basket into the unplugged air fryer. Check that everything aligns correctly and moves smoothly. Never force components that resist fitting into place.
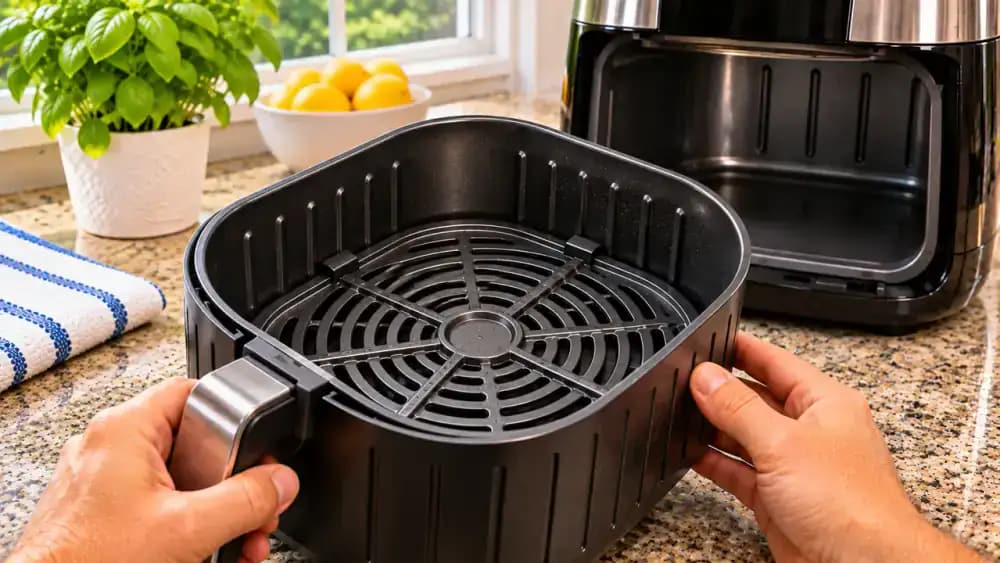
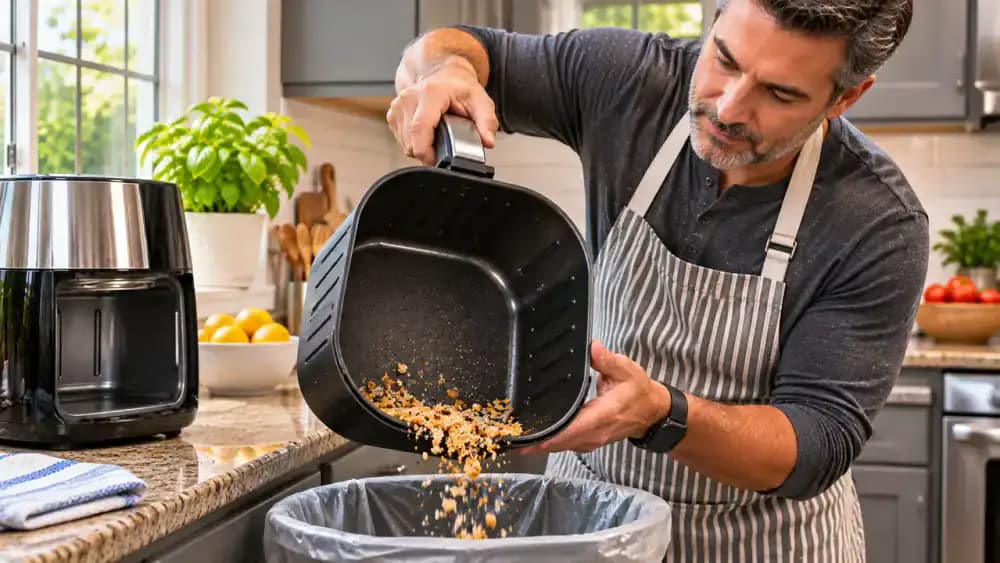
Clean the Air Fryer Basket After Every Cooking Session
After each cooking session, unplug the air fryer and allow it to cool completely before removing the basket. As shown, gently tip loose food crumbs into a trash container, then wash manufacturer-approved removable parts with mild dish soap and a soft, nonabrasive sponge. Focus on fresh grease along the basket floor, corners, and crisper plate edges. Regular cleaning prevents residue from accumulating into stubborn layers that require longer soaking.
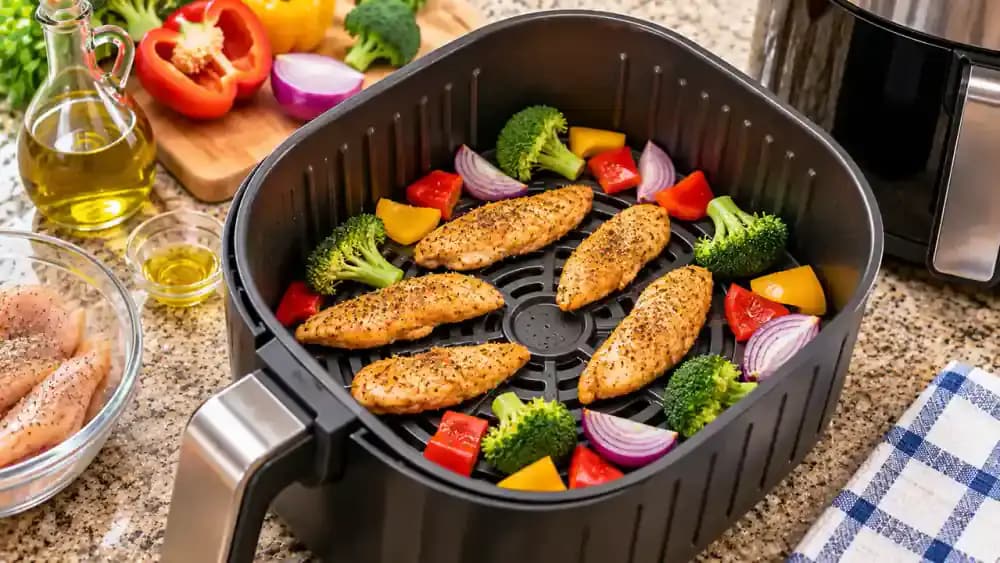
Prevent Sticky Grease With Better Air Fryer Cooking Habits
Arrange food in a single, evenly spaced layer inside the clean, dry air fryer basket, as shown. Use silicone-tipped tongs to leave gaps between chicken strips and vegetables, keeping ventilation holes unobstructed. Apply only the amount of oil your recipe requires, using a silicone brush for even coverage. Avoid overcrowding, which restricts airflow. If using parchment liners or accessories, follow manufacturer instructions and keep loose materials away from the heating element.
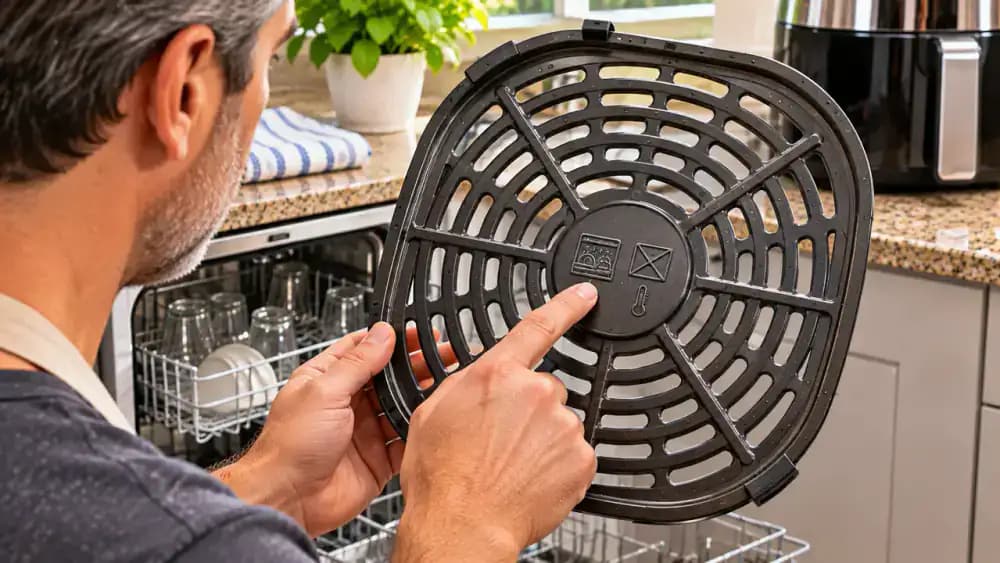
Check Dishwasher Compatibility Before Washing Air Fryer Parts
Open your air fryer's owner's manual and locate the dishwasher care instructions before loading any removable components. As shown, compare the guidance with your crisper plate and basket to confirm which parts are dishwasher-safe. Check for approved wash cycles and detergent recommendations, since requirements vary by model. If dishwasher cleaning is not explicitly permitted, wash the parts gently by hand. Never place the main air fryer unit in the dishwasher.
Keep Your Air Fryer Clean and Its Nonstick Coating Protected
With every component completely dry, gently slide the assembled basket outward to check the clean crisper plate and intact nonstick surface, then close it smoothly, as shown. Keep a soft sponge and microfiber cloth nearby for regular maintenance. Always unplug and cool the appliance before cleaning, soak only approved removable parts, and avoid abrasive tools. Consistent gentle cleaning helps prevent sticky grease buildup while protecting the coating and keeping electrical components dry.
Sticky grease can turn a convenient air fryer into a frustrating cleaning project. Over time, cooking oils and food residue collect on the basket, clog small perforations, and leave stubborn buildup around tray edges. The temptation is to grab a rough scrubber and scrape everything away, but aggressive cleaning can scratch or damage the nonstick coating. Fortunately, removing sticky air fryer grease doesn't require harsh abrasives or excessive scrubbing. A little patience, warm soapy water, and the right cleaning tools can make a noticeable difference.
The safest approach starts with unplugging your air fryer, letting it cool completely, and checking the manufacturer's cleaning instructions. Soaking approved removable parts for 10-20 minutes helps soften greasy residue, while a soft sponge or nylon brush reaches tricky corners without damaging coated surfaces. You'll also learn how to clean accessible interior areas carefully, keep moisture away from electrical components and the heating element, and dry everything before reassembly. Never immerse the main unit, and always follow your model's dishwasher guidance.
Where people go wrong
Scrubbing Grease With Steel Wool or Metal Tools. Using steel wool, metal scrapers, or abrasive scouring pads can scratch the air fryer's nonstick coating and permanently damage the cooking surface. Instead, soak approved removable parts in warm, soapy water for 10-20 minutes, then gently loosen grease with a soft sponge or nylon brush.
Skipping the Soak and Scrubbing Too Hard. Trying to remove stubborn grease immediately often leads to excessive scrubbing and unnecessary wear on coated surfaces. Give approved removable baskets and trays 10-20 minutes in warm, soapy water to soften buildup. If grease remains, repeat the soak rather than increasing pressure or reaching for abrasive tools.
Getting Water Into the Heating Element or Electronics. Immersing the main air fryer unit or allowing water near the heating element, fan, or electronics can damage the appliance and create an electrical hazard. Always unplug the air fryer and let it cool completely. Clean accessible interior surfaces only with a barely damp microfiber cloth when manufacturer instructions permit.
Reassembling Wet Parts or Ignoring Dishwasher Instructions. Putting the basket and crisper plate back while moisture remains can leave water trapped inside the appliance. Thoroughly rinse approved removable parts, inspect the coating, and dry every component before reassembly. Never assume a nonstick basket is dishwasher-safe. Always check your specific model's cleaning and dishwasher instructions.
Questions people ask
Soak the manufacturer-approved removable basket in warm water with mild dish soap for 10-20 minutes. Once the grease softens, use a soft sponge and gentle circular motions to remove buildup. Avoid steel wool, metal scrapers, and abrasive pads because they can scratch or permanently damage the nonstick coating.
Fixed it?
Get one guide like this every Thursday.