How to Check Tire Pressure and Spot an Unsafe Tire
Learn how to check tire pressure with a gauge, find the correct PSI, inspect tread and sidewalls, and recognize tire damage that makes driving unsafe.
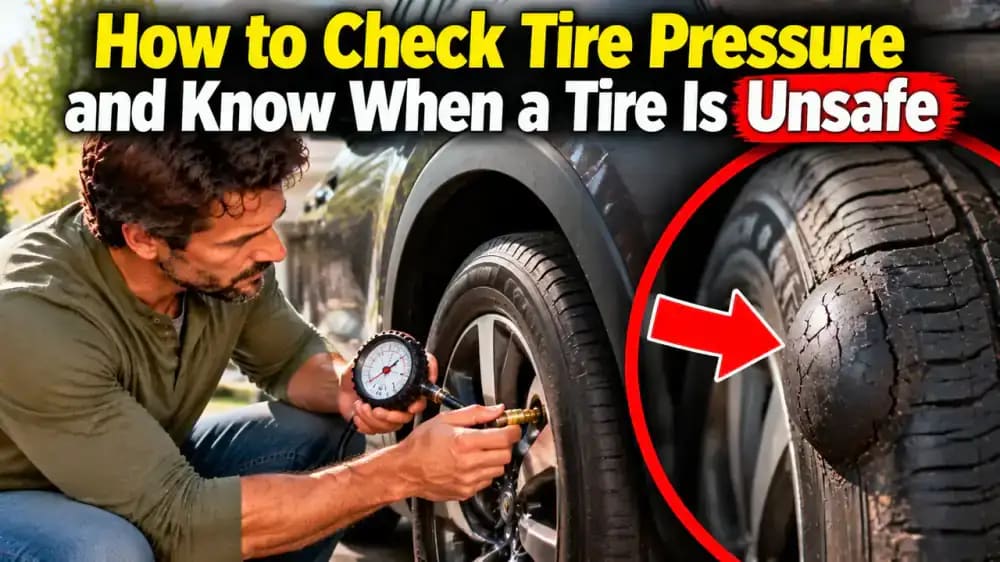
What you’ll need
Tap to tick things off before you start.
A Low Tire Warning Before Your Morning Commute
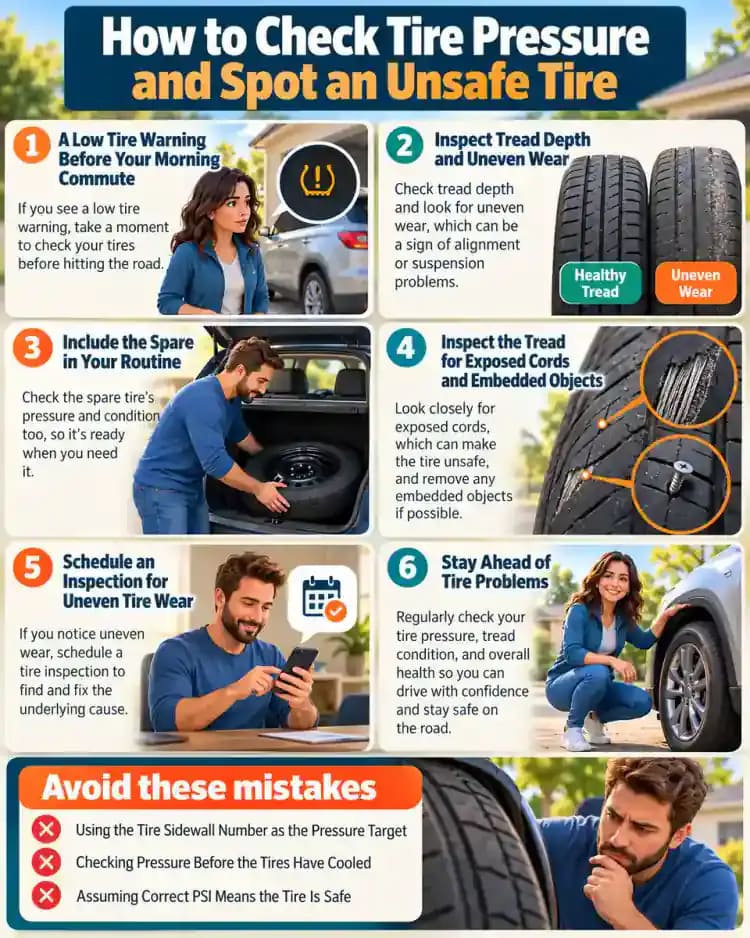
A low tire pressure warning can appear just as you prepare to leave for work. Before driving, take a moment to understand what the alert means and why it matters. The pressure listed on your tire's sidewall is not your vehicle's recommended setting. Even properly inflated tires can be unsafe if they have visible damage. Start by checking the warning and preparing to inspect the tire before beginning your commute.

Park Safely and Let the Tires Cool
Park your vehicle on level pavement away from traffic, shift into Park, and firmly engage the parking brake before gathering your equipment. As shown, prepare a reliable handheld tire pressure gauge and a suitable air compressor so both are ready when you begin. Let the tires cool before checking pressure, which generally means parking for at least three hours. Never measure tire pressure beside moving traffic, even when a warning seems urgent.

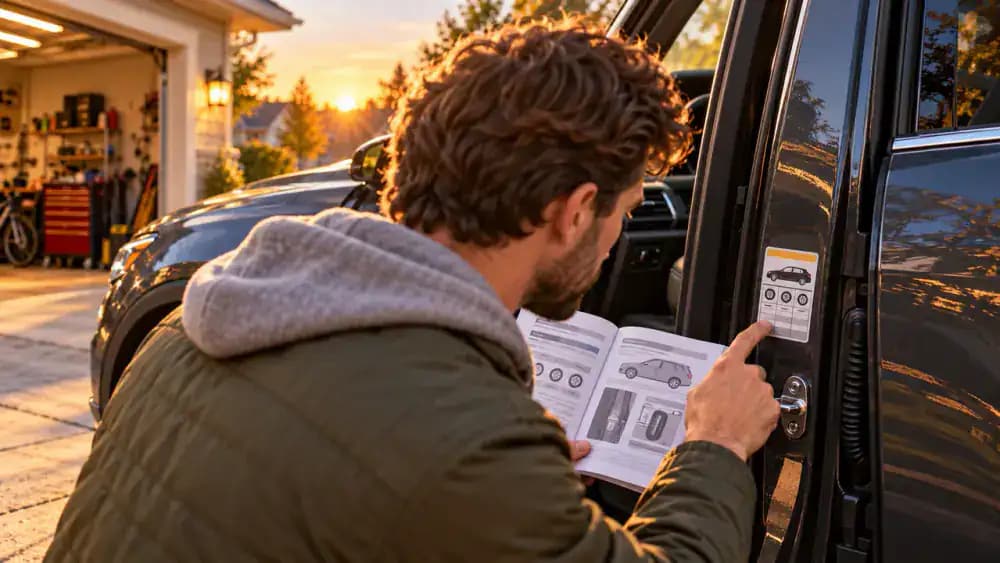
Find the Correct Tire Pressure Specification
Open the driver's door and locate the manufacturer's tire information placard on the doorjamb. Check the listed cold tire pressure for your vehicle, or consult the owner's manual if the label is missing or difficult to read. Pressure is measured in pounds per square inch (PSI), and front and rear tires may require different settings. Use these vehicle-specific recommendations rather than the maximum pressure molded into the tire sidewall.
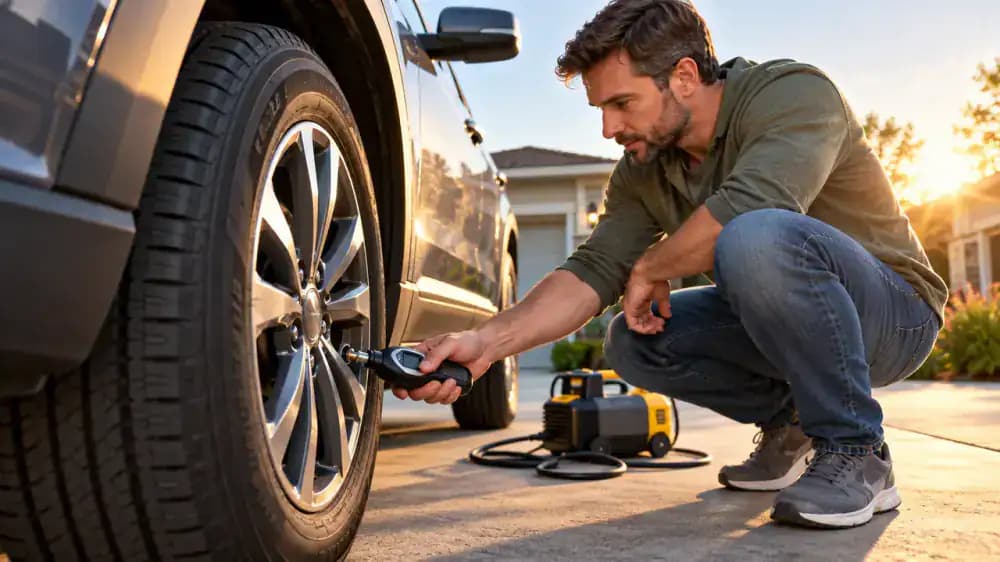
Measure Cold Tire Pressure Accurately
With your vehicle parked for at least three hours, remove the valve cap from the first tire and keep it somewhere safe. Press a reliable digital tire pressure gauge straight and firmly onto the valve stem until it seals. Read the displayed pressure in PSI, then compare it with the recommended specification for that tire's position. Measure each tire under the same cold conditions for consistent readings, and replace every valve cap securely when finished.
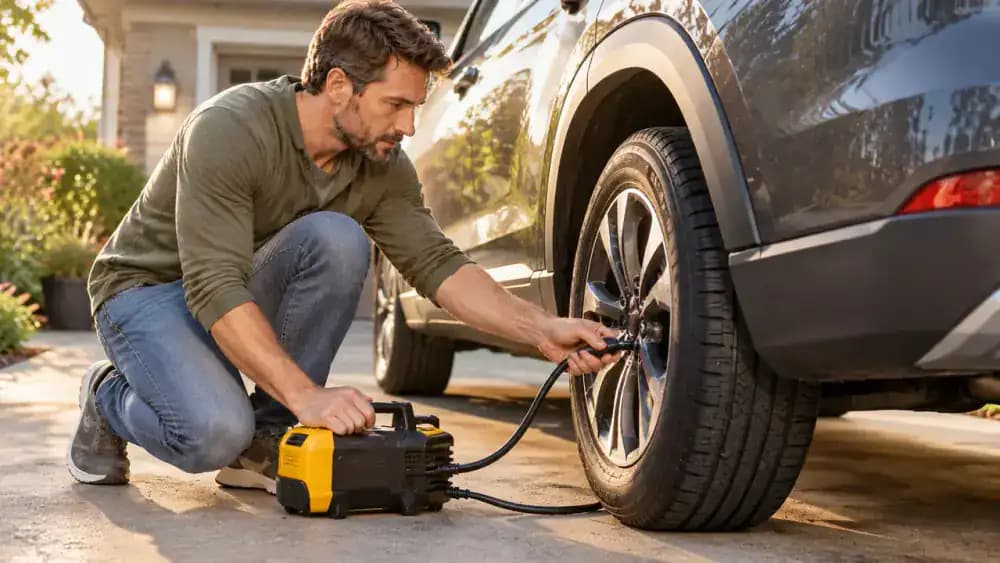
Adjust Pressure and Recheck Every Tire
Compare each tire's measured pressure with the recommended value for its position. If a tire is low, connect a portable air compressor and add air in short bursts, checking the pressure again after each adjustment. For an overinflated tire, release small amounts of air and remeasure. Repeat the process for all four tires and the spare, if equipped. Once each tire meets specifications, disconnect the equipment and securely replace every valve cap before inspecting tire condition.
Inspect Tread Depth and Uneven Wear
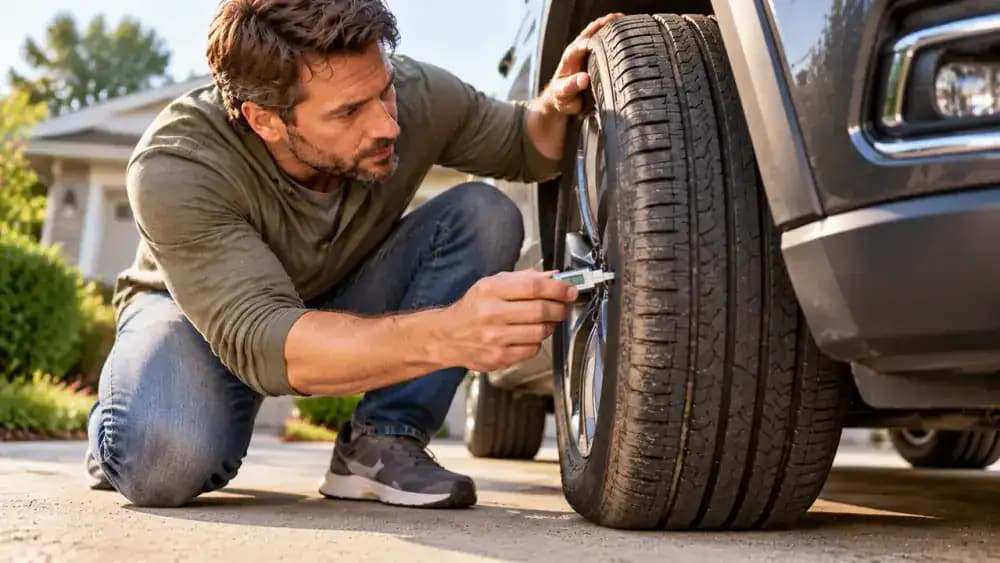
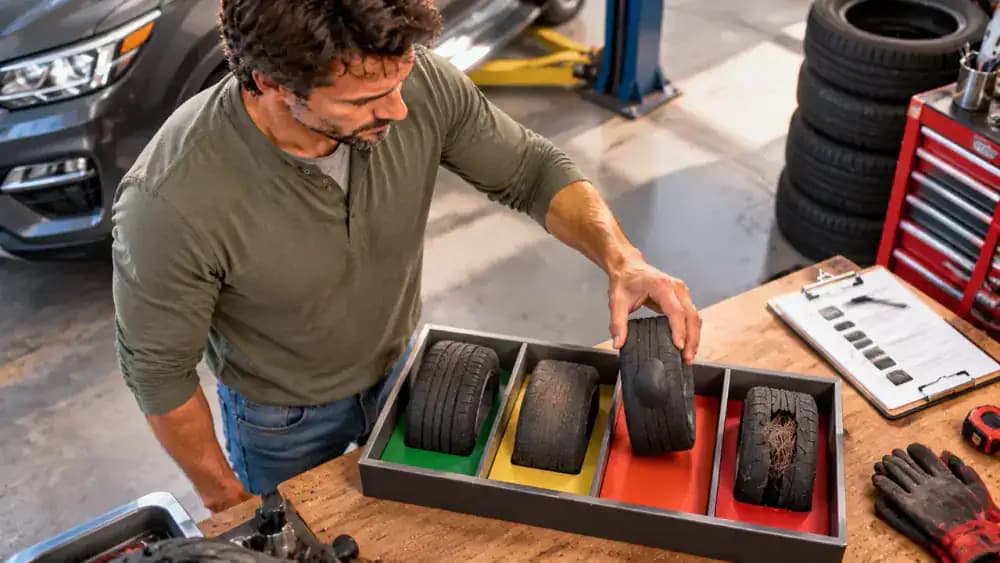
Examine each tire's tread across its full width, checking the grooves for uneven wear, embedded objects, cracks, or unusually thin areas. Place a tread depth gauge perpendicular to a groove to assess how much tread remains, and look for molded wear indicator bars between the tread blocks. Pay particular attention to shoulders that appear more worn than the center. Visible damage or suspicious wear warrants professional inspection, even when tread depth appears adequate.
Inspect Tire Sidewalls for Cuts, Cracks, and Bulges
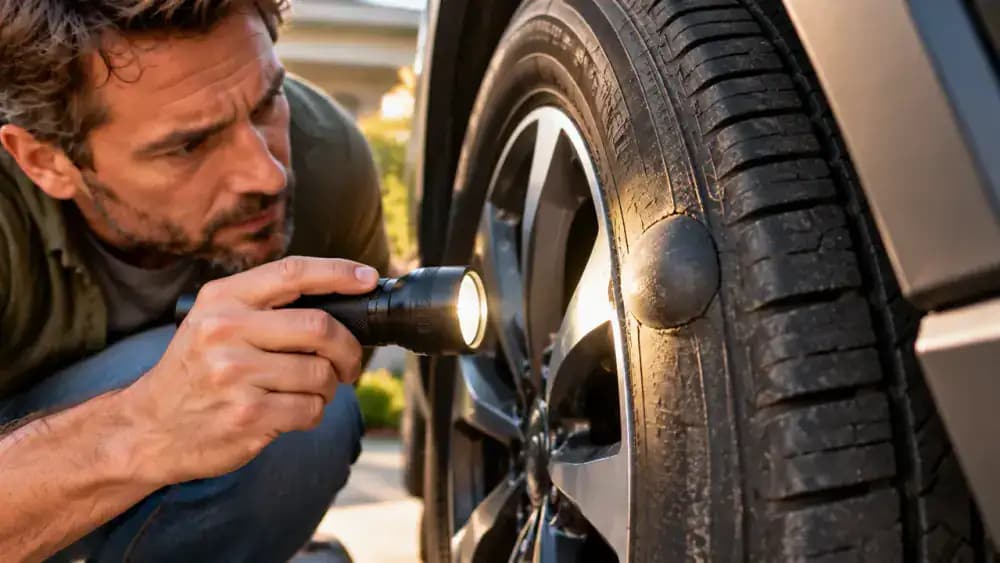
Use a flashlight to examine each tire's visible sidewall for cuts, fine cracks, or bulges that distort its normal shape. Move around the parked vehicle to inspect accessible areas, but never crawl underneath it or step into traffic to reach the far side. Check all four tires carefully, since pressure readings cannot reveal every type of damage. If you spot a bulge or severe damage, do not drive; arrange professional tire service.
Recognize When a Tire Must Not Be Driven On
Use your inspection findings to decide whether the vehicle can be driven safely. A flat tire, exposed cords, a sidewall bulge, or severe visible damage means you must not drive, even if the pressure reading appears normal. Keep the vehicle parked and contact roadside assistance or a qualified tire service provider. Do not attempt to drive to a repair shop on a damaged tire. If the condition is uncertain, seek professional assessment before driving.

Track Tire Pressure and Know When to Get Help
Record each tire's pressure in a maintenance notebook, noting the date and any unusual changes. Check all tires monthly and before long trips, measuring them when cold and comparing readings with the vehicle manufacturer's recommended pressures. Do not use the maximum pressure printed on the tire sidewall as your target. If one tire repeatedly loses air or shows uneven wear, schedule a professional inspection to identify potential problems before they worsen.

Recognize When Tire Damage Requires Replacement
Inspect suspicious tire damage carefully, but do not touch exposed reinforcing cords or attempt a repair yourself. A deep cut, exposed cords, a sidewall bulge, or a completely flat tire can indicate a serious problem that pressure readings cannot reveal. Keep the vehicle parked and contact a qualified tire professional to assess whether replacement is necessary. Even if a damaged tire holds air, do not assume it is safe to drive on.
Make a Safe Decision Before Driving
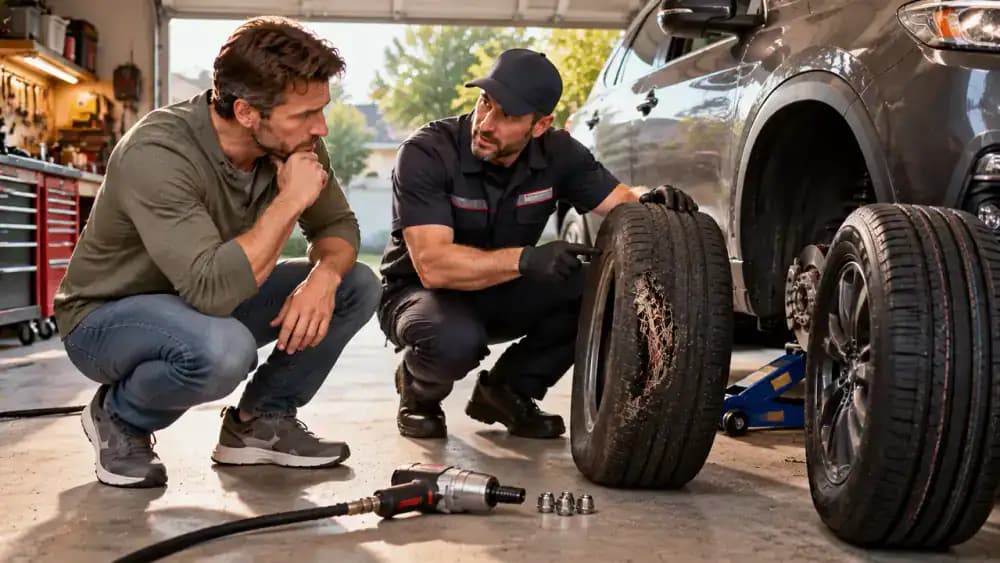
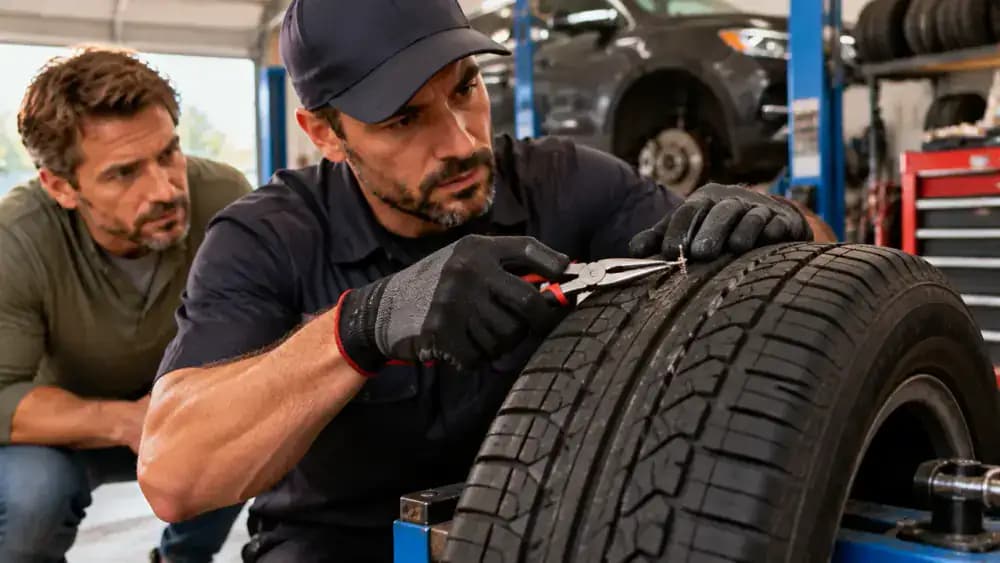
If you discover an embedded object, unusual tread wear, recurring pressure loss, or damage you cannot confidently assess, arrange a professional tire inspection before driving. A technician can examine the tire more closely and recommend whether repair or replacement is appropriate. Do not pull out embedded objects or attempt an improvised repair, since the damage may extend beyond what is visible. Follow the technician's advice before returning the vehicle to the road.
Include the Spare in Your Routine
Open the cargo area and locate your vehicle's spare tire, following the owner's manual if its storage location is unfamiliar. Use a reliable pressure gauge to check the spare's inflation against the manufacturer's specified pressure, since compact spares may require a different target than regular tires. Inspect its accessible surfaces for visible damage and deterioration. Record the reading with your other tire checks, and follow the manual's guidance for spare tire maintenance.
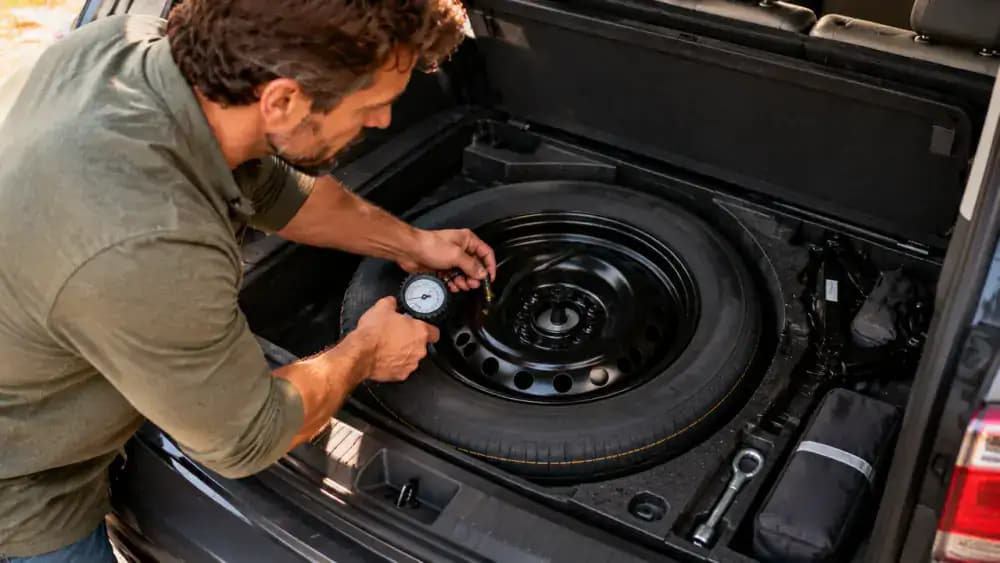
Know When a Tire Needs Professional Attention
Review any recurring pressure loss, unusual tread wear, or damage you cannot confidently assess with a qualified tire technician. Point out the areas that concern you and share any pressure readings or maintenance notes that may help identify a pattern. Routine visual checks cannot confirm roadworthiness, even when a tire appears normal. Never drive on a flat tire, exposed cords, a sidewall bulge, or severe damage; keep the vehicle parked and arrange appropriate assistance.
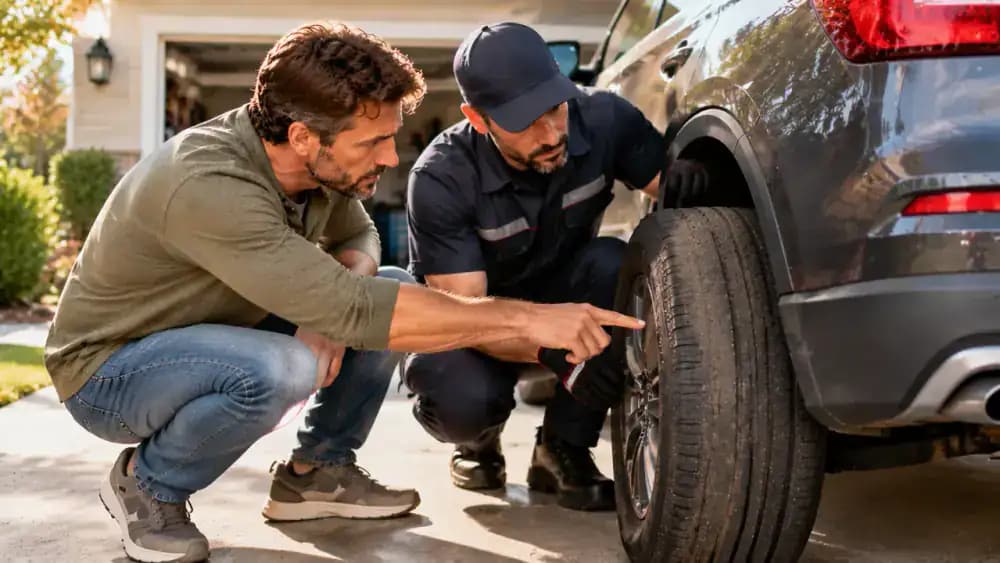
Check the Entire Tread for Hidden Warning Signs
Sweep a handheld inspection light across the visible tread to examine the inner shoulder, center ribs, and outer shoulder for uneven wear, embedded objects, or unusually shallow grooves. Look for differences in tread depth or isolated areas that appear more worn than the surrounding rubber. Stay upright beside the parked vehicle and never reach beneath the chassis to inspect hidden areas. If anything looks concerning, seek professional advice rather than assuming correct inflation means the tire is safe.
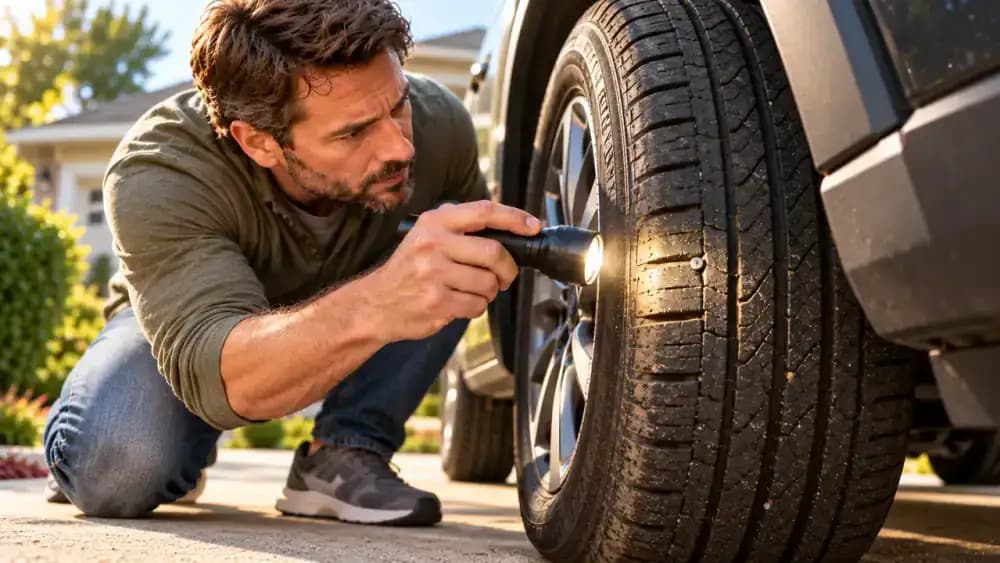
Use Tread Wear Indicators to Judge Remaining Tread
Locate the small raised bars molded across the grooves of your tire tread. These indicators help show when the surrounding rubber has worn down to a critical level. Compare the height of the tread with each bar in several grooves, checking different sections rather than relying on one spot. If the tread is level with an indicator, arrange a professional assessment and check applicable local requirements, since visible tread alone cannot establish roadworthiness.
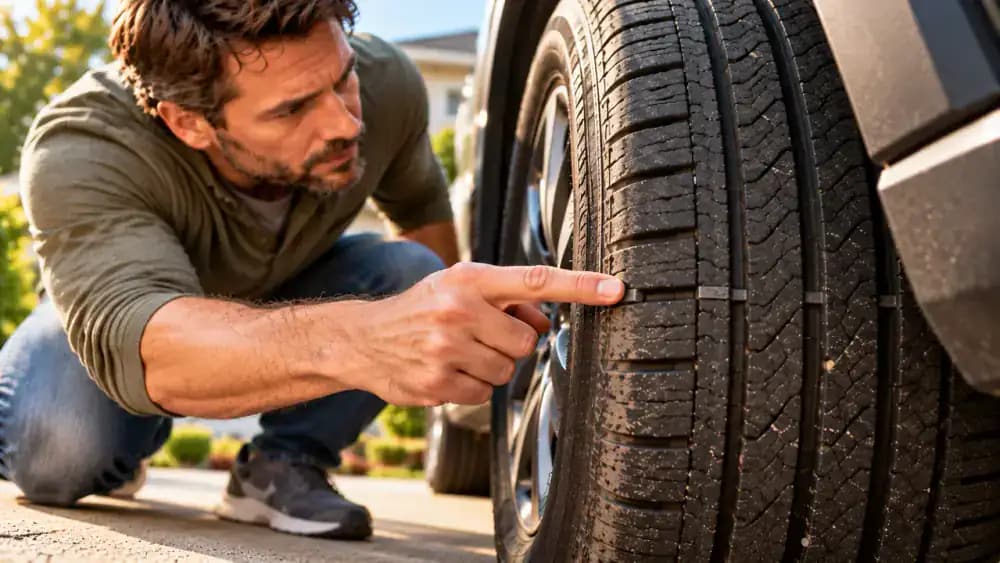
Measure Tread Depth Across Multiple Grooves
Insert a tread depth gauge vertically into a main tread groove, keeping its base flat against the surrounding tread blocks and avoiding raised wear indicator bars. Repeat the measurement at several accessible points across the inner, center, and outer sections of the tire. Compare the readings to identify uneven wear that may be easy to miss visually. Record unusually low or inconsistent measurements and consult a qualified tire professional if the results raise concerns.
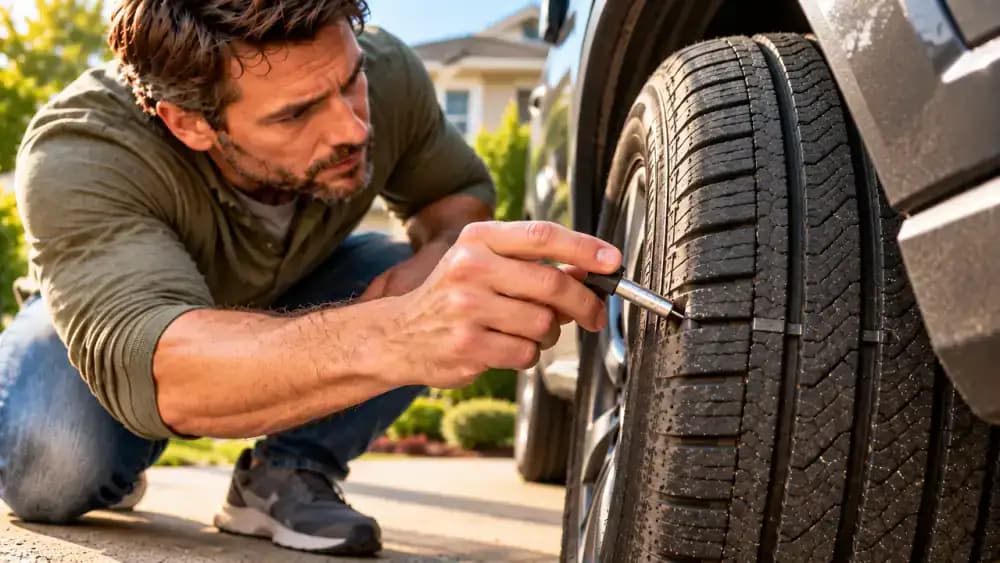
Understand Tread Depth Limits and Warning Signs
Compare your tread depth measurements across the tire, paying close attention to shoulders that appear more worn than the center grooves. In many states, 2/32 of an inch is the legal minimum, but local requirements vary. Wet-weather traction may decline before tread reaches that limit. If any area approaches the minimum or wear differs noticeably across the tire, arrange a professional inspection and check applicable regulations before relying on the vehicle.

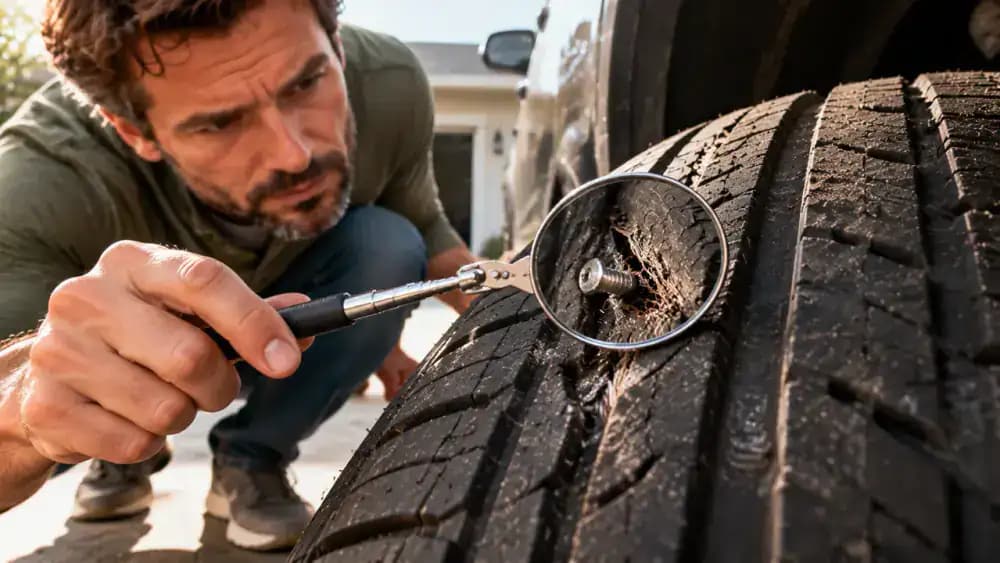
Inspect the Tread for Exposed Cords and Embedded Objects
Examine the visible tread for cuts, missing chunks of rubber, embedded nails or screws, and exposed reinforcing cords. Use an inspection mirror to view accessible grooves without reaching beneath the vehicle or putting your hands into unsafe areas. Never pull out a lodged object, because it may be sealing a puncture and removing it could release air. If cords are exposed or damage is severe, keep the vehicle parked and arrange professional tire service.
Inspect the Visible Sidewalls for Cuts and Cracking
Examine the outward-facing sidewall of each tire for deep cuts, splits, fine cracks, or other signs of damaged rubber. Shine a handheld inspection light across the surface at a shallow angle to make irregularities easier to notice. Check only safely accessible portions of the inner sidewall, using a mirror if helpful, without reaching beneath the vehicle or into the wheel well. Have questionable damage assessed by a qualified tire professional before driving.
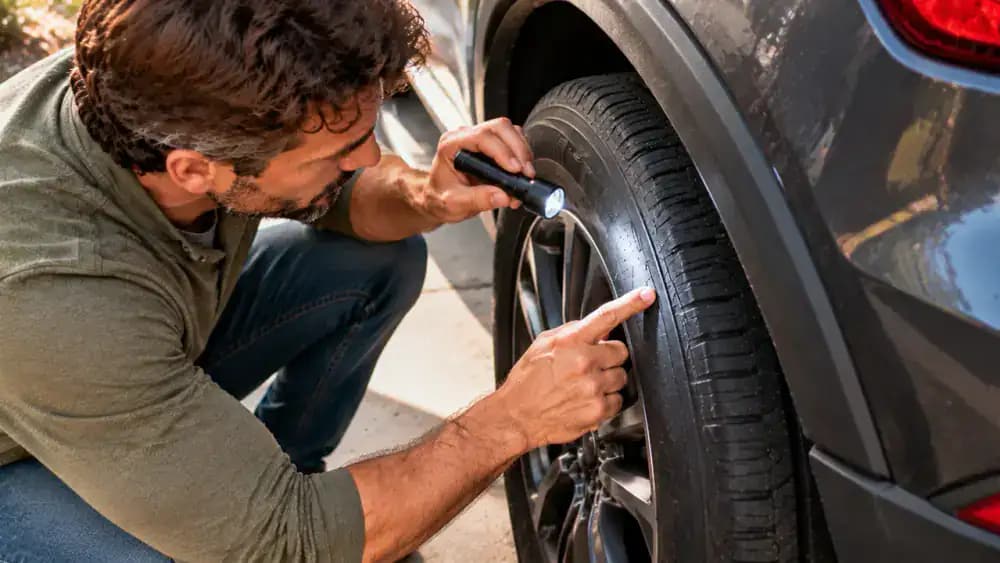
Recognize a Sidewall Bulge as a Stop-Driving Warning
Look at the full sidewall profile for an unusual bubble or raised area that changes the tire's normal shape. A bulge can signal internal structural damage, even when the tire appears properly inflated. Never press, puncture, or attempt to flatten the affected area. If you notice a bulge, keep the vehicle parked and contact a qualified tire professional for assistance. Correct inflation cannot make a structurally damaged tire safe to drive on.

Check the Accessible Inner Sidewall Safely
Inspect the inner sidewall for cuts, cracking, or other visible damage, since problems can develop on the side facing the vehicle. From a safe standing or crouching position, use a flashlight to examine only the areas you can clearly see. Never reach behind the wheel or crawl beneath the vehicle to improve your view. If the inner sidewall is hidden or difficult to inspect, ask a qualified tire professional to check it.
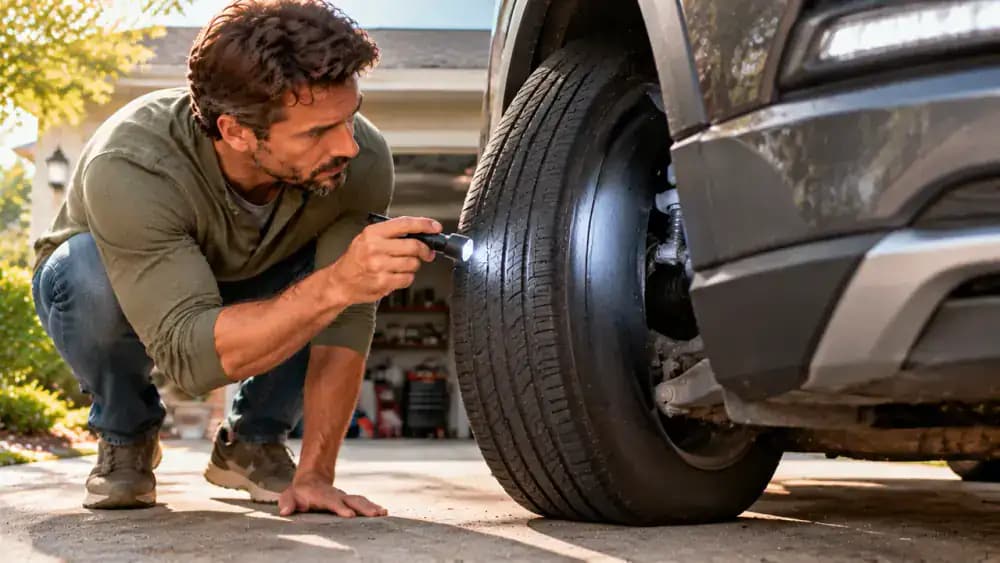
Know When Visible Tire Damage Means Stop
Review your tread and sidewall observations together before deciding whether the vehicle can be driven. A flat tire, exposed reinforcing cords, a sidewall bulge, or severe visible damage means you must keep the vehicle parked. Even a normal pressure reading cannot rule out structural damage. If you notice any of these warning signs, do not attempt to drive to a repair shop. Arrange professional tire assistance before moving the vehicle.

Recognize When Repeated Pressure Loss Needs Service
Track each tire's pressure readings over successive checks to identify recurring air loss. If one tire repeatedly drops below the vehicle manufacturer's recommended pressure after inflation, arrange a professional inspection instead of continually adding air. A slow leak may involve a puncture, valve stem, or wheel sealing surface, and the cause may not be visible externally. Record the dates and readings to help the technician identify the pattern and determine the appropriate repair.
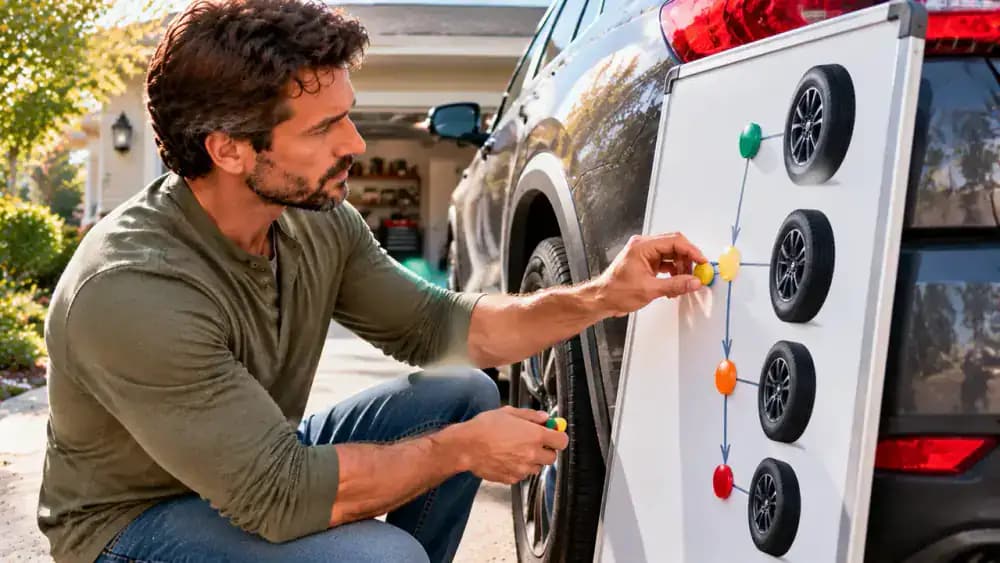
Schedule an Inspection for Uneven Tire Wear
Ask a qualified tire technician to examine any uneven tread wear, especially when one shoulder appears more worn than the center or opposite edge. The technician can assess the pattern and determine whether alignment, suspension, or inflation issues may be contributing. A tire can hold air and still have a problem that needs attention. Arrange an inspection before the wear worsens, and share any pressure readings or maintenance notes that may help.

Build a Monthly Tire Pressure Check Routine
Mark a recurring date on your garage calendar to remind you to check every tire's pressure at least monthly and before long trips. Whenever possible, measure after the vehicle has been parked for three hours or more, using the manufacturer's recommended cold pressure specifications. Record each reading in a maintenance log and note unusual changes. Keeping a consistent schedule makes recurring pressure loss easier to recognize and helps you identify when professional attention may be needed.
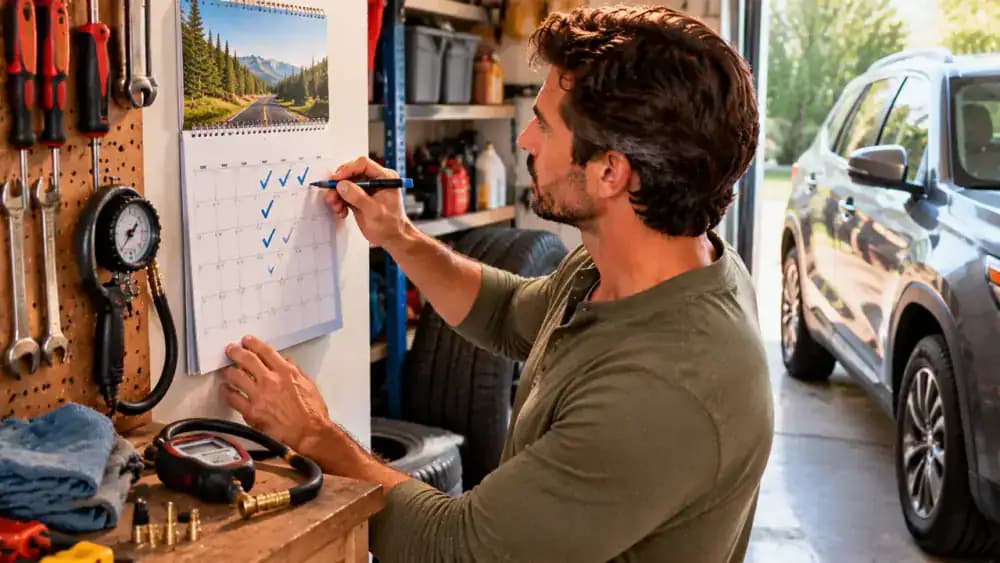
Check Tire Condition Before Long Trips
Before a long drive, inspect each tire's visible tread and sidewall for unusual wear, cuts, bulges, or embedded objects. Use an inspection light to examine accessible areas, and check cold tire pressure against the specifications on the driver's doorjamb. Remember to inspect the spare if equipped, following the owner's manual. If you find concerning damage or recurring pressure loss, arrange professional service before departure rather than risking a roadside problem.

Follow the Vehicle Manufacturer's Tire Maintenance Guidance
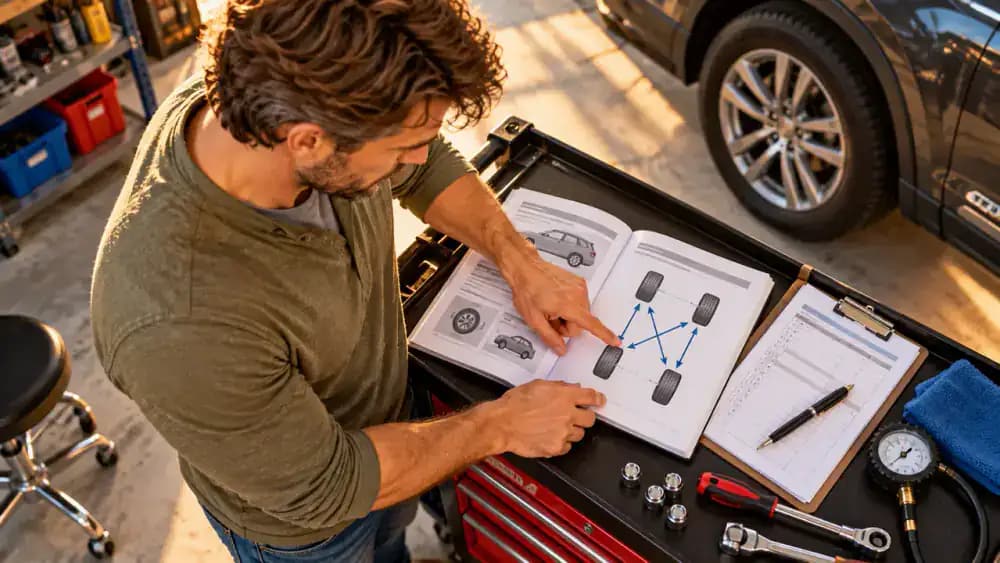
Open your owner's manual and review the manufacturer's tire maintenance instructions, including recommended rotation intervals and any vehicle-specific requirements. Use the tire rotation diagram to understand the prescribed pattern, since procedures can vary by vehicle and tire type. Keep service receipts and maintenance records organized so you can track completed work and upcoming needs. Follow the manual's guidance, and arrange professional evaluation whenever unusual wear or questionable damage appears.
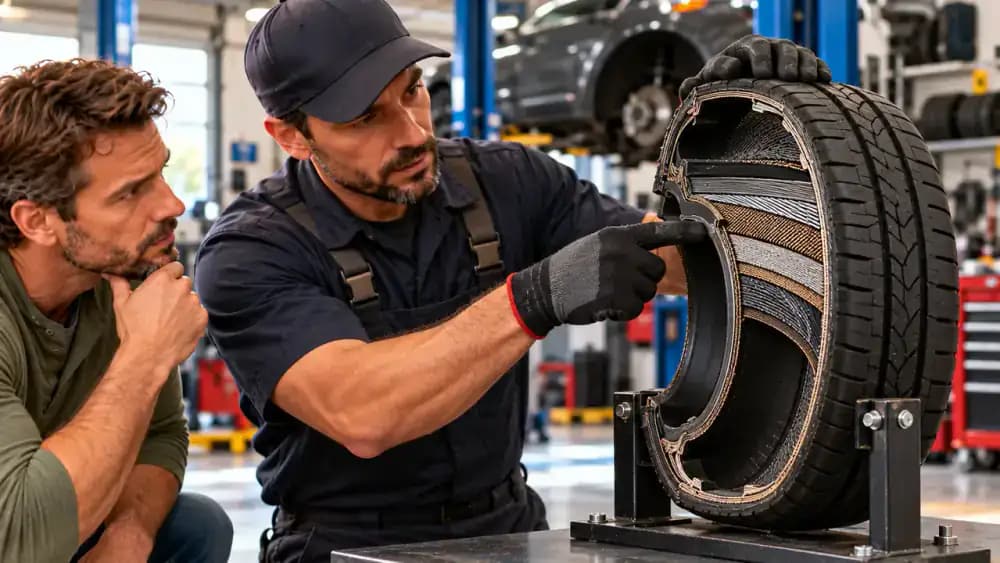
Understand What a Visual Tire Inspection Can and Cannot Confirm
A visual inspection helps identify warning signs, but it cannot confirm that a tire is safe for road use. An educational cutaway model shows how reinforcing belts and body plies sit beneath the outer rubber, where hidden damage may escape notice. Even a tire with normal inflation and acceptable-looking tread can have internal problems. If you notice unusual wear or remain uncertain about its condition, ask a qualified tire professional for an assessment.
Make the Final Drive or Service Decision
Before taking the keys, review your tire inspection findings and decide whether the vehicle needs professional service. A flat tire, exposed reinforcing cords, a sidewall bulge, or severe damage means do not drive. Keep the vehicle parked and arrange professional assistance. If pressure repeatedly drops or tread wear looks uneven, schedule an inspection. Consider driving only when pressure meets vehicle specifications and no concerning damage is visible, remembering that uncertainty calls for expert evaluation.
Stay Ahead of Tire Problems
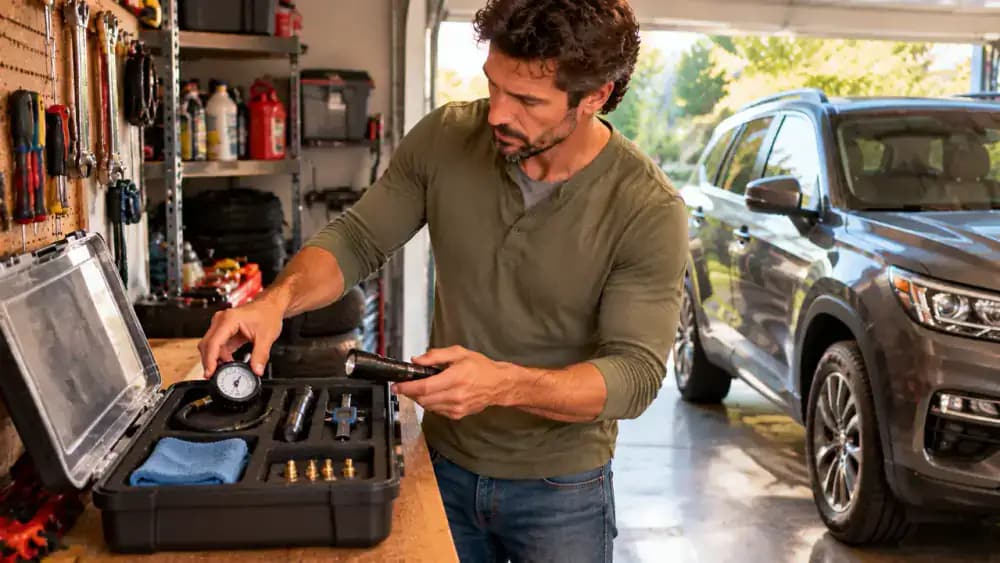
Return your tire pressure gauge, tread depth gauge, and inspection flashlight to an organized storage case so they are ready for the next check. Keep your maintenance log and owner's manual nearby for easy reference. Check cold tire pressure monthly and before long trips, and watch for unusual wear or visible damage. Follow the manufacturer's maintenance guidance, and seek professional help whenever something seems wrong. Visual checks cannot certify a tire as roadworthy.
A low tire pressure warning can appear just as you are getting ready for your morning commute, leaving you to wonder whether it is safe to drive or time to call for help. Before reaching for an air pump, know where to find your vehicle's recommended tire pressure. The number printed on the tire sidewall is not the correct inflation target for your vehicle. Even when the pressure is right, cuts, bulges, worn tread, or other damage can make a tire unsafe. A quick, careful check can help you spot problems before they become more serious.
Start by parking on a level surface away from traffic, setting the parking brake, and letting the tires cool. Gather a reliable tire pressure gauge and a suitable air source, then check each tire against the manufacturer's cold pressure specifications on the driver's doorjamb placard or in the owner's manual. Next, inspect the visible tread and sidewalls for signs of damage. You will learn how to measure pressure accurately, recognize warning signs, and decide when to add air, monitor a tire, or arrange professional service. Never drive on a flat tire, exposed cords, a sidewall bulge, or severe damage.
Where people go wrong
Using the Tire Sidewall Number as the Pressure Target. The pressure printed on the tire sidewall is not the vehicle's recommended inflation pressure. Check the driver's doorjamb placard or owner's manual for the correct cold PSI, and verify front and rear specifications separately. Inflating to the wrong target can leave tires improperly pressurized.
Checking Pressure Before the Tires Have Cooled. Tires heat up during driving, which can affect pressure readings. For a more accurate check, park on a level surface and let the vehicle sit for at least three hours. Measure each tire with a reliable gauge before adding or releasing air.
Assuming Correct PSI Means the Tire Is Safe. A tire can hold the recommended pressure and still have dangerous damage. Inspect visible tread and sidewalls for cuts, cracks, exposed cords, embedded objects, and bulges. Never drive on a flat tire, exposed cords, a sidewall bulge, or severe damage, regardless of the pressure reading.
Ignoring Repeat Pressure Loss or Uneven Tread Wear. Repeated pressure loss or uneven tread wear can signal a problem that needs professional attention. Check pressure monthly and before long trips, record readings, and inspect tread wear indicators. If pressure keeps dropping or wear appears uneven, schedule a tire inspection rather than relying on repeated inflation alone.
Questions people ask
Check the tire information placard on the driver's doorjamb or consult your owner's manual for the manufacturer's recommended cold tire pressure, measured in PSI. Front and rear tires may have different specifications. Do not use the pressure printed on the tire sidewall as your target, because it is not the vehicle's recommended inflation pressure.
Fixed it?
Get one guide like this every Thursday.