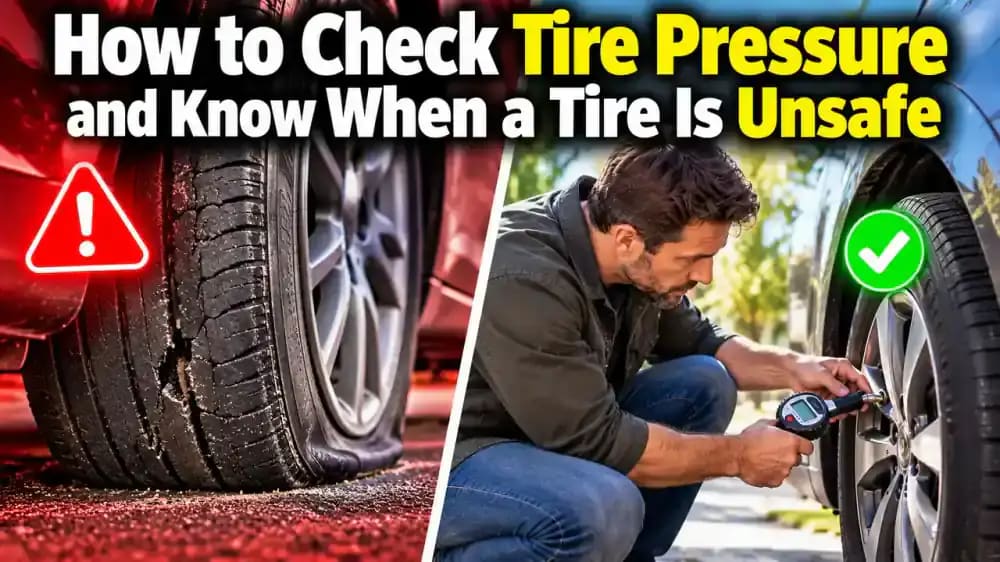
How to Check Tire Pressure and Spot an Unsafe Tire
Learn how to check tire pressure with a gauge, find your car's recommended PSI, add air correctly, and recognize tire damage that makes driving unsafe. This practical guide also covers TPMS warning lights, cold tire readings, and when to visit a tire professional.
What you’ll need
Tap to tick things off before you start.
The Tire Pressure Warning You Should Not Ignore
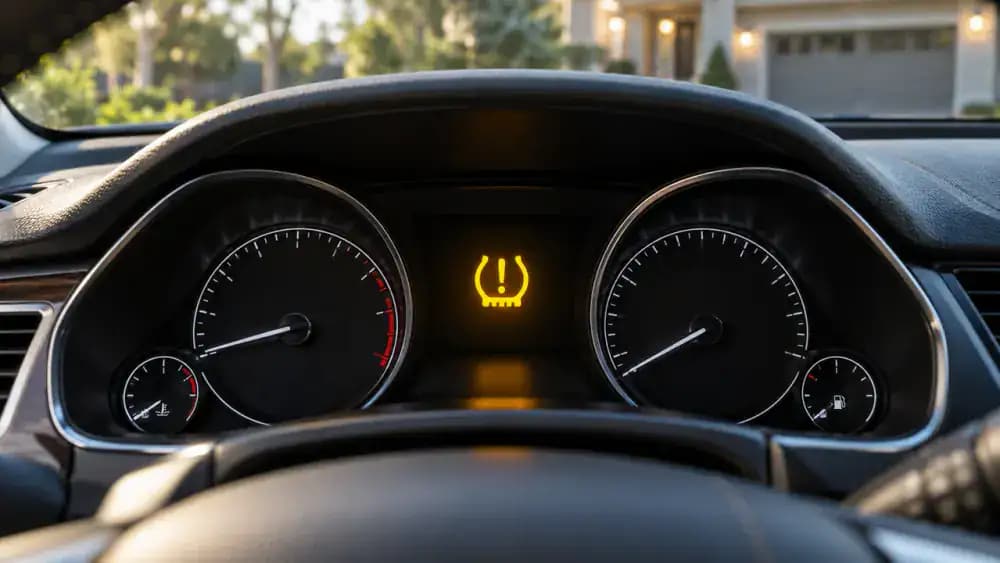
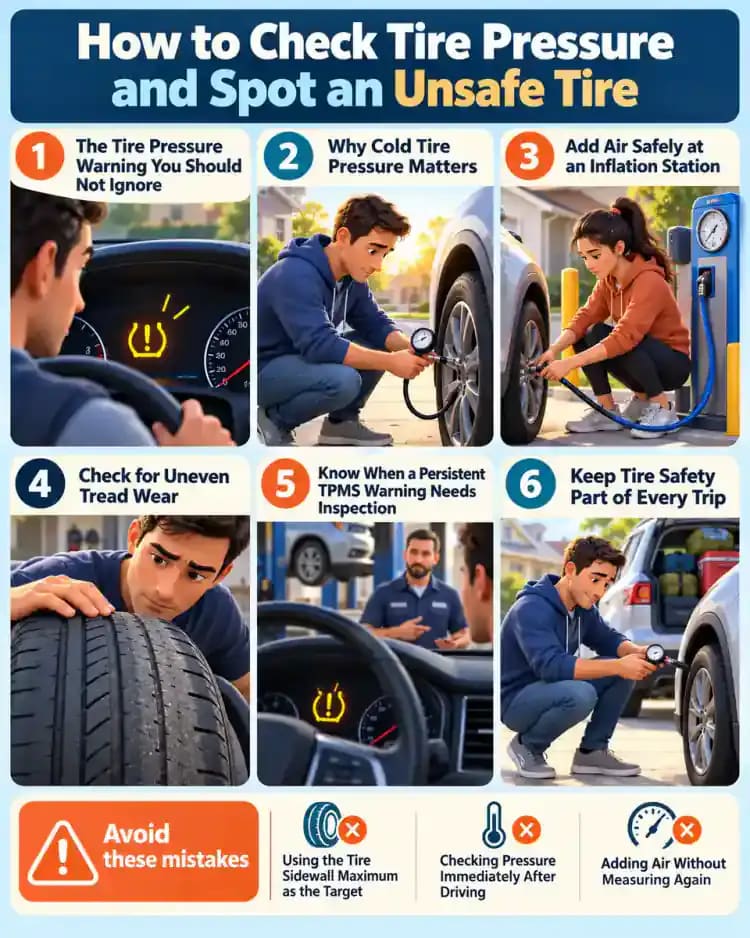
When the yellow tire pressure warning light appears on your dashboard, do not assume the problem is minor. It may indicate low tire pressure, but the warning alone cannot tell you whether a tire is damaged. Before continuing your trip, find a safe parking spot away from traffic and inspect your tires. Never drive on a visibly flat tire or one with a bulge, severe sidewall damage, or exposed cords.
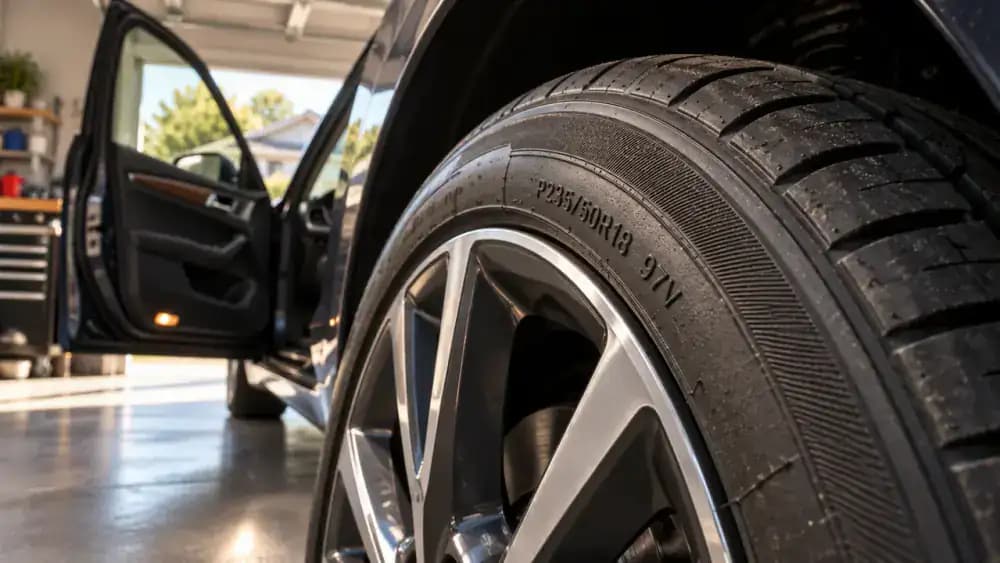
The Tire Sidewall Number Is Not Your Target PSI
Look at the numbers embossed on the tire sidewall, where the maximum cold inflation pressure may be listed in PSI. For example, a marking of 44 PSI indicates a maximum rating, not necessarily the pressure your car needs for everyday driving. Do not inflate to that number unless it matches your vehicle's specified pressure. Instead, use the tire information placard to find the correct setting for your car.
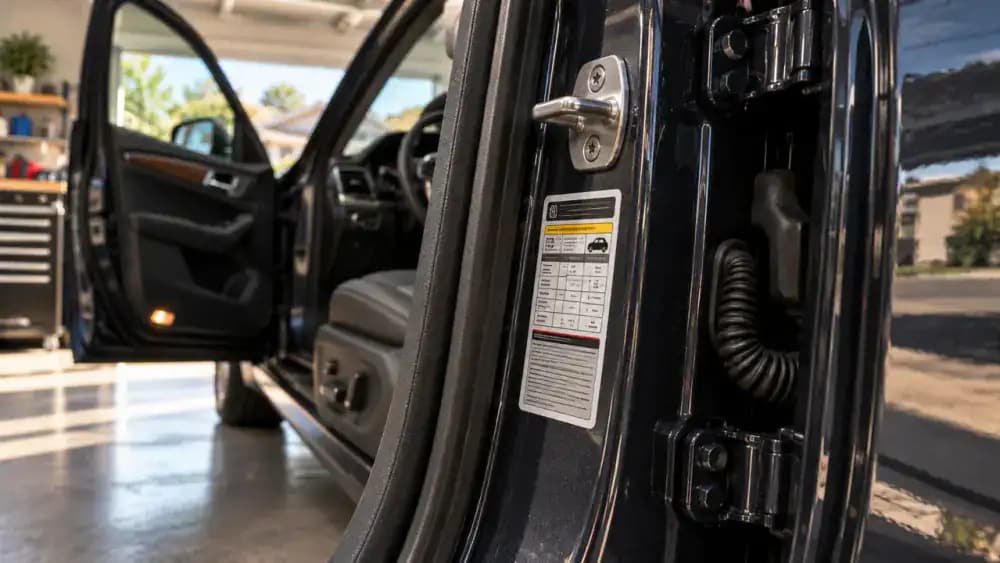
Find the Correct Tire Pressure on the Driver's Door Placard
Open the driver's door and examine the door jamb for the factory tire information placard. In the close-up, notice the section labeled for cold tire pressure, which lists the recommended PSI for your vehicle. Front and rear tires may have different specifications, so check both entries carefully. Treat any example numbers as illustrations only, and use the values printed on your own vehicle's placard.
Prepare a Safe Place to Check Your Tires
Park on level ground in a driveway, garage, or parking area well away from moving traffic. Put the vehicle in Park, turn off the engine, and engage the parking brake before approaching the tires. Look over each tire for obvious flattening or serious damage before using a gauge. If a tire looks flat or has severe damage, do not drive on it; arrange professional assistance instead.

Gather Your Tire Pressure Tools
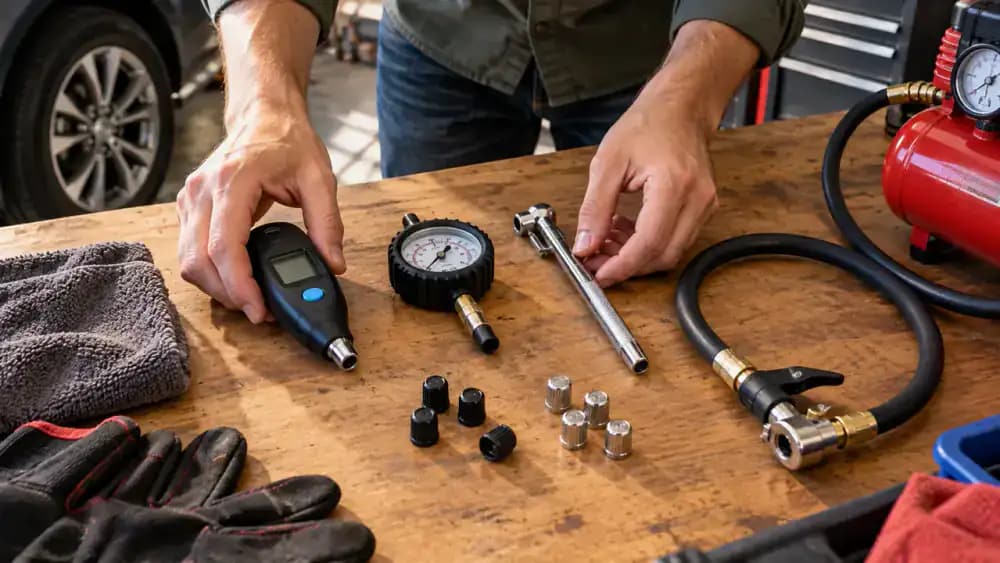
Before checking your tires, gather a reliable tire pressure gauge, a small container for valve caps, and access to an air pump if needed. A digital gauge shows the reading on a screen, while a pencil-style gauge uses a sliding scale. Either can work when used correctly. Keep your tools together so you can check all four tires and record each reading without losing track.
Why Cold Tire Pressure Matters
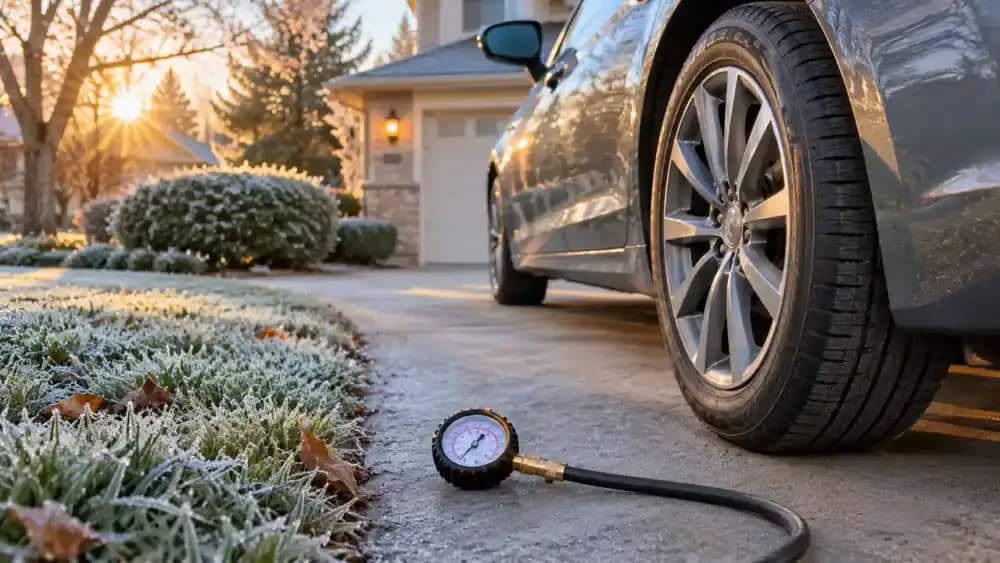
Check tire pressure before your first drive whenever possible. Cold tires generally mean the vehicle has been parked for at least three hours, allowing the tires to cool. Driving heats the tires and can raise the pressure reading, making it harder to compare with the manufacturer's recommendation. If your tires are warm, keep that temperature difference in mind and follow your vehicle manufacturer's guidance before adjusting pressure.
Remove the Tire Valve Cap Carefully
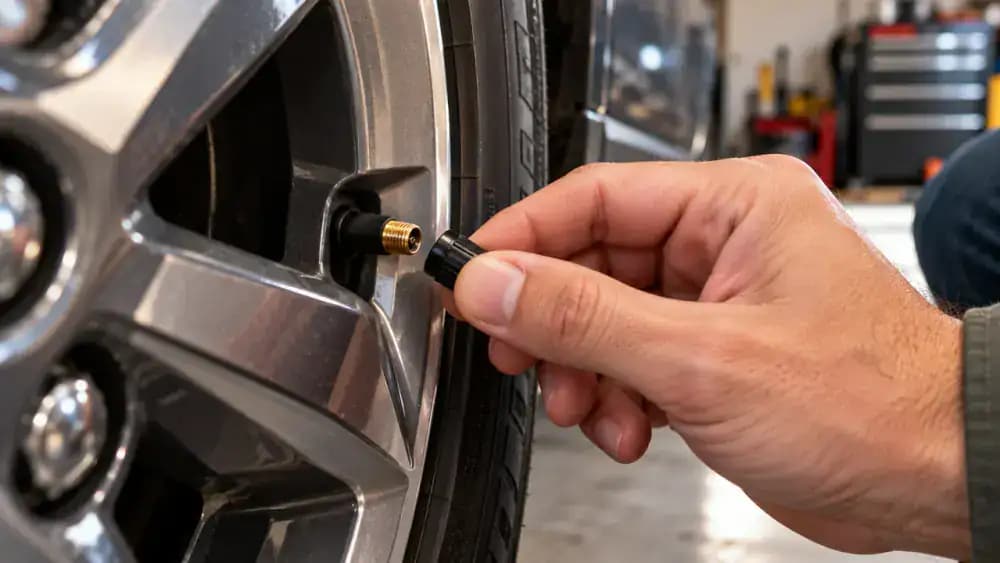
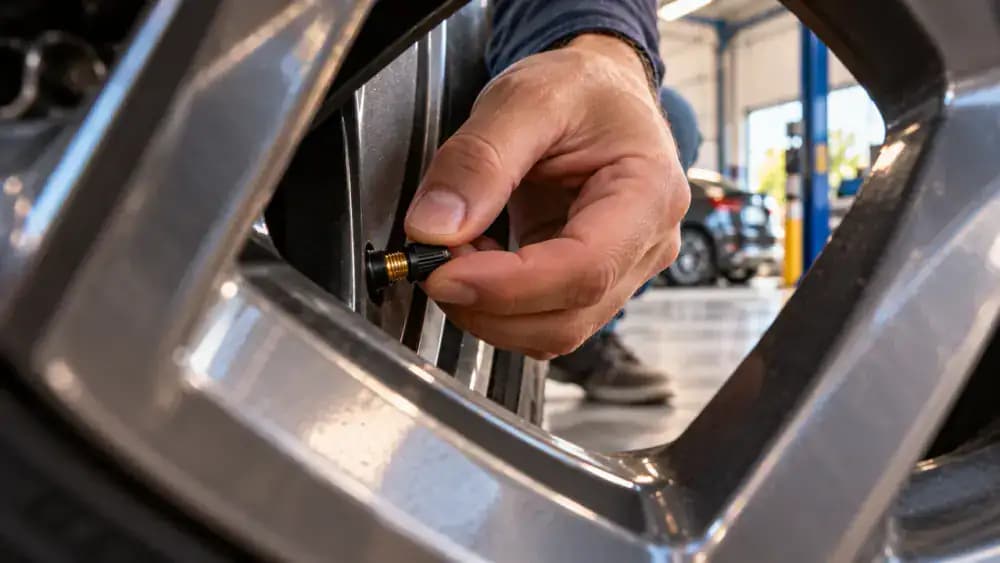
Find the small rubber or metal valve stem extending through the wheel rim on the first tire. Grip its protective cap between your fingers and turn it counterclockwise until it comes off. Place the cap in a clean tray or container so it does not get lost. Keep dirt and debris away from the exposed valve opening to help ensure an accurate pressure reading.
Measure Tire Pressure With a Digital Gauge
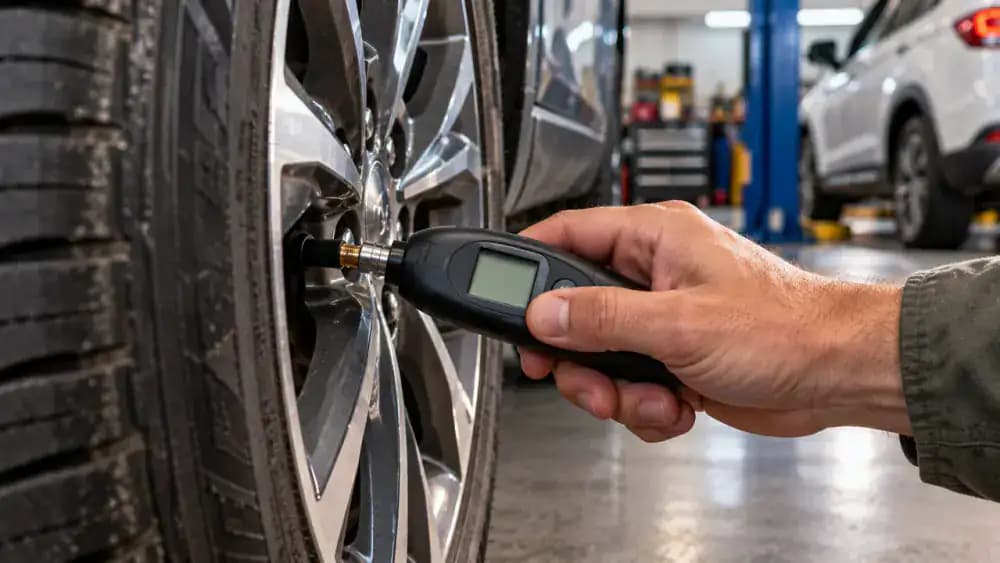
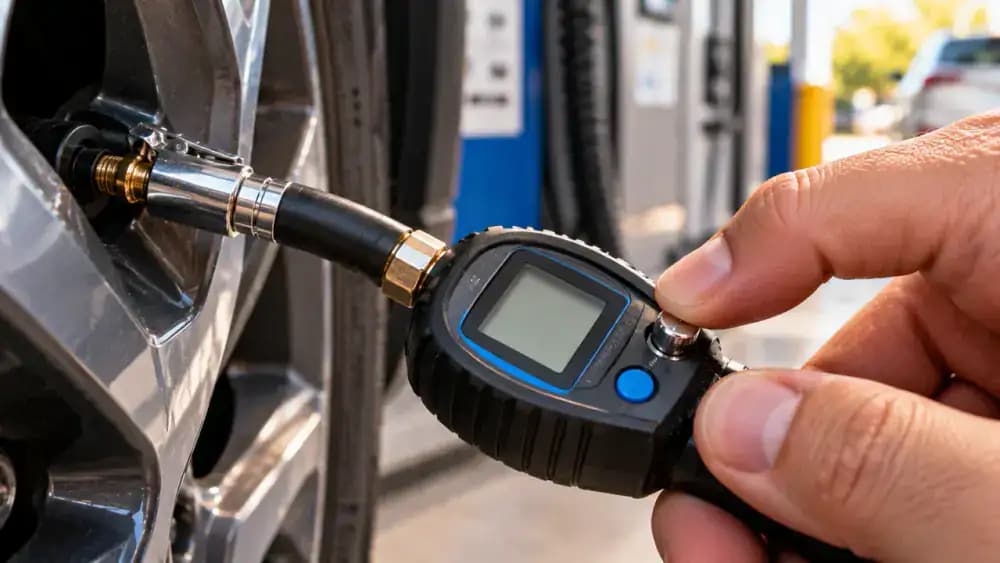
Align the digital gauge nozzle straight with the exposed valve stem and press firmly enough to create an airtight seal without bending the stem. Hold the gauge steady until the display shows a PSI reading. A brief hiss may occur, but continuous hissing means air is escaping, so reposition the nozzle. Remove the gauge and record the displayed pressure before moving to the next tire.
Check Tire Pressure With a Pencil-Style Gauge
Align the pencil-style gauge straight against the exposed valve stem and press firmly to form a seal. Remove the gauge and look at the white measurement stick that slides out from the metal barrel. Read the PSI at the point where the stick meets the barrel edge. If the result seems inconsistent, push the stick back in and repeat the measurement with a firm connection.
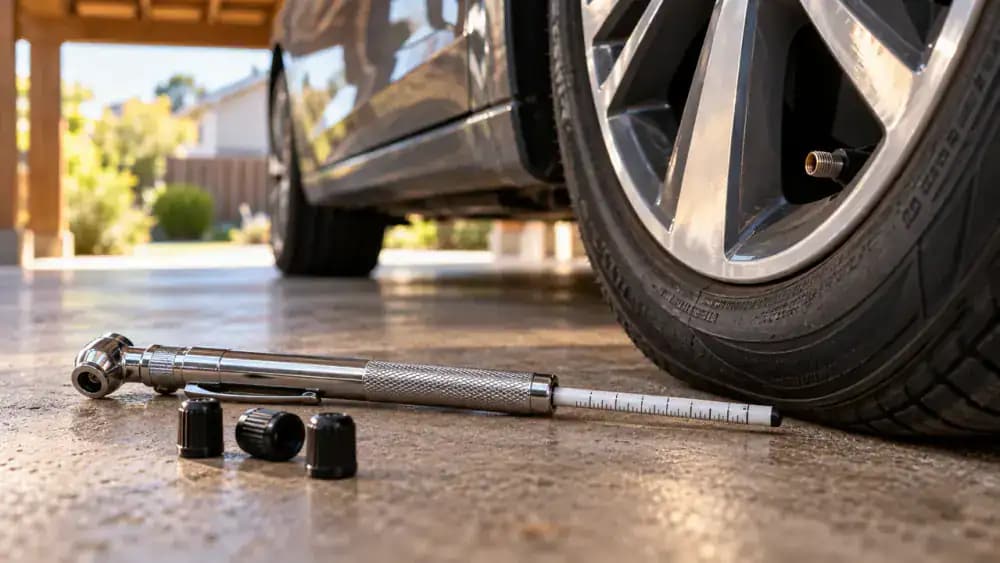
Compare Your Tire Pressure With the Recommended PSI
Write each gauge reading on a tire pressure checklist, identifying the tire's position so you can compare it with the correct recommendation. For example, a front tire reading 29 PSI against a placard recommendation of 32 PSI is 3 PSI low. Record all four tires before making adjustments, since front and rear tires may have different recommended pressures. Use your vehicle's actual placard values, not example figures.
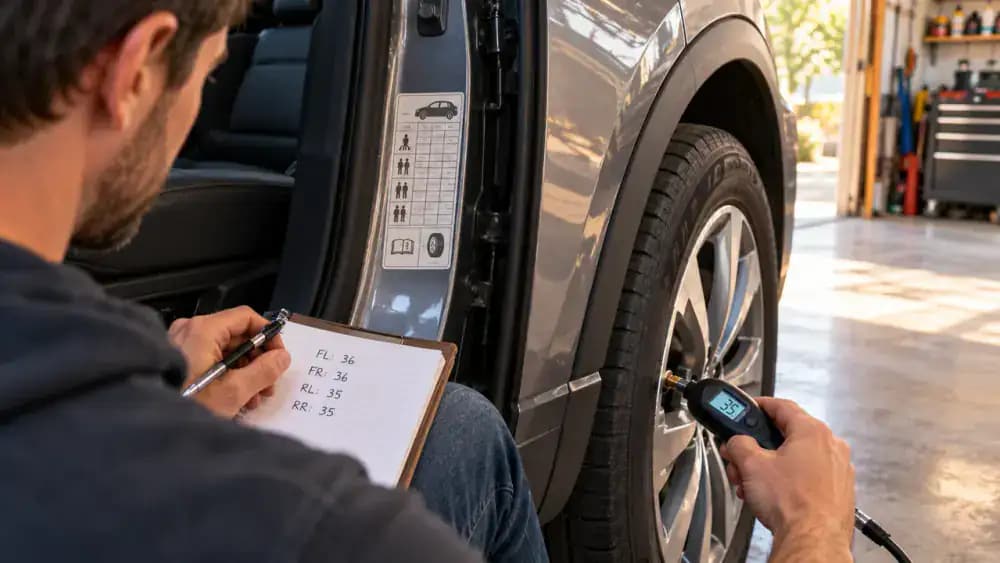
Check All Four Tires Before Adding Air
Repeat the same gauge check on the remaining three tires, recording each reading beside its position on your checklist. Compare front tires with the placard's front specification and rear tires with the rear specification. If one tire reads much lower than the others, inspect it for visible damage rather than assuming it simply needs air. Arrange professional inspection if you notice suspicious damage or repeated pressure loss.
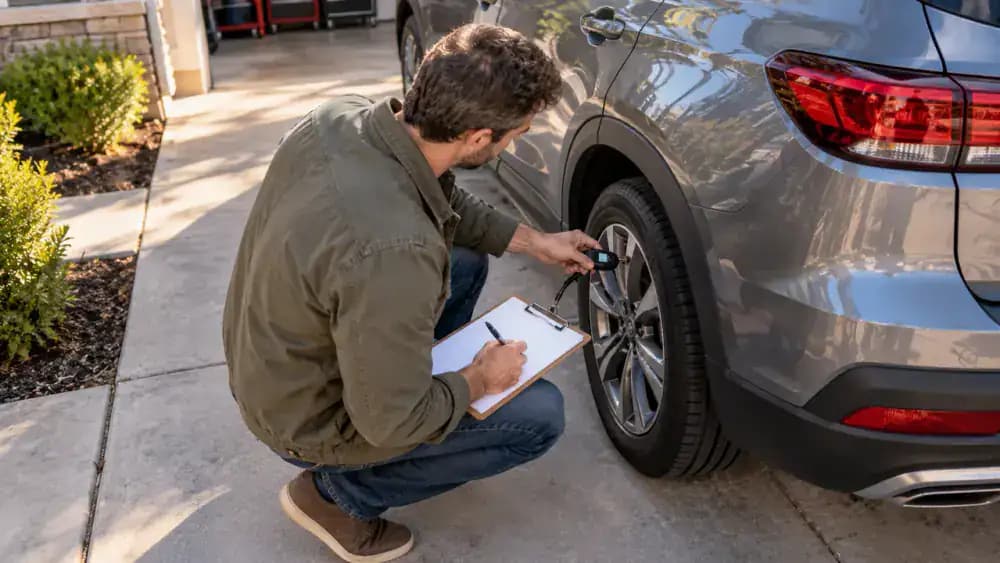
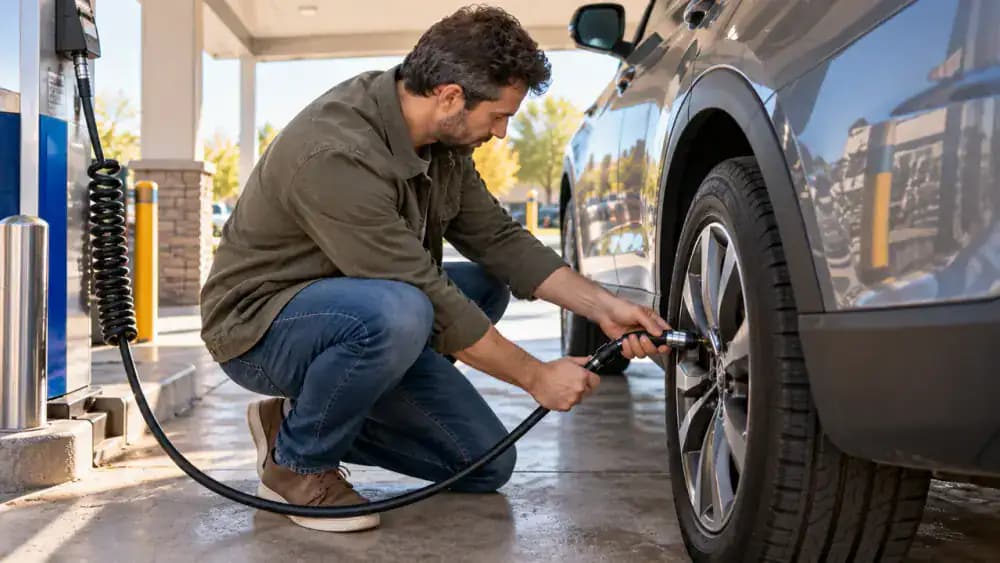
Add Air Safely at an Inflation Station
If a tire is slightly underinflated and shows no serious damage, park beside an air pump in a safe area away from traffic. Confirm the recommended PSI on your vehicle's placard before removing the valve cap and connecting the hose securely. Add air in short bursts, keeping the connection steady. Never inflate to the tire sidewall maximum unless it matches your vehicle's specified pressure.
Recheck Tire Pressure and Release Excess Air
After adding air, disconnect the pump hose and measure the tire pressure again with your gauge. Compare the new reading with the recommended PSI on your vehicle's placard. If pressure remains low, add another short burst and recheck. If it is too high, use the gauge's bleed button, if equipped, to release a little air, then measure again until you reach the specified pressure.
Replace the Valve Cap and Account for Warm Tires
Once the pressure matches your vehicle's recommendation, screw the valve cap back onto the stem by hand until snug. The cap helps keep dirt and moisture out of the valve. Remember that driving warms tires and can temporarily raise pressure readings. Do not release air simply because a warm tire reads above its cold specification. Let the tires cool for at least three hours before checking again and adjusting if needed.
Begin a Visual Tire Inspection
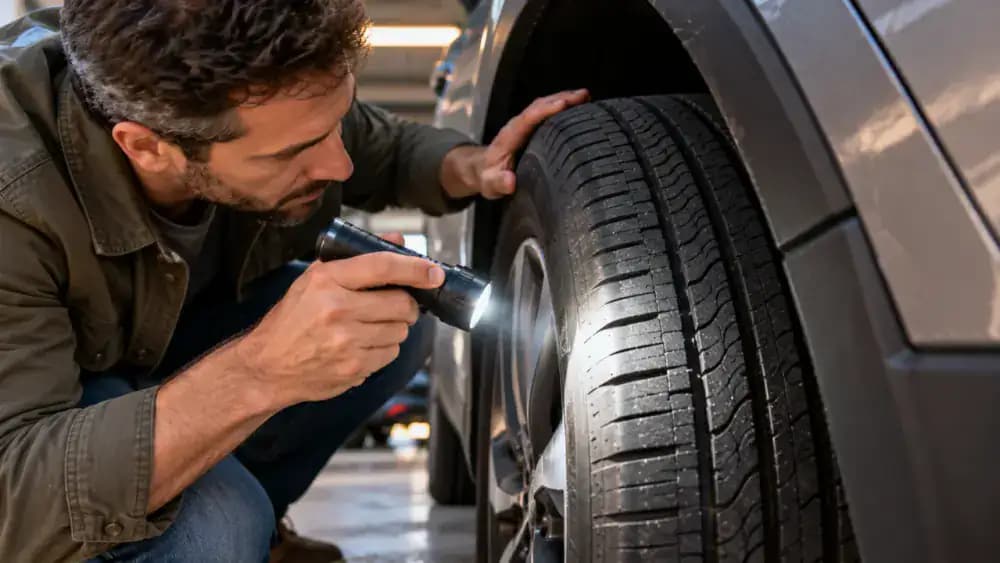
With the valve cap secured, inspect each tire in your safe parking spot. Crouch beside the wheel and use a flashlight if needed to scan the visible tread from the inner shoulder across the center grooves to the outer shoulder. Look for uneven wear, deep cracks, cuts, or embedded objects. Do not pull out anything stuck in the rubber, as the tire may need professional evaluation.
Spot Dangerous Sidewall Damage
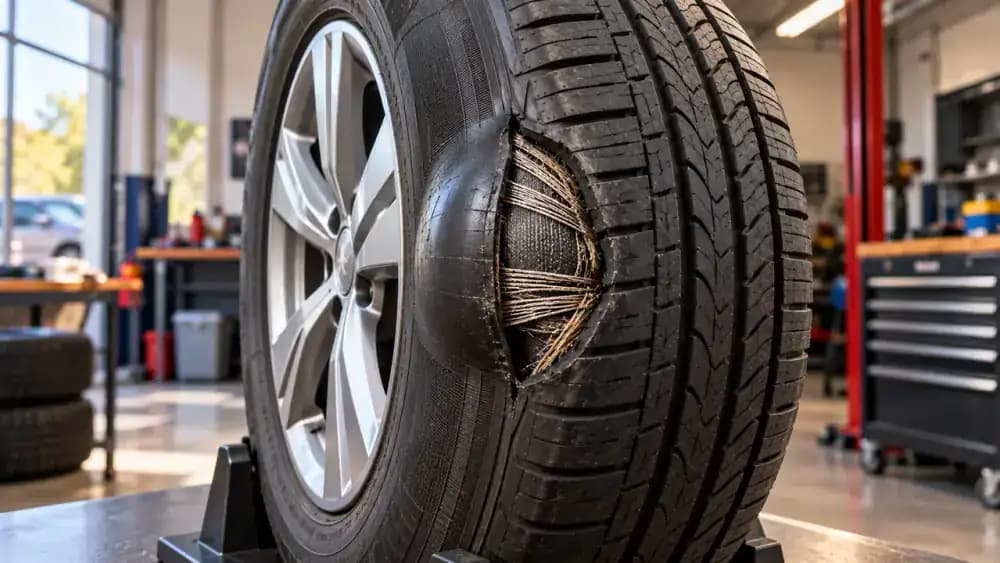
Examine the sidewall, the rubber area between the wheel rim and the tread, for bulges, deep cuts, severe cracks, or exposed reinforcing cords. A bulge can signal internal tire damage even when a pressure gauge shows the recommended PSI. If you spot a bulge, exposed cords, or severe sidewall damage, do not drive the vehicle. Leave it parked and contact a tire professional for assistance.
Identify Embedded Objects Without Removing Them
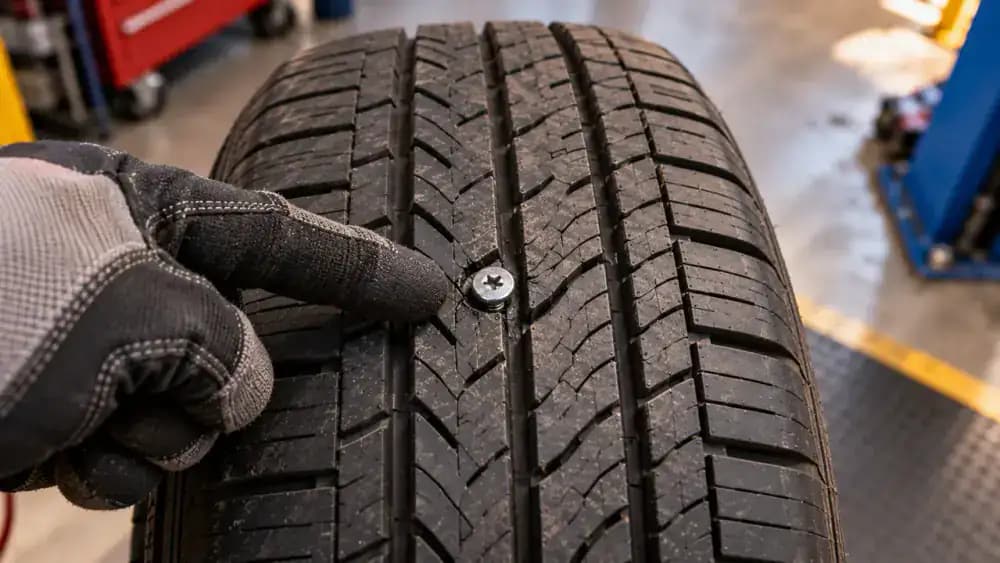
Look closely at the tread grooves for nails, screws, or other sharp objects lodged in the rubber. If you spot one, leave it in place and arrange a professional tire inspection. Removing it could allow air to escape more quickly if it is sealing a puncture. If the tire is visibly flat or severely damaged, do not drive the vehicle; request roadside assistance instead.
Check for Uneven Tread Wear
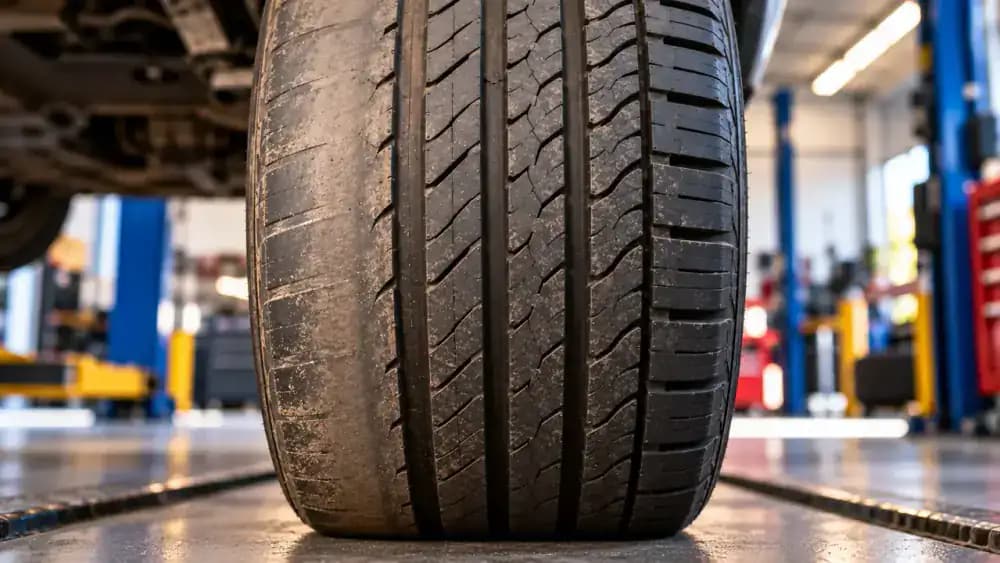
Compare the tread across each tire, looking at both shoulders, the center ribs, and the edges for uneven wear. Excessive wear on both shoulders can suggest underinflation, while center wear may indicate overinflation. Wear concentrated along one edge can point to alignment or suspension issues. These patterns are clues, not diagnoses, so ask a tire professional to investigate unusual wear before it worsens.
Measure Tread Depth With a Penny
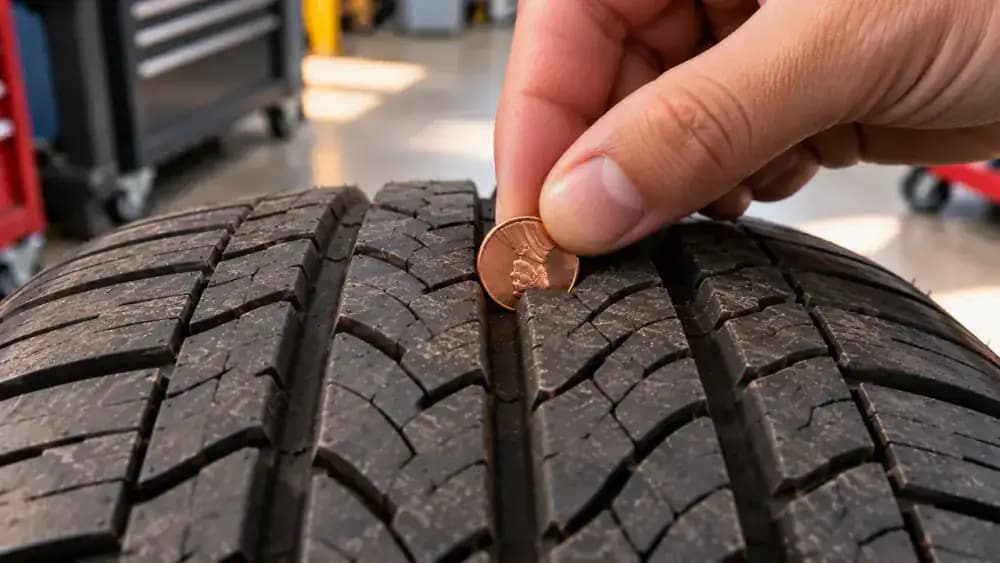
Turn a penny upside down so Lincoln's head faces you, then insert it into a main tread groove. If you can see the top of his head, the tread is approximately 2/32 of an inch deep or less, indicating the tire needs replacement. Repeat the check in several grooves across the tire because tread depth can vary. Treat this as a quick screening method, not a complete tire inspection.
Find the Built-In Tread Wear Indicators
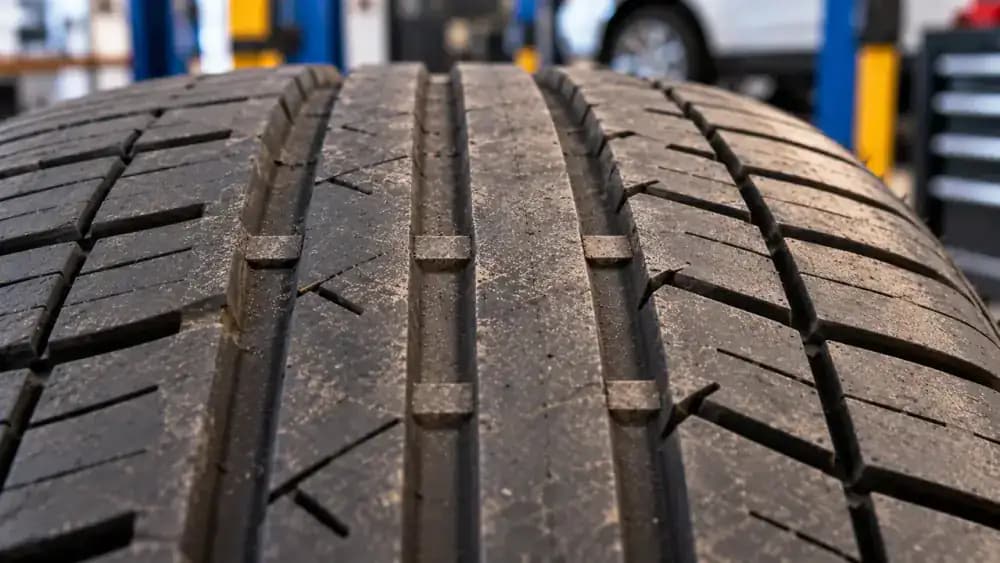
Look inside the main tread grooves for small raised rubber bars that cross the channels between tread blocks. These built-in wear indicators sit below the surrounding tread surface when the tire has usable tread remaining. When the surrounding rubber wears level with the bars, approximately 2/32 of an inch remains and the tire needs replacement. Check several locations because tread wear can differ across the same tire.
Decide When Tire Damage Requires Immediate Help
Review any damage you found and decide whether the vehicle can remain safely parked until it is assessed. A bulge, exposed cords, severe sidewall damage, or a visibly flat tire means you must not drive. Do not try to fix structural damage by adding air. Contact roadside assistance or a tire professional, and arrange a prompt inspection for less severe concerns such as uneven tread wear.

Understand What the TPMS Warning Means
TPMS stands for tire pressure monitoring system. When its warning light appears, one or more tires may be significantly underinflated, but the alert cannot confirm whether a tire is structurally safe. Park in a safe area away from traffic, inspect each tire for visible damage, and measure pressure with a gauge. Compare every reading with your vehicle's placard rather than relying on the warning light alone.
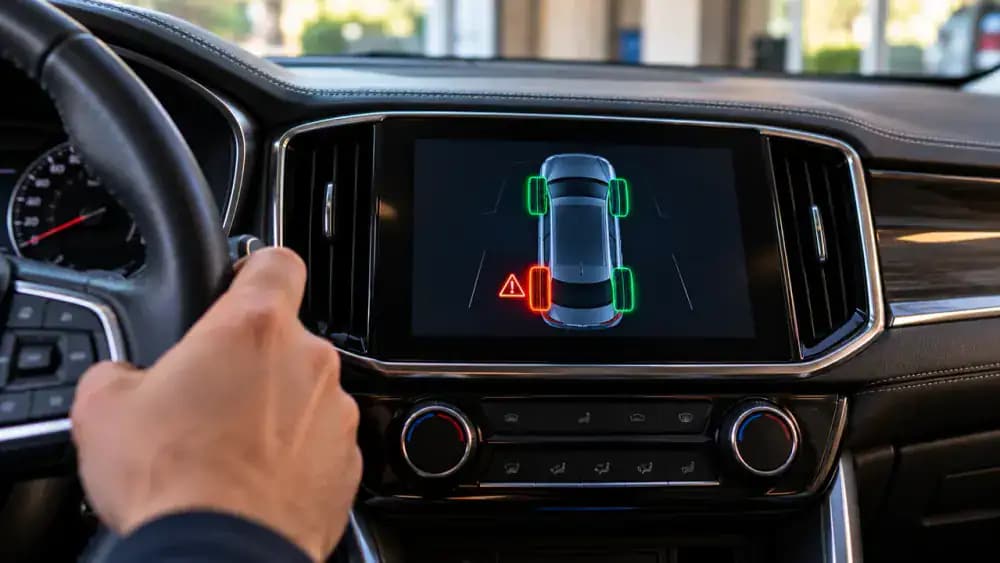
Understand Temperature-Related Tire Pressure Changes
Cold weather can lower tire pressure even when a tire has no puncture. As a general guide, pressure drops about 1 PSI for every 10-degree Fahrenheit decrease in temperature. If a warning appears during a cold snap, check all four tires after at least three hours of parking and adjust them to the vehicle's recommended cold PSI. If one tire keeps losing pressure, arrange a professional inspection.
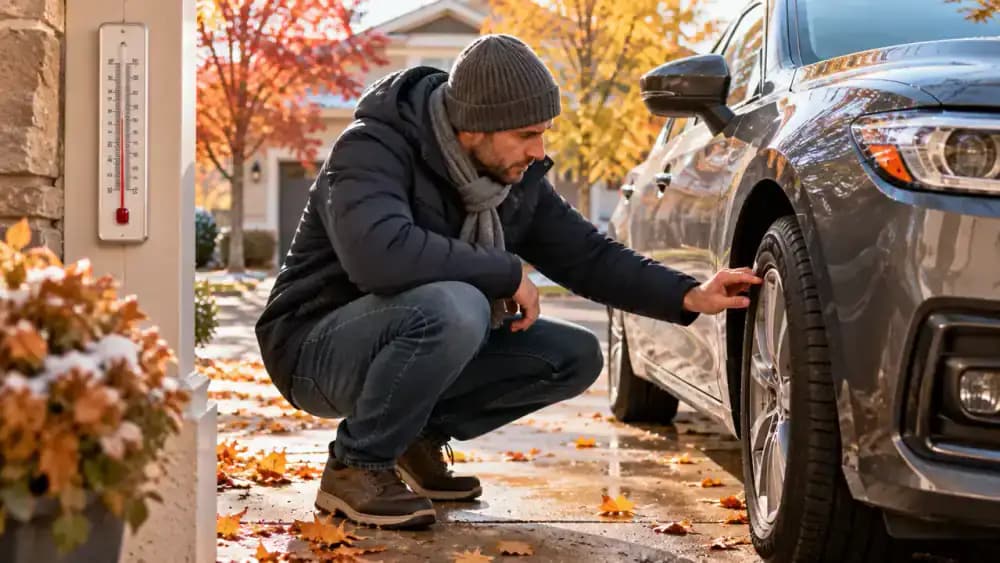
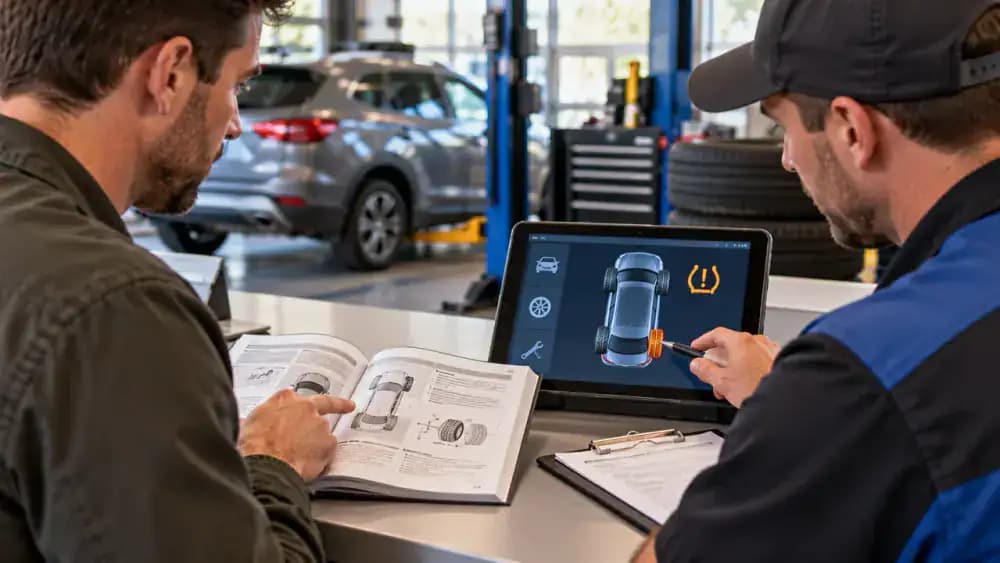
Know When a Persistent TPMS Warning Needs Inspection
After correcting tire pressures, watch to see whether the TPMS warning clears or returns. Some vehicles require a short drive or a manufacturer-specific reset procedure, so consult your owner's manual instead of guessing. If the warning stays on despite correct pressures, arrange a TPMS inspection. Repeated pressure loss also deserves professional attention, even when you cannot see any obvious tire damage.
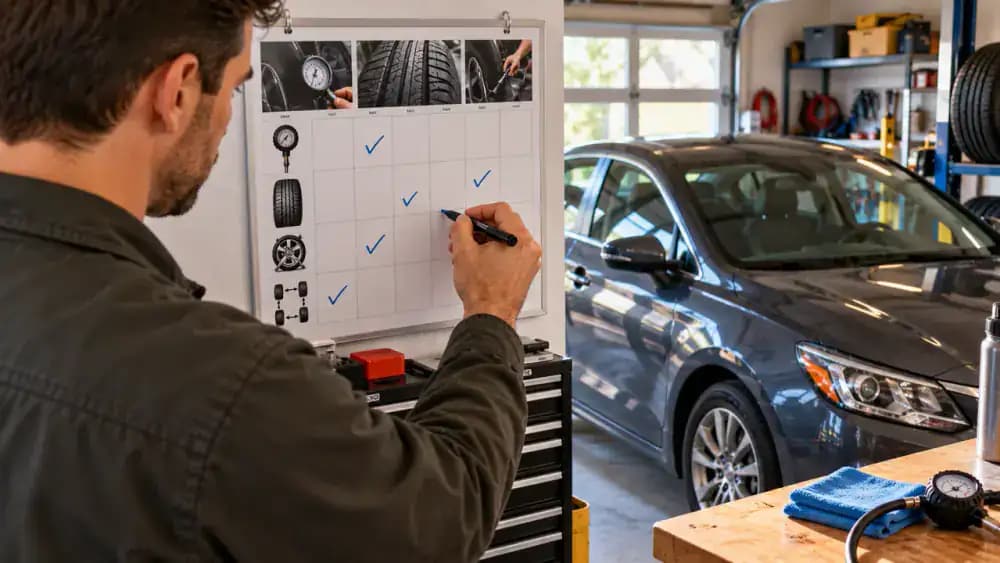
Establish a Monthly Tire Pressure Routine
Set up a simple monthly reminder to check all four tires before driving, while they are cold. Record each PSI reading on a maintenance chart and compare it with the recommended pressure on the driver's door placard. Add reminders to check before long trips and after major temperature changes. If a tire repeatedly loses pressure, arrange professional inspection rather than relying on repeated inflation alone.
Review the Complete Tire Safety Checklist
Before your next trip, review each part of the tire check: park on level ground away from traffic, confirm the tires are cold, and find the recommended PSI on the vehicle placard. Measure all four tires and adjust only undamaged tires as needed. Replace the valve caps, inspect tread and sidewalls, and record any concerns. Get professional help for suspicious damage before driving.
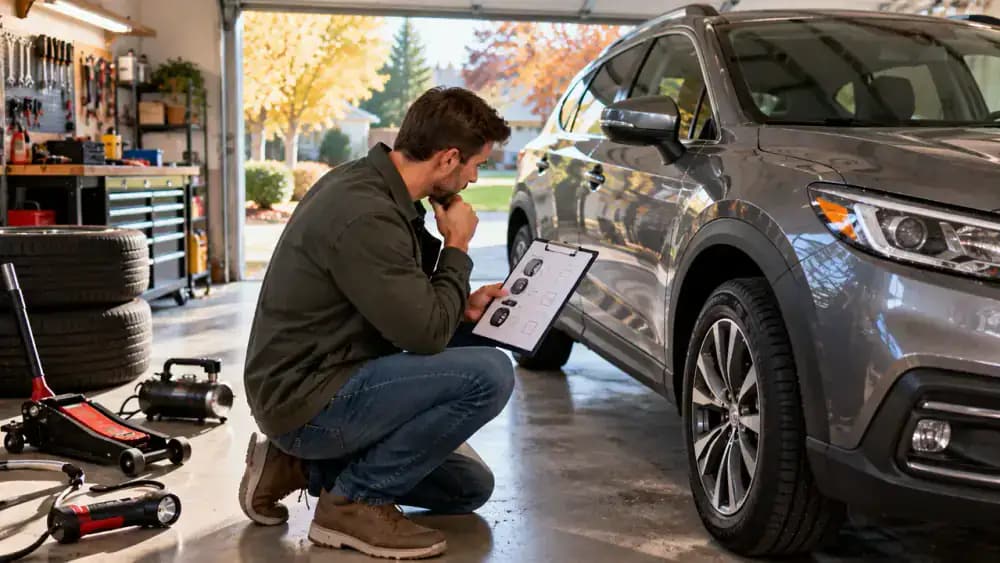
Choose the Right Action for Each Tire Problem
Use your inspection results to decide what to do next. If an undamaged tire is slightly low, add air gradually to the vehicle's recommended PSI and recheck the reading. Uneven wear or repeated air loss calls for professional inspection. If you find a bulge, exposed cords, severe sidewall damage, or a visibly flat tire, do not drive. Keep the vehicle parked and arrange roadside assistance.
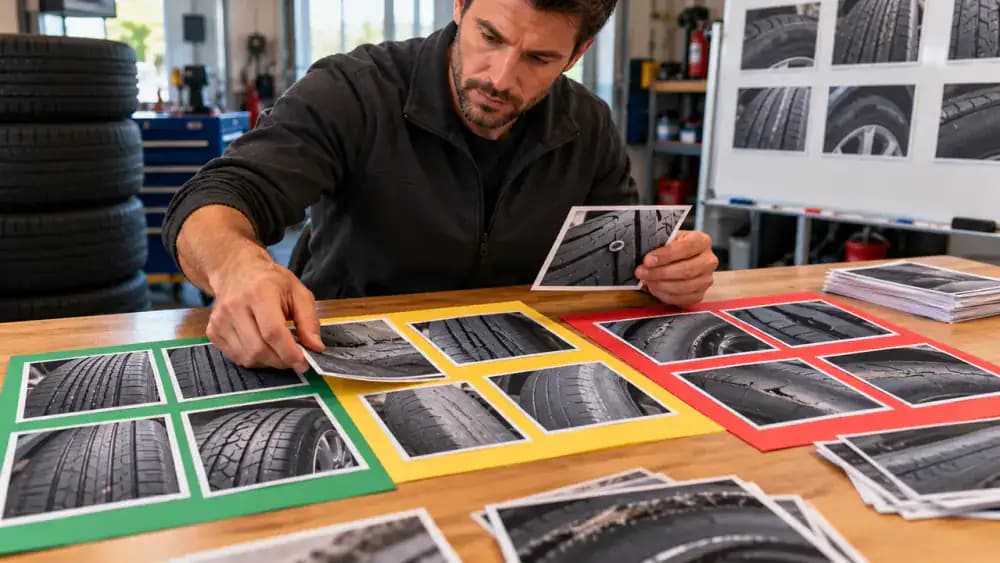
Keep Your Tire Pressure Tools Ready
Make future tire checks easier by keeping a reliable pressure gauge in a clean, protective pouch inside your vehicle. Add a reference card with the recommended cold PSI for your front and rear tires, copied from the driver's door placard. Secure the kit so it cannot slide around in the cargo area. Before long trips, identify a safe inflation station in case an undamaged tire needs air.
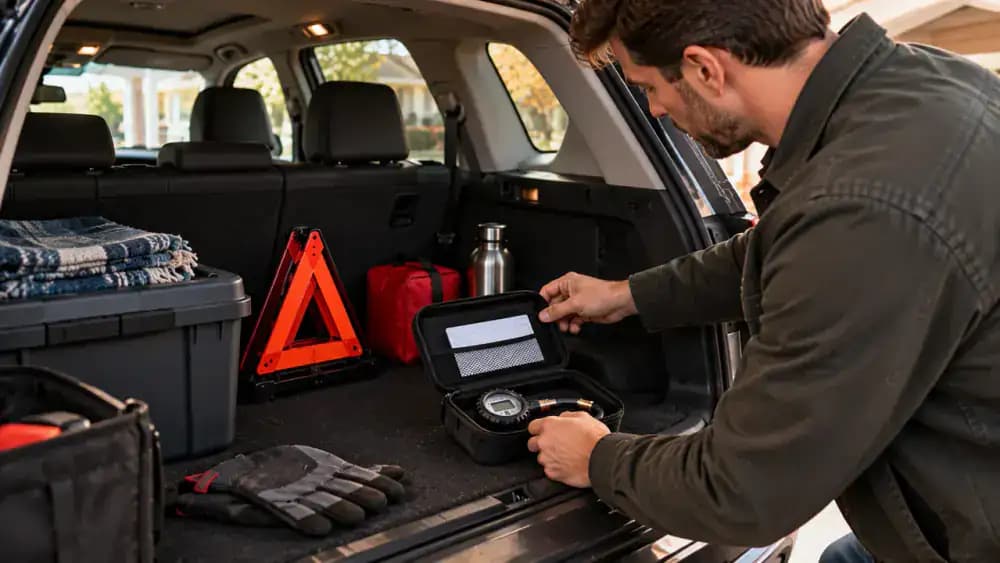
Make a Final Safety Check Before Driving
Before setting off, confirm that every valve cap is secure, your pressure readings match the vehicle's recommended PSI, and no obvious tire damage remains unaddressed. Check the visible tread and sidewalls once more, looking for bulges, cuts, exposed cords, or flattening. Remember that correct pressure does not make a damaged tire safe. If anything looks suspicious, keep the vehicle parked and seek professional advice.
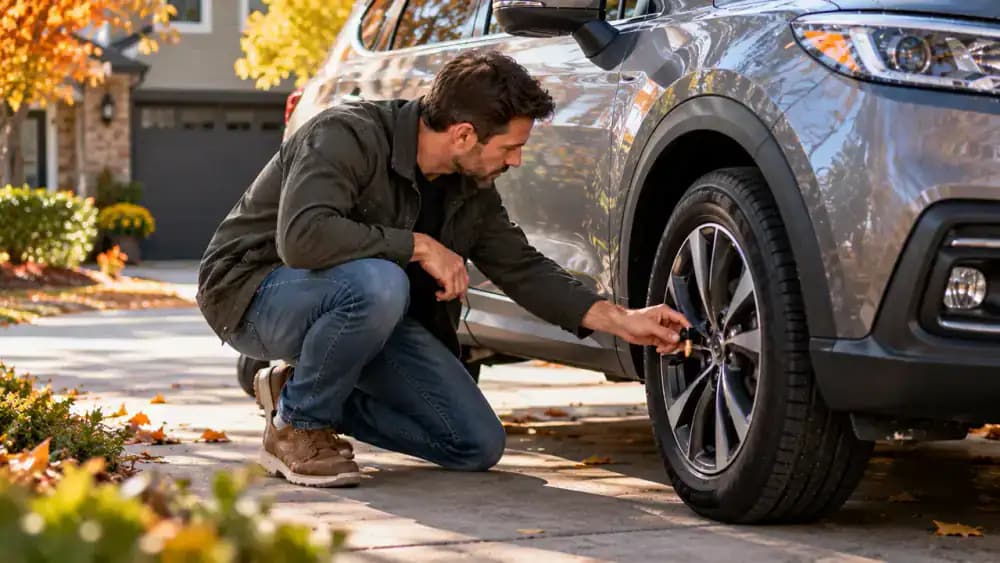
Keep Tire Safety Part of Every Trip
Make tire checks part of your regular vehicle maintenance by setting a monthly reminder to measure all four tires when cold and checking again before long trips. Use the recommended PSI on your vehicle's placard and inspect the tread and sidewalls for visible damage. Never drive on a bulging tire, exposed cords, severe sidewall damage, or a visibly flat tire. When in doubt, contact a tire professional.
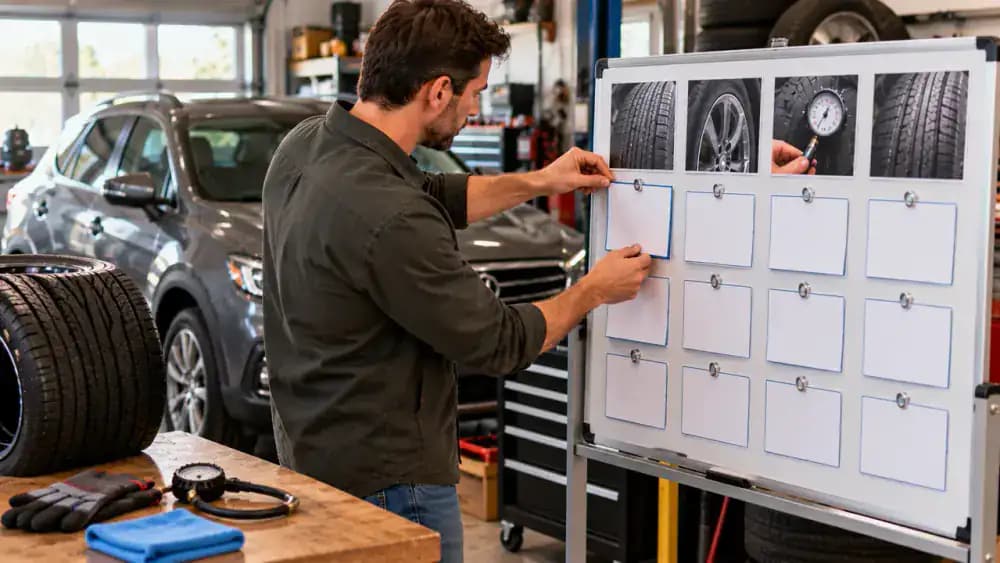
That tire pressure warning light just came on, and now you're wondering whether it's safe to keep driving. Low tire pressure can affect handling, tire wear, and fuel efficiency, but knowing what to check makes the situation much easier to manage. The first thing to understand is that the maximum PSI printed on your tire's sidewall is not necessarily the pressure your car needs. The correct everyday inflation pressure comes from the vehicle's tire information placard, usually found inside the driver's door jamb.
In this guide, you'll learn how to check tire pressure with a gauge, find the recommended PSI for your front and rear tires, and add air without overinflating. You'll also learn how to recognize warning signs such as bulges, deep cuts, exposed cords, and uneven tread wear. Always inspect and inflate tires in a safe location away from traffic. Never drive on a visibly flat tire or one with serious damage. A few minutes of routine checking can help you catch problems before they become dangerous.
Where people go wrong
Using the Tire Sidewall Maximum as the Target. The maximum PSI printed on the tire sidewall is not the recommended everyday pressure for your vehicle. Check the tire information placard inside the driver's door jamb and follow its specified cold pressures for the front and rear tires. Use the sidewall maximum only if it matches the vehicle specification.
Checking Pressure Immediately After Driving. Tires warm up during driving, which can affect pressure readings. For a more accurate routine check, measure pressure when the tires are cold, generally after the vehicle has been parked for at least three hours. If the tires are warm, account for that before making adjustments.
Adding Air Without Measuring Again. Adding too much air can leave a tire above its recommended pressure. Inflate gradually at a safe station, then use a pressure gauge to recheck the reading against the vehicle placard. Correct overinflation as needed and replace the valve cap when finished.
Ignoring Damage Because the Pressure Looks Normal. A correct pressure reading does not mean a tire is safe. Inspect the tread and sidewalls for bulges, cuts, embedded objects, exposed cords, and uneven wear. Never drive on a visibly flat tire, exposed cords, severe sidewall damage, or a bulging tire. Seek professional assistance.
Questions people ask
Check all four tires at least once a month and before long trips. Whenever possible, measure pressure when the tires are cold, generally after the vehicle has been parked for at least three hours. Regular checks can help you catch pressure loss before it affects handling, tire wear, or safety.
Fixed it?
Get one guide like this every Thursday.