How to Check Your Engine Oil Level Correctly and Avoid Costly Mistakes
Learn how to check your engine oil level, read a dipstick, top off oil safely, and recognize warning signs that could indicate serious engine trouble.

What you’ll need
Tap to tick things off before you start.
The Engine Oil Mistake That Can Cost Thousands
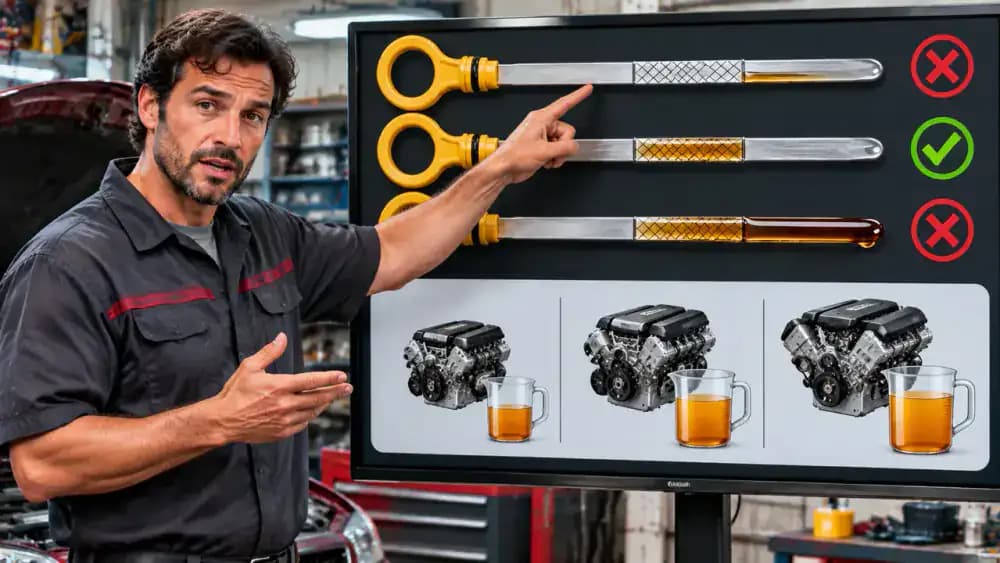
Engine oil protects the moving parts inside your engine by reducing friction and helping prevent premature wear. Too little oil can leave critical components without adequate lubrication, potentially causing severe engine damage. However, adding too much oil can also create costly problems. The dipstick comparison shown here illustrates both risks: an oil level below the minimum mark and one above the maximum. Neither condition should be ignored.

Understand What Your Oil Warning Really Means
An oil level warning and a red oil pressure warning indicate different problems. Low oil level means there may not be enough oil in the engine, while low oil pressure means lubrication may not be circulating properly. The dashboard illustration highlights this distinction. If the red oil pressure warning appears while driving, pull over safely, switch off the engine, and arrange professional assistance rather than continuing.
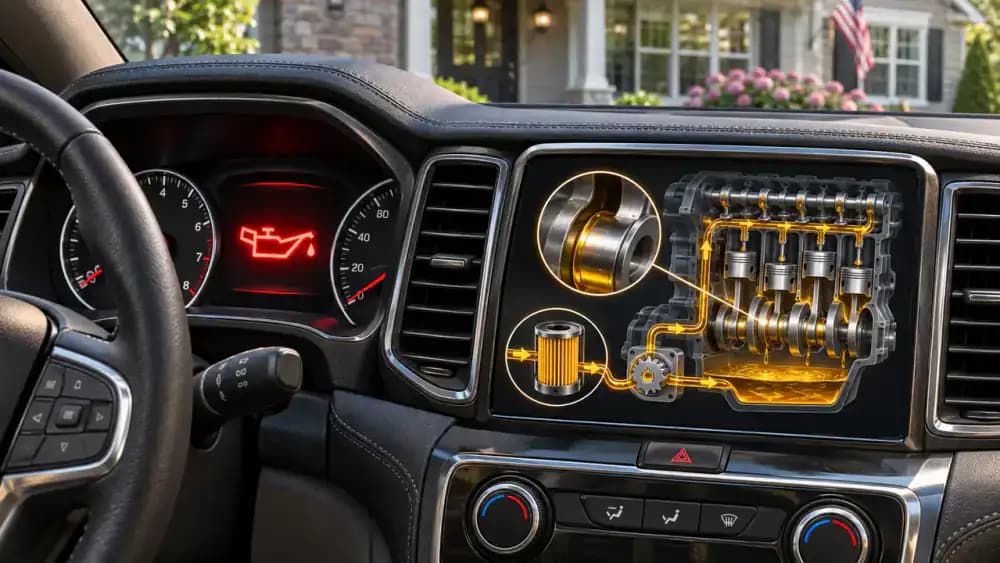
Start With Your Owner's Manual
Open your vehicle's owner's manual and find the section covering engine oil maintenance. Look for the recommended oil viscosity, required specifications, and the manufacturer's instructions for checking the level. Pay particular attention to whether your vehicle uses a traditional dipstick or an electronic monitoring system. These details vary between models, so never assume another car's checking procedure applies to yours.
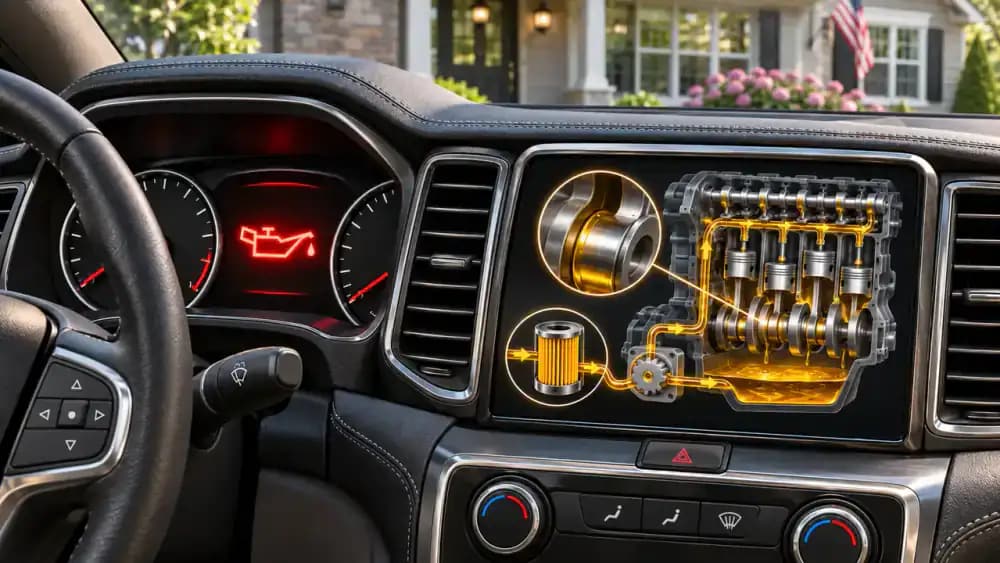
Find the Correct Engine Oil Specification
Check the oil specification in your owner's manual before purchasing or adding engine oil. Look for the viscosity grade, such as 0W-20 or 5W-30, and any required manufacturer approvals. These specifications are not automatically interchangeable. Compare the information on the oil container with your manual, and write down the exact requirements so you can choose the correct product.

Determine How Your Vehicle Measures Oil
Your vehicle may use a traditional dipstick or an electronic oil-level monitoring system. The comparison shown here highlights both options: a physical yellow dipstick handle on one side and an oil-level indicator on a dashboard screen on the other. Check your owner's manual to identify which system your car uses. Electronic systems may require specific engine temperatures or operating conditions before displaying an accurate reading.

Park on Level Ground Before Checking Oil
Park your vehicle on a firm, level surface away from moving traffic. The car should sit evenly rather than leaning toward either side, because an incline can cause oil to collect unevenly and produce a misleading reading. Shift an automatic transmission into Park, select the appropriate gear in a manual, and engage the parking brake before preparing to check the engine oil.
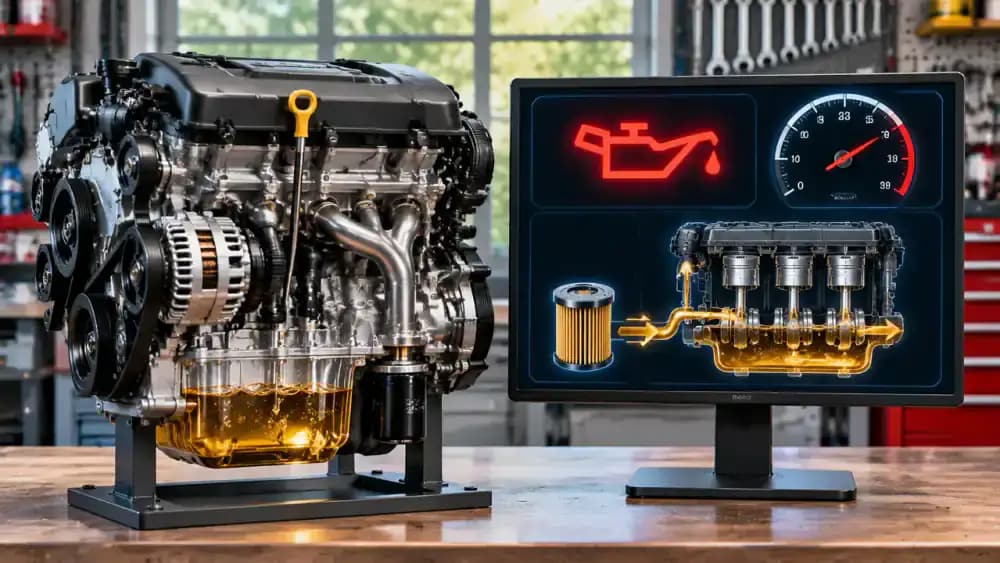
Turn Off the Engine and Follow the Correct Waiting Procedure
With the vehicle parked securely, switch off the engine before checking the oil with a dipstick. Next, consult your owner's manual for the recommended waiting period. This gives oil circulating through the engine time to drain back into the oil pan, helping produce an accurate reading. Avoid touching hot engine surfaces, and never assume the same waiting time applies to every vehicle.

Open the Hood Safely and Identify Hot Engine Parts
Release the hood using the interior latch, locate the secondary safety catch, and raise it carefully. Secure it with the designated support rod or built-in struts before approaching the engine compartment. Identify potentially hot components, including exhaust parts and radiator hoses. Keep your hands clear of drive belts and cooling fans, which may activate unexpectedly on some vehicles, even when parked.

Locate the Engine Oil Dipstick
Look for the engine oil dipstick inside the engine compartment, usually identified by a yellow or orange handle. Its exact position and color can vary between vehicles, so compare what you find with the diagram in your owner's manual. Notice the difference between the dipstick and the nearby oil filler cap. Do not reach near hot components while locating either part.

Remove the Dipstick Without Contaminating It
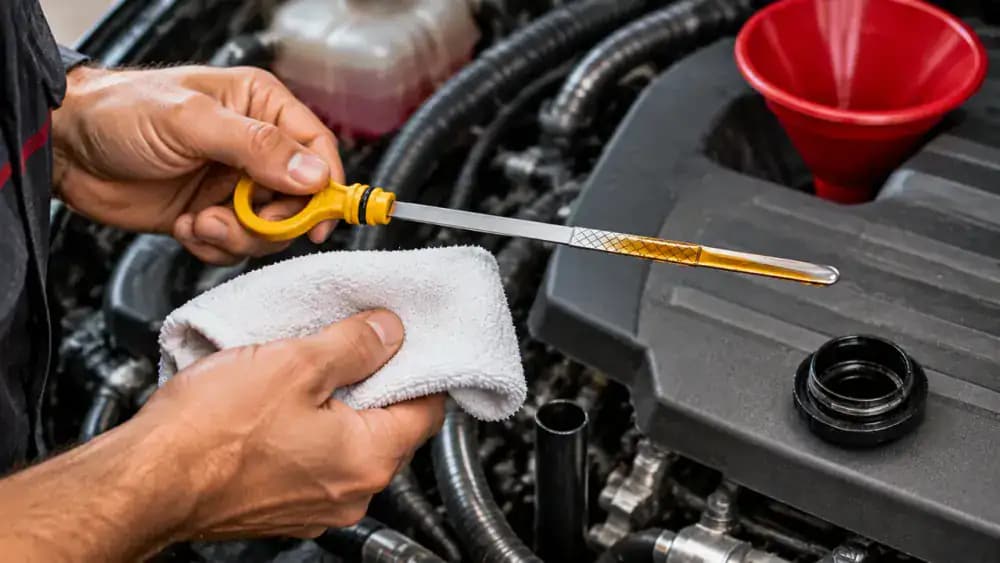
Grip the dipstick handle firmly and pull it straight out of its guide tube without touching nearby engine components. Hold it over a clean, lint-free shop towel to catch any dripping oil. You may notice an uneven oil coating near the tip, but do not judge the level yet. Oil splashed inside the tube can make the first reading misleading.
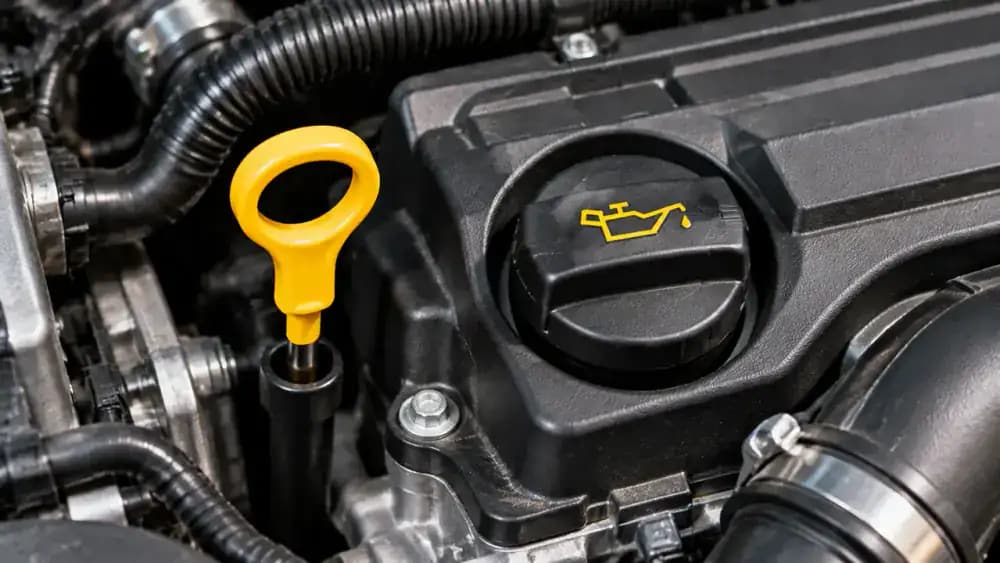
Wipe the Dipstick Completely Clean
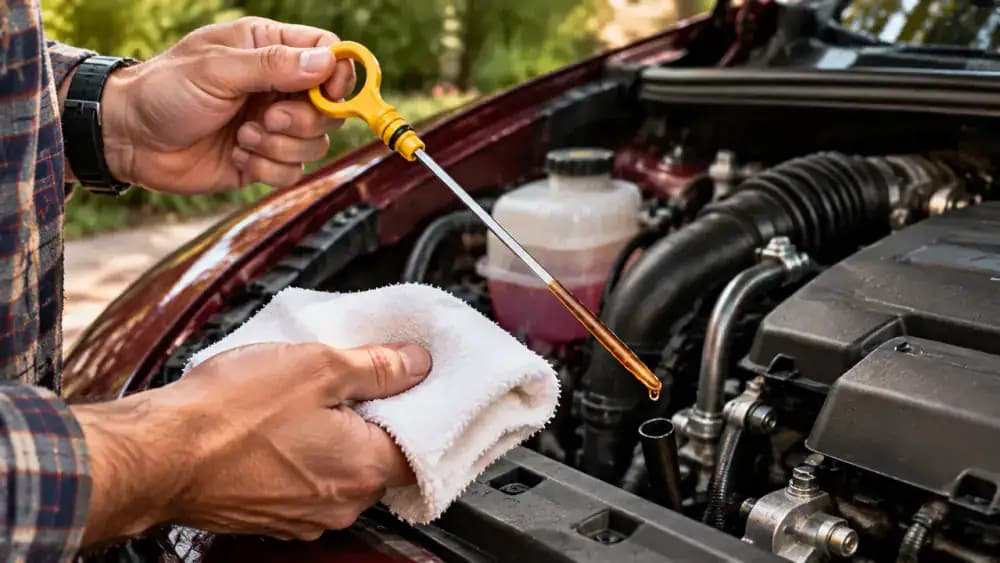
Hold the removed dipstick over a clean, lint-free shop towel and carefully wipe the entire metal measuring blade from end to end. Make sure you remove all visible oil, especially around the measurement markings near the tip. A completely clean surface makes the next reading easier to interpret. Avoid using a dirty or reused towel that could transfer debris onto the dipstick.
Reinsert the Dipstick for an Accurate Reading
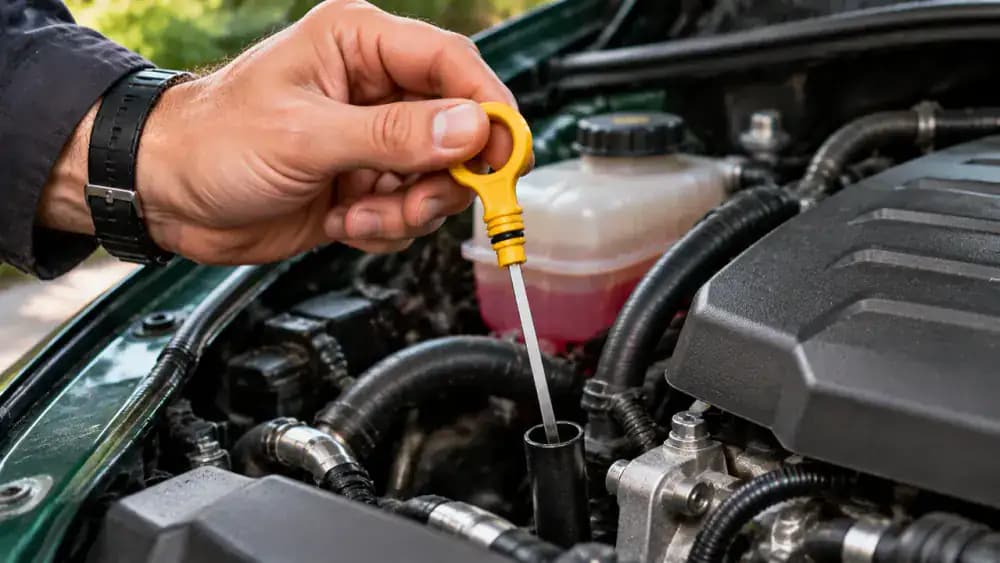
Align the clean metal blade with the dipstick guide tube and gently slide it straight back into the opening. Push it all the way down until the handle reaches its normal seated position. Check that it is fully inserted rather than sitting loosely above the tube. A partially inserted dipstick can produce a misleading measurement, so take your time with this step.
Remove the Dipstick Again for the Final Reading
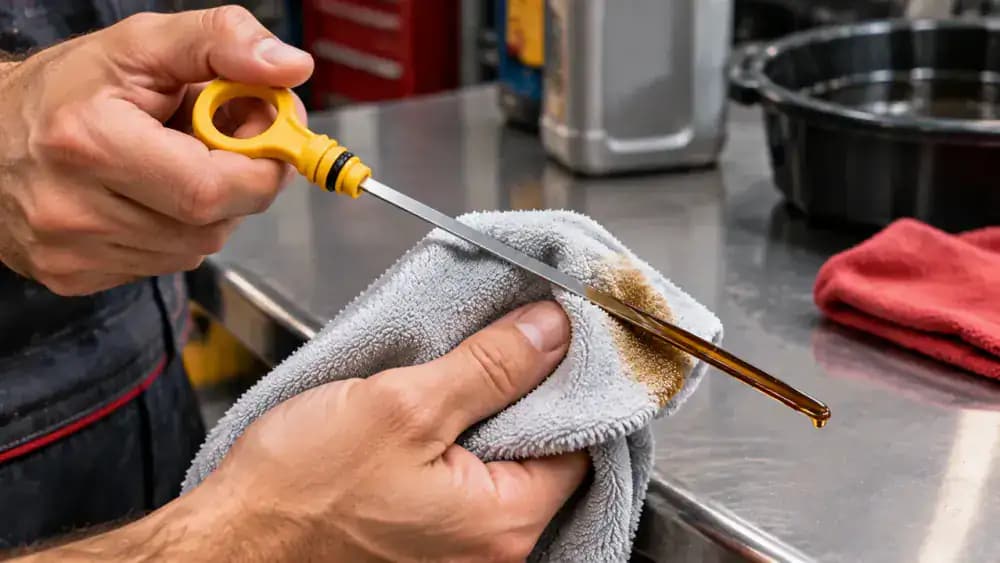
With the dipstick fully seated, pull it out again carefully and keep the metal blade as level as possible. Hold it against a well-lit background and examine the fresh oil mark near the measuring tip. Check both sides because the oil boundary may look different. If the oil is smeared or the reading is unclear, wipe the blade and repeat the measurement.
Understand the Minimum and Maximum Dipstick Marks
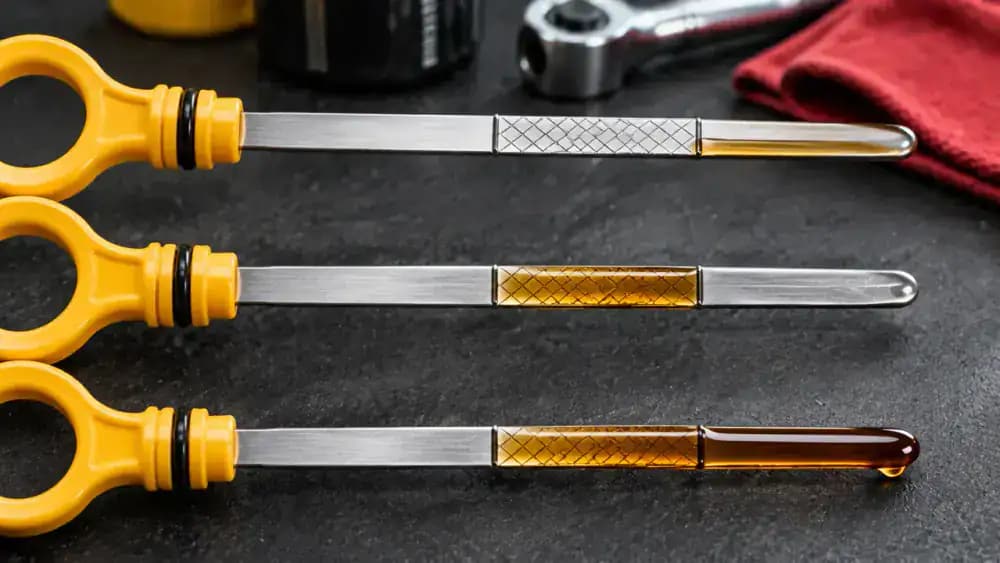
Examine the measuring section near the dipstick tip and locate the minimum and maximum reference marks. Depending on your vehicle, these may appear as dots, engraved lines, or a crosshatched area. The oil boundary should fall between these markings. Compare the three illustrated examples to recognize levels that are too low, within range, or above the recommended maximum.

What If the Oil Level Is Below Minimum?
If the oil boundary sits below the minimum marking, your engine may need additional oil. Before topping it off, check your owner's manual for the recommended amount needed to bring the level back into range. The distance between minimum and maximum varies between engines, so never assume that adding an entire quart is appropriate. Use the manufacturer's specified capacity to avoid overfilling.
How to Add Oil Without Overfilling
If your manual confirms that additional oil is needed, remove the oil filler cap and position a clean funnel securely in the opening. Use only oil that matches your engine's required specifications. Pour in a small amount at a time rather than adding the estimated full quantity immediately. This controlled approach makes it easier to recheck the level and avoid exceeding the maximum marking.
Wait and Recheck the Oil Level
After adding oil, follow your manufacturer's instructions for allowing it to settle before measuring again. Remove the dipstick, wipe the measuring blade completely clean, reinsert it fully, and withdraw it for a fresh reading. Check that the oil boundary sits between the minimum and maximum marks. If it remains low, repeat the small top-up process, checking after each addition without exceeding MAX.

What Happens If You Add Too Much Oil?
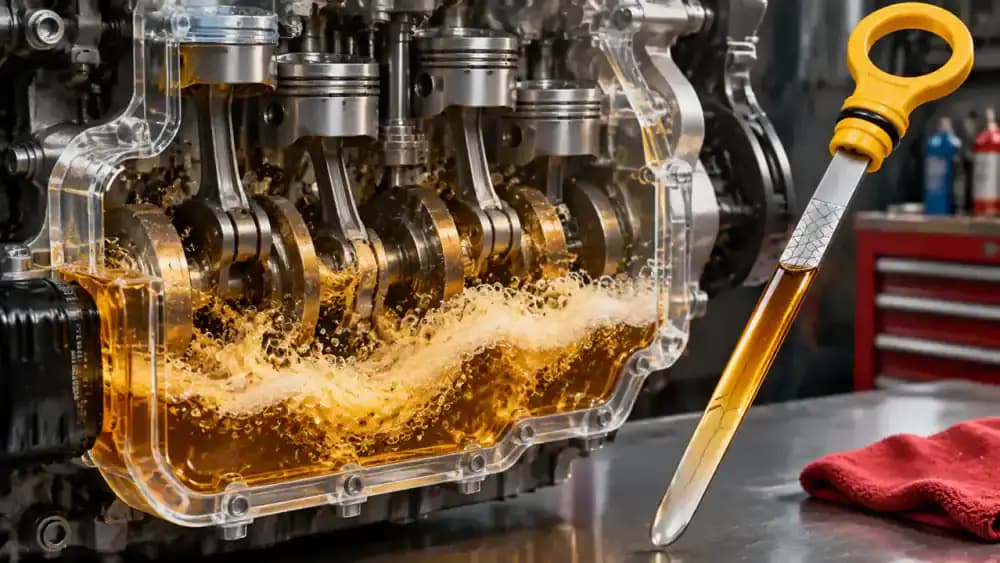
If the dipstick shows oil above the MAX marking, do not start the engine or try to estimate how much to remove. Excess oil can become aerated, increase crankcase pressure, and interfere with proper lubrication. The amount of overfill matters, but correcting it safely requires care. Have a qualified mechanic assess the level and remove excess oil before operating the vehicle.
Check the Oil Level on Vehicles Without a Dipstick
If your vehicle has no traditional dipstick, look for an electronic oil-level reading in the instrument cluster or vehicle settings menu. The illustrated display shows an example of a level indicator between MIN and MAX. Follow your owner's manual for the correct checking procedure, including any required engine temperature or parking conditions, before relying on the displayed result.
Know the Difference Between Oil Level and Oil Pressure Warnings
An electronic low-oil-level notification and a red oil pressure warning indicate different problems. The comparison shown here highlights an amber level notification alongside a red pressure warning. The first means the oil quantity needs checking, while the second may indicate inadequate lubrication pressure. If the red warning appears while driving, stop safely, switch off the engine, and arrange professional assistance without restarting it.

Recognize the Signs of an Engine Oil Leak
After checking your oil, pay attention to signs that the level may be dropping again. Look for fresh dark-brown or black spots on the parking surface, oily residue around the engine, or a burning-oil smell. The image illustrates common clues worth noticing. These signs do not identify the exact leak source, so have persistent oil loss inspected by a qualified mechanic rather than reaching underneath the vehicle.

Listen for Unusual Engine Noises
Pay attention to any new ticking, knocking, or rattling sounds coming from the engine. These noises can have several possible causes, including lubrication problems, and should not be ignored. The illustrated diagnostic display shows examples of different sound patterns, not confirmed engine faults. If unusual noises occur alongside an oil warning or suspected low oil pressure, shut off the engine safely and arrange professional inspection.

Know When to Stop Adding Oil and Call a Mechanic
If the oil level keeps dropping, fresh leaks appear, or unusual engine noises develop, repeated top-ups are not a proper repair. Record the date, amount of oil added, and how quickly the level falls. Share these details with a qualified mechanic to help identify the problem. If a red oil pressure warning or serious engine noise occurs, shut off the engine and arrange towing.

Check Your Oil Level Regularly
Make oil checks part of your regular vehicle maintenance routine rather than waiting for a dashboard warning. The example checklist shows reminders for monthly inspections, checks before long road trips, and recording previous measurements. Follow the frequency specified in your owner's manual, since maintenance schedules vary between vehicles. If you notice the level dropping between inspections, investigate the change promptly instead of ignoring it.

Keep a Record of Oil Checks and Top-Ups
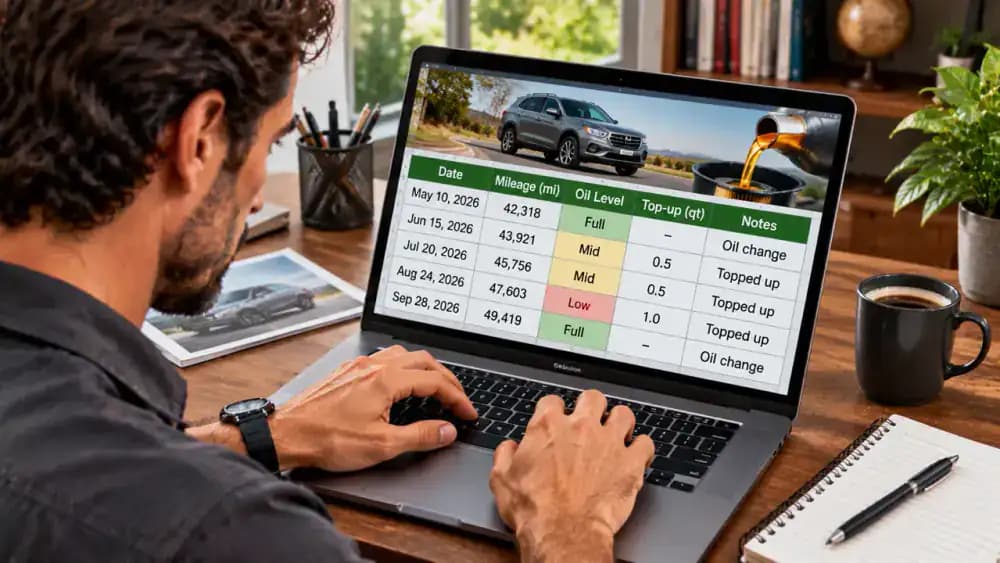
Record each oil inspection in a notebook or spreadsheet, including the date, odometer reading, measured oil level, and any oil added. The example maintenance log also includes space for unusual noises, warning messages, and visible leaks. Keeping these details together helps you identify patterns in oil consumption over time and gives your mechanic useful information if repeated oil loss needs investigation.

Follow Your Manufacturer's Oil Change Schedule
Checking your oil level does not replace changing the oil. Review the maintenance schedule in your owner's manual or vehicle maintenance monitor to find the correct oil-change interval. The illustrated service timeline separates routine level checks from scheduled oil changes. Consider your driving conditions too, since frequent short trips, stop-and-go traffic, towing, and extreme temperatures may affect your vehicle's service requirements.
Avoid These Common Engine Oil Checking Mistakes
Before finishing, review the common mistakes that can produce inaccurate readings or cause engine problems. The illustrated comparison highlights uneven parking surfaces, incorrect waiting procedures, dirty dipsticks, unsuitable oil specifications, and overfilling. Always follow your manufacturer's checking instructions, wipe and fully reinsert the dipstick before measuring, and recheck the level after adding oil instead of relying on guesswork.

Know When Professional Inspection Is Necessary
Some oil problems cannot be solved by checking the dipstick or adding more oil. Have a qualified mechanic inspect persistent oil loss, repeated low-level warnings, visible leaks, or readings you cannot confidently interpret. The illustrated service consultation shows how diagnostic equipment and maintenance records can help investigate recurring problems. Never ignore a red oil pressure warning or unusual engine knocking; stop safely and arrange professional assistance.

Your Engine Oil Safety Checklist
Before finishing an oil check, review each item on your safety checklist. Confirm that the vehicle is on level ground, the parking brake is engaged, and the engine is off. Follow the manufacturer's waiting procedure, use the correct checking method, and keep the oil between MIN and MAX. Never overfill. If a red oil pressure warning appears, stop safely and shut off the engine immediately.

Protect Your Engine With Regular Oil Checks
A few minutes spent checking your engine oil can help you catch problems before they lead to expensive repairs. Keep your owner's manual accessible, follow the specified oil requirements, and record any changes between inspections. The maintenance reminder shown here reinforces the importance of regular checks. Remember that procedures vary by vehicle, so consult a qualified technician whenever readings remain unclear or problems persist.

Your engine needs the right amount of oil to protect its moving parts, control friction, and prevent premature wear. But checking the oil incorrectly can be just as problematic as ignoring it. Running with too little oil can cause serious engine damage, while overfilling can also create costly problems. If you've spotted an oil warning light or simply want to make sure your engine has enough oil, a quick check can help you catch potential trouble before it gets worse. One warning deserves immediate attention: a red oil pressure light is not the same as a low oil level notification. If it appears, stop somewhere safe and shut off the engine.
Checking your oil doesn't require advanced mechanical skills or expensive equipment. You just need a level parking surface, a clean cloth, and the correct information for your vehicle. We'll walk through how to find your manufacturer's oil specifications, prepare the engine, read the dipstick accurately, and add oil without exceeding the maximum level. You'll also learn how electronic oil monitoring works, which common mistakes to avoid, and when oil loss or warning signs mean it's time to call a qualified mechanic.
Where people go wrong
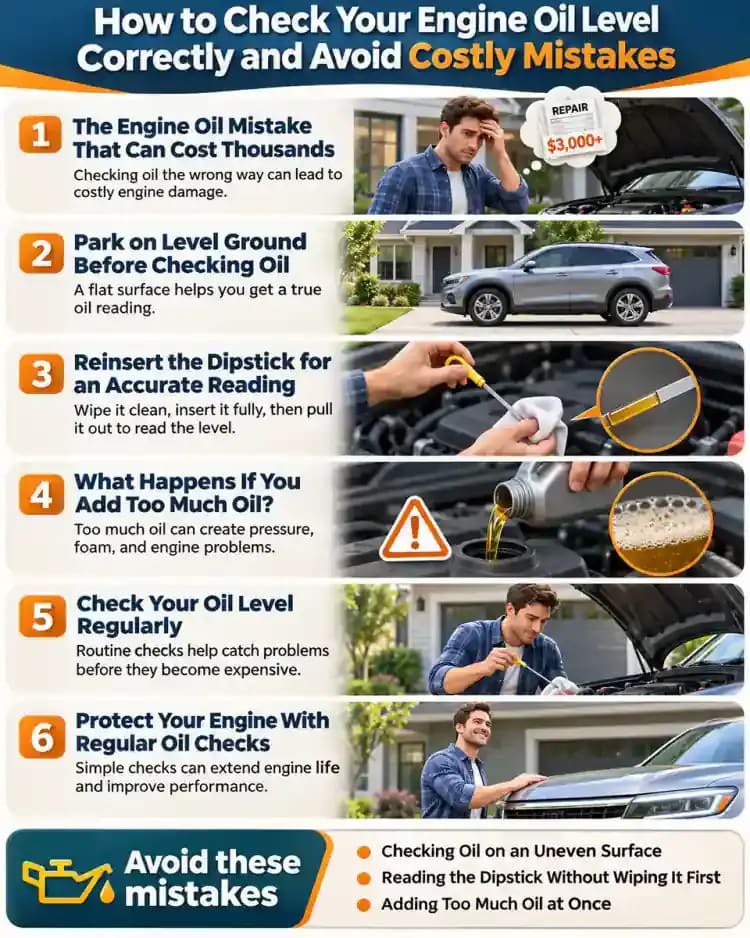
Checking Oil on an Uneven Surface. Parking on a slope or uneven ground can produce an inaccurate dipstick reading because the oil collects unevenly in the oil pan. Always park on level ground, engage the parking brake, and follow the manufacturer's checking procedure before measuring.
Reading the Dipstick Without Wiping It First. Pulling out the dipstick and immediately judging the oil level can lead to misleading results. Oil smears along the blade can look like the actual level. Wipe it clean, reinsert it fully, remove it again, and check the markings carefully.
Adding Too Much Oil at Once. Pouring in a large amount of oil without measuring can push the level above the maximum marking. Overfilling can harm engine operation and create expensive problems. Add small amounts at a time, then recheck the dipstick before adding more.
Confusing Low Oil Level With Low Oil Pressure. An oil-level notification and a red oil pressure warning do not mean the same thing. Ignoring a red oil pressure warning can put the engine at serious risk. Stop safely and shut off the engine immediately rather than continuing to drive.
Questions people ask
Follow your vehicle manufacturer's recommended maintenance schedule. Checking the oil periodically between services can help you spot leaks, unusual oil consumption, or a falling level before they become serious problems. Keep maintenance records so you can identify recurring oil loss.
Fixed it?
Get one guide like this every Thursday.